








Riding Mower Rear Axle Seal: Oil Seal Replacement
A leaking riding mower rear axle seal can lead to low oil levels and costly damage. This guide provides step-by-step instructions for replacing the seal and keeping your mower running smoothly.
Introduction to Riding Mower Rear Axle Seals
The riding mower rear axle seal is a small but crucial component in your lawn tractor's transmission system. Its primary function is to prevent oil leakage from the transaxle, which houses the gears and bearings that drive the rear wheels. A compromised seal can lead to significant problems, including low oil levels, reduced performance, and eventually, damage to the transaxle itself. Replacing the seal promptly can save you from more extensive and expensive repairs.
Recommended Parts for This Guide
8 parts we recommend — in stock, ships fast, one-click add to cart.
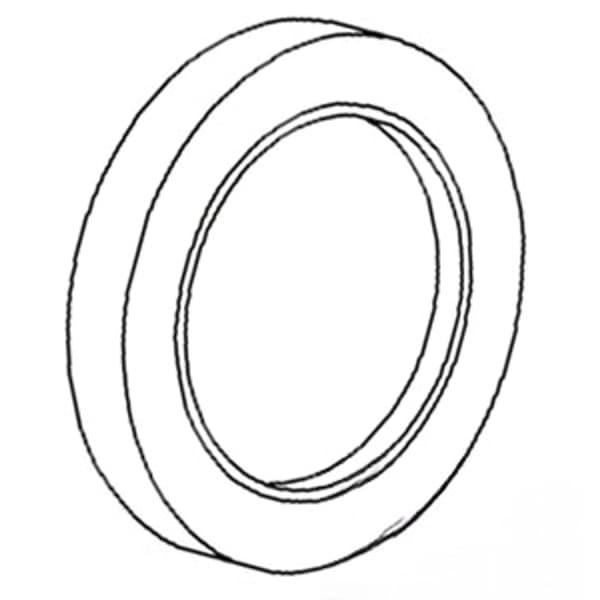
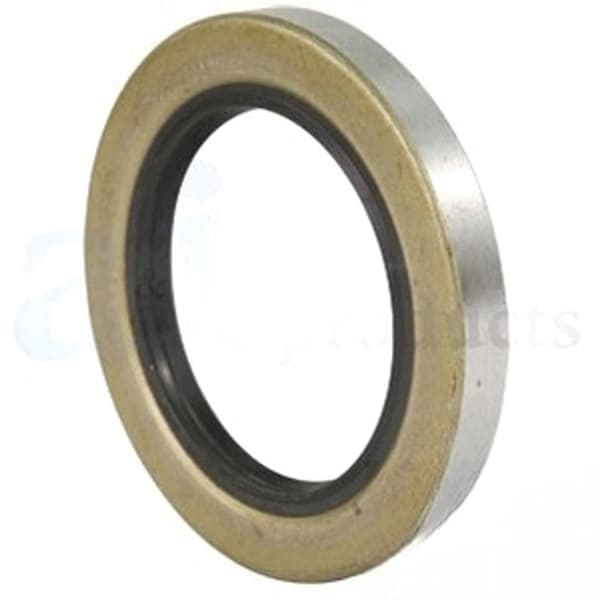
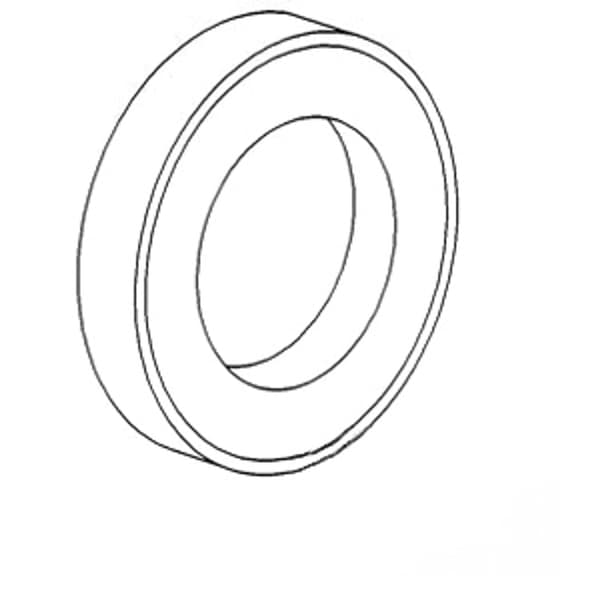
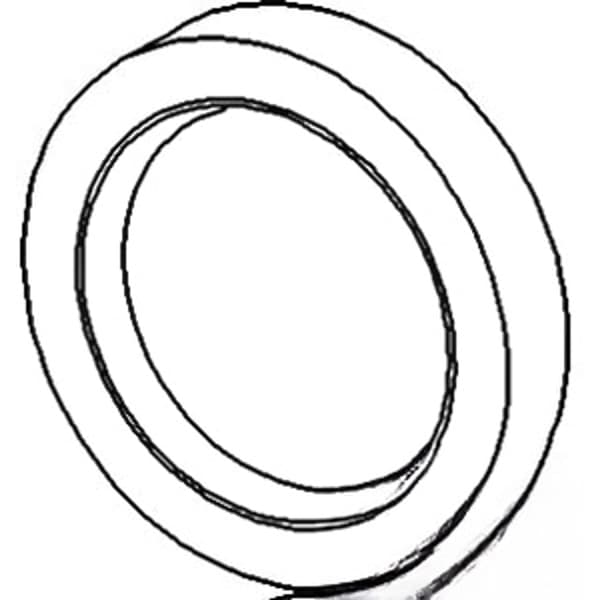
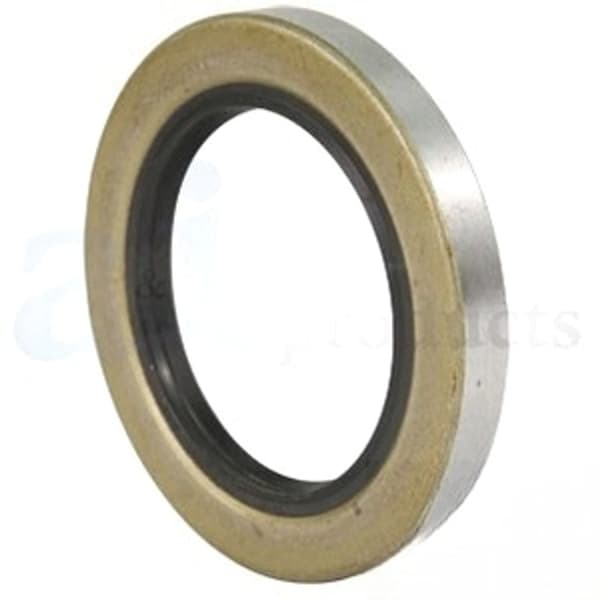
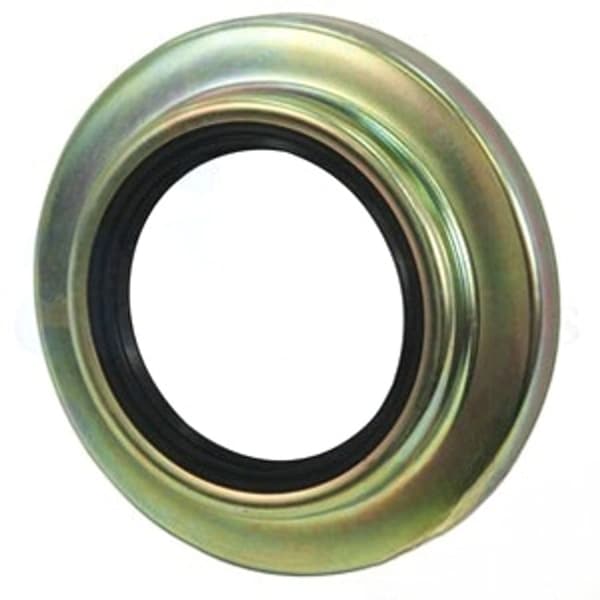
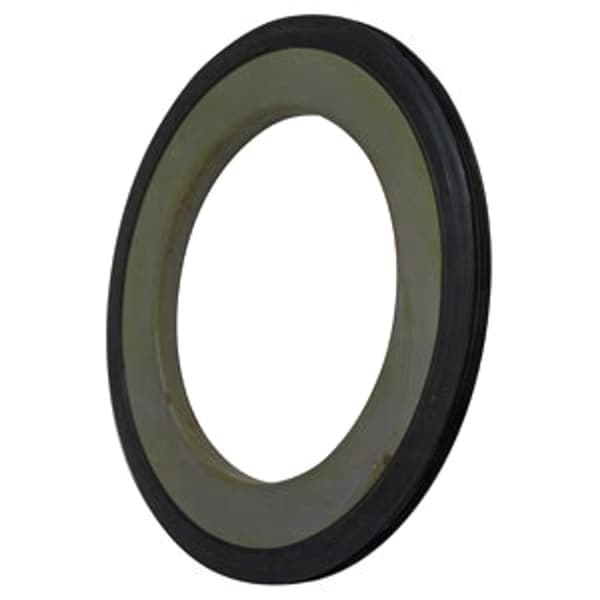
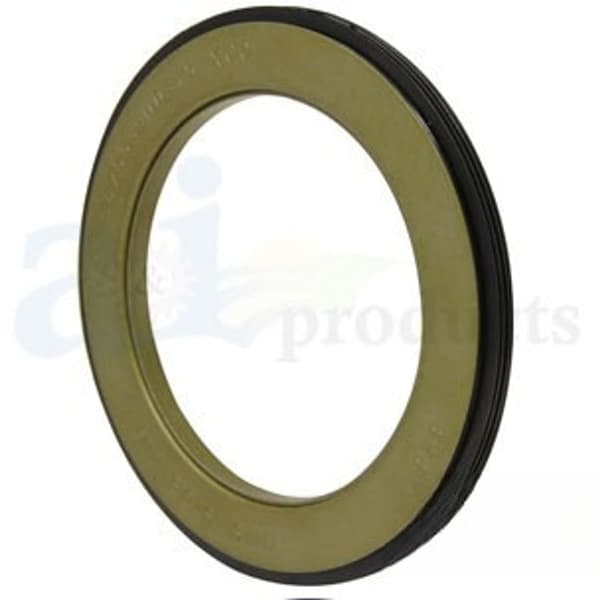
🔍 Looking for a specific part? Try our AI Part Finder — tell it your equipment and what you need, and it will find matching parts instantly.
This guide will walk you through the process of identifying a faulty rear axle seal, gathering the necessary tools and parts, and performing the replacement. We'll cover general procedures applicable to many brands, including John Deere, Craftsman, Cub Cadet, Husqvarna, Toro, Ariens, Murray, Hustler, Scag, Exmark, Ferris, Snapper, Simplicity, and Dixie Chopper. Keep in mind that specific models may have slight variations, so always consult your owner's manual for detailed instructions.
Remember, safety is paramount. Always disconnect the spark plug wire and engage the parking brake before beginning any work on your mower. Consider wearing safety glasses and gloves.
Identifying a Faulty Rear Axle Seal
The most obvious sign of a failing riding mower rear axle seal is oil leakage. Look for the following symptoms:
- Visible Oil Leaks: Puddles of oil near the rear wheels or on the transaxle housing are a telltale sign.
- Oil Residue: A greasy buildup on the axle, wheel hub, or surrounding areas indicates a leak, even if there are no visible puddles.
- Low Transmission Oil Level: Regularly check your transaxle oil level according to your owner's manual. A consistently low level, even after topping off, suggests a leak. You might need to consult our hydrostatic transmission fluid guide to determine the correct type for your mower.
- Unusual Noises: A whining or grinding noise from the transaxle could indicate low oil levels due to a leak, although this could also indicate problems with other transaxle components.
If you observe any of these signs, it's time to inspect and potentially replace the rear axle seal.
Tools and Materials Needed
Before you begin, gather the following tools and materials:
- New Rear Axle Seal: Order the correct seal for your specific riding mower model. For instance, you might need a specific inner rear axle seal or an outer rear axle seal. Madison Tractor Company carries a wide selection of seals for various brands, including John Deere, Craftsman, and Husqvarna. Be sure to check your lawn tractor transaxle model to find the correct part.
- Jack and Jack Stands: To safely lift and support the mower.
- Wrench Set or Socket Set: To remove the wheel and other components.
- Screwdrivers: Both flathead and Phillips head may be needed.
- Pliers: For removing clips or retaining rings.
- Seal Puller or Slide Hammer: To remove the old seal. A small pry bar *might* work, but a seal puller is recommended to avoid damaging the housing.
- Seal Installer or Socket: To install the new seal without damaging it.
- Hammer or Mallet: For gently tapping the seal into place.
- Shop Rags or Paper Towels: For cleaning up oil.
- Transmission Oil: To top off the transaxle after the repair.
- Gloves and Safety Glasses: For personal protection.
Step-by-Step Rear Axle Seal Replacement
- Preparation: Park the riding mower on a level surface, engage the parking brake, and disconnect the spark plug wire. This prevents accidental starting during the repair.
- Raise and Secure the Mower: Use a jack to lift the rear of the mower and securely support it with jack stands. Never work under a mower supported only by a jack.
- Remove the Wheel: Use a wrench or socket to loosen the lug nuts and remove the wheel from the side with the leaking seal.
- Access the Axle: Depending on your mower model, you may need to remove additional components, such as a hub cap or retaining clip, to access the axle and seal.
- Remove the Old Seal: This is often the trickiest part. Use a seal puller or slide hammer to carefully remove the old seal. If you don't have these tools, you *might* be able to use a small pry bar, but be extremely cautious not to damage the transaxle housing. Work slowly and gently.
- Clean the Area: Thoroughly clean the area around the seal housing with shop rags to remove any dirt, debris, or old oil.
- Install the New Seal: Apply a thin film of oil to the new seal's outer edge. Use a seal installer or a socket that matches the seal's diameter to gently tap the new seal into place until it is flush with the housing. Ensure the seal is seated evenly. Do not hammer directly on the seal, as this can damage it.
- Reassemble: Reinstall any components you removed to access the axle.
- Reinstall the Wheel: Mount the wheel back onto the axle and tighten the lug nuts to the manufacturer's specified torque.
- Lower the Mower: Carefully lower the mower back to the ground.
- Check and Top Off Oil: Check the transaxle oil level and add oil as needed to bring it to the proper level. Consult your owner's manual for the correct oil type and fill level.
- Test the Mower: Reconnect the spark plug wire and start the mower. Operate it briefly and check for any new leaks around the rear axle seal.
Important Considerations
- Transaxle Type: Some riding mowers have hydrostatic transmissions. Refer to our article on lawn tractor transaxles to identify your transaxle type and ensure you use the correct procedure and fluids.
- Drive Belts: While you're working on the transmission system, it's a good idea to inspect your riding mower drive belt. A worn or damaged belt can affect performance and should be replaced promptly. We carry drive belts for John Deere, Cub Cadet, Craftsman, Husqvarna, and many other brands.
- Wheel Bearings: Check your lawn tractor wheel bearings for wear and tear while the wheels are off. Replacing worn bearings can improve performance and extend the life of your mower.
- Brand-Specific Considerations: While the general procedure is similar, specific brands may have unique features. For example, replacing John Deere transmission parts might require specific tools or knowledge. Similarly, Cub Cadet transmission parts and Husqvarna drive belts have their own specific part numbers and installation procedures.
Troubleshooting
- Seal Won't Come Out: If the old seal is stuck, try using a heat gun to gently warm the surrounding area. This can help soften the rubber and make it easier to remove.
- New Seal is Leaking: Ensure the seal is properly seated and not damaged during installation. A small scratch or nick on the seal can cause it to leak.
- Transaxle Overheating: If the transaxle overheats after replacing the seal, it could indicate low oil levels or a faulty transaxle. Consult a qualified mechanic if the problem persists.
Shop Riding Mower Parts at Madison Tractor Company
Madison Tractor Company is your one-stop shop for all your riding mower parts needs. We carry a wide selection of riding mower rear axle seals, belts, blades, spindles, pulleys, filters, spark plugs, bearings, and other essential parts for brands like John Deere, Craftsman, Cub Cadet, Husqvarna, Toro, and more. Shop with confidence knowing you're getting high-quality parts at competitive prices. Our knowledgeable staff is ready to assist you in finding the right parts for your mower. Visit our website or contact us today to place your order! You can also use our AI-Powered Part Finder to search for parts by your specific make and model.
Part of our comprehensive guide
Mower Transmission Parts Guide: Transaxle, Drive Belt & Bearings