








Riding Mower Rectifier/Regulator: Charging System Parts
The rectifier/regulator is a crucial part of your riding mower's charging system, ensuring your battery stays charged. Learn how it works, common problems, and how to diagnose a faulty one.
Introduction to Your Riding Mower's Charging System
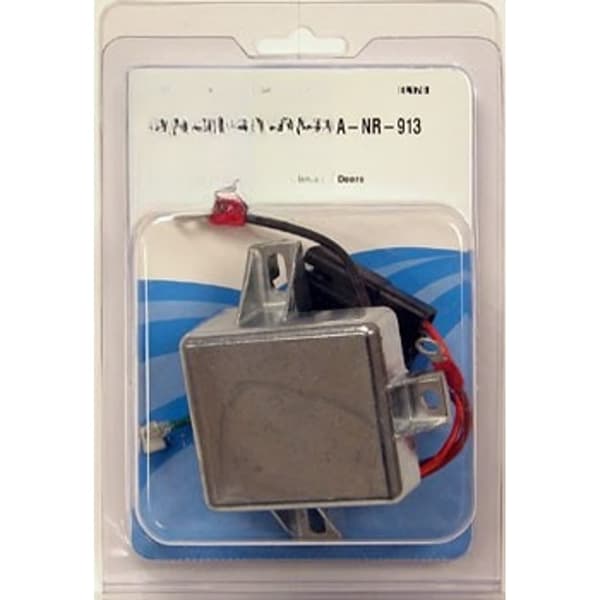
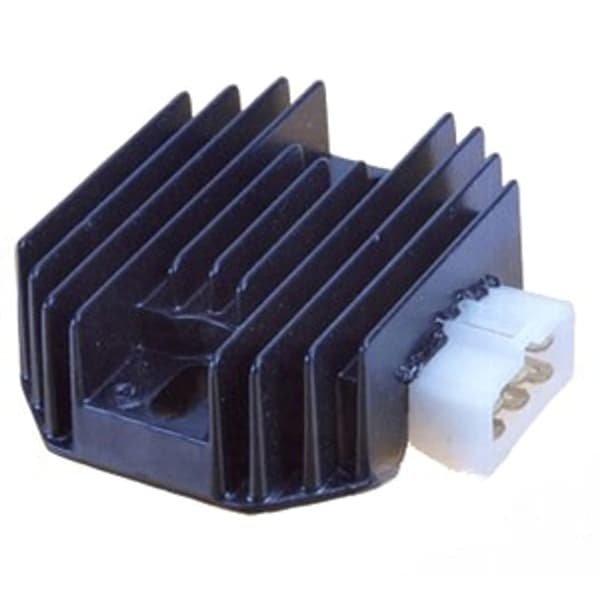
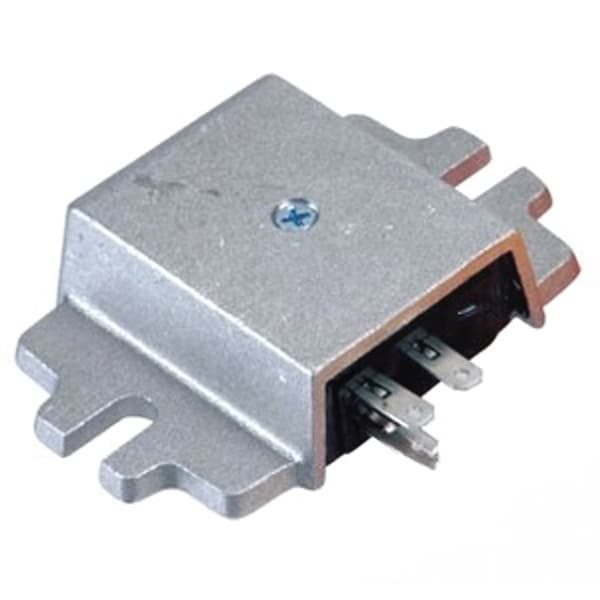
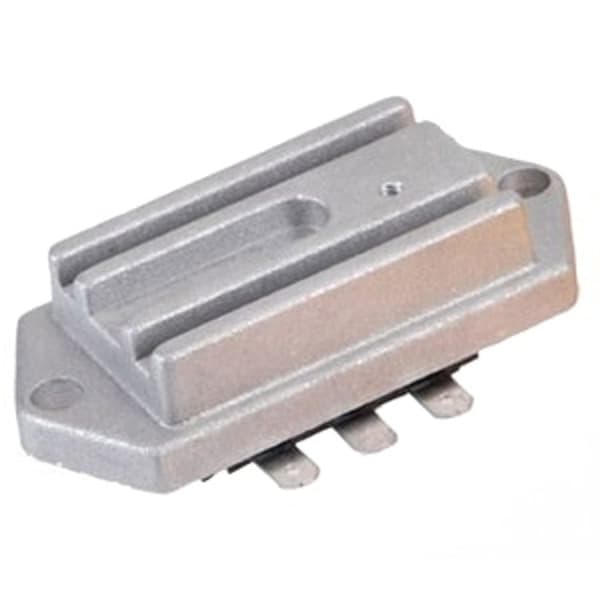
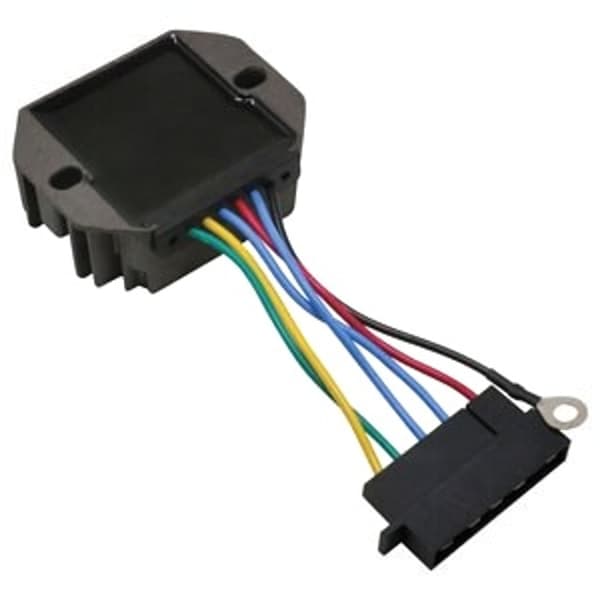
Keeping your riding mower's battery charged is essential for reliable starting and operation. The charging system is a relatively simple but crucial component, and at the heart of that system lies the mower rectifier regulator. This component converts the AC voltage produced by the engine's stator into DC voltage that can charge the battery. It also regulates that voltage to prevent overcharging, which can damage the battery. Understanding the rectifier/regulator's role is key to diagnosing charging problems on your John Deere, Craftsman, Cub Cadet, Husqvarna, Toro, Ariens, Murray, Hustler, Scag, Exmark, Ferris, Snapper, Simplicity, or Dixie Chopper riding mower.
Recommended Parts for This Guide
9 parts we recommend — in stock, ships fast, one-click add to cart.
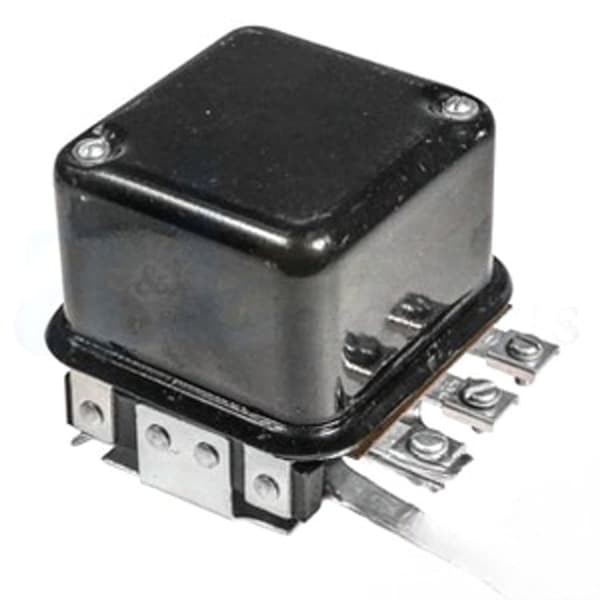
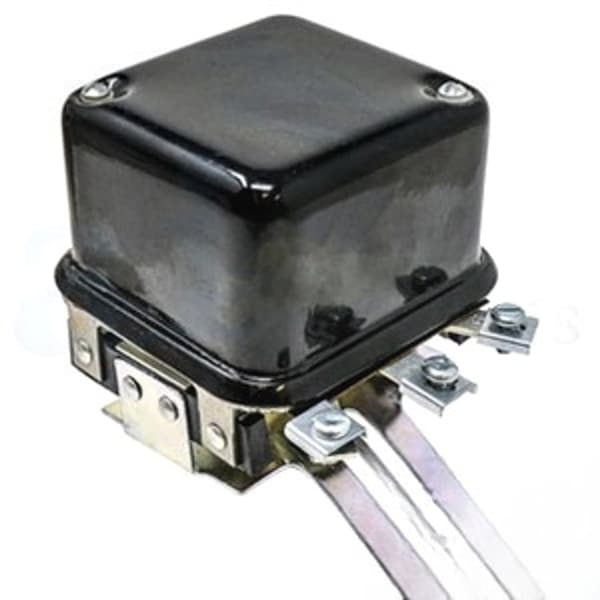
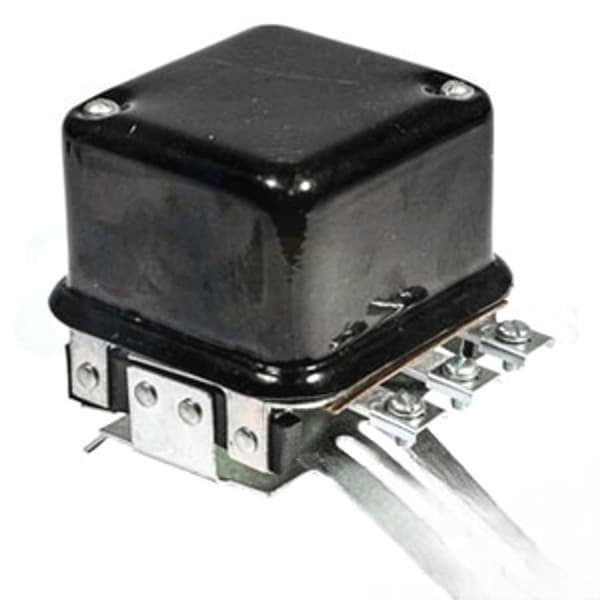
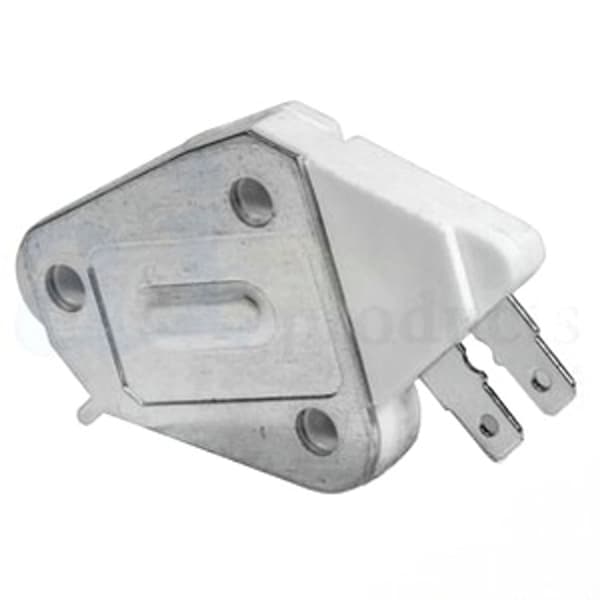
🔍 Looking for a specific part? Try our AI Part Finder — tell it your equipment and what you need, and it will find matching parts instantly.
How a Mower Rectifier Regulator Works
The rectifier/regulator has two primary functions:
- Rectification: The engine's stator produces alternating current (AC). The rectifier converts this AC voltage to direct current (DC) voltage.
- Regulation: The regulator maintains a constant DC voltage output, typically around 13.5-14.5 volts, to prevent overcharging the battery. Without regulation, the voltage could spike and damage the battery.
The rectifier/regulator typically has several wires connecting it to the stator, battery, and sometimes the chassis ground. These wires carry AC voltage from the stator, DC voltage to the battery, and a ground connection for proper operation.
Common Symptoms of a Faulty Rectifier/Regulator
A failing mower rectifier regulator can manifest in several ways:
- Dead Battery: This is the most common symptom. If the rectifier/regulator isn't charging the battery, it will eventually drain, leaving you with a mower that won't start. Be sure to also check your riding mower battery itself.
- Overcharged Battery: Less common, but equally damaging, an overcharged battery can bulge, leak acid, or even explode. This is often caused by a faulty regulator that isn't limiting the voltage.
- Dim Headlights: On mowers with headlights, a weak or flickering light can indicate a charging system problem.
- Burning Smell: A failing rectifier/regulator can sometimes overheat and emit a burning smell. Immediately turn off the mower if you smell burning plastic or electronics.
- Engine Stalling: In some cases, a faulty charging system can interfere with the engine's electrical system, causing it to stall or run poorly.
Diagnosing a Mower Rectifier Regulator
Before replacing the rectifier/regulator, it's important to rule out other potential causes of charging problems, such as a bad battery, loose connections, or a faulty stator. Here's a step-by-step diagnostic procedure:
- Check the Battery: Ensure the battery is fully charged and in good condition. A load test can reveal if the battery is holding a charge properly.
- Inspect Connections: Check all wiring connections to the battery, rectifier/regulator, stator, and chassis ground. Look for corrosion, loose connections, or damaged wires. Clean and tighten any suspect connections.
- Test the Stator: Using a multimeter, check the AC voltage output of the stator while the engine is running. Consult your mower's service manual for the specific voltage range. If the stator output is low or non-existent, the stator may be faulty.
- Test the Rectifier/Regulator Output: With the engine running, use a multimeter to measure the DC voltage at the battery terminals. It should be between 13.5 and 14.5 volts. If the voltage is significantly lower or higher, the rectifier/regulator is likely faulty.
- Resistance Testing (Diode Test): A multimeter with a diode test function can be used to test the diodes within the rectifier. Consult your mower's service manual or the rectifier/regulator's specifications for proper testing procedures and expected values.
Safety Warning: Always disconnect the spark plug wire before working on the electrical system to prevent accidental starting. Use caution when working with electricity and follow all safety precautions outlined in your mower's service manual.
Replacing a Mower Rectifier Regulator
- Disconnect the Battery: Always disconnect the negative battery cable first to prevent short circuits.
- Locate the Rectifier/Regulator: It's typically mounted near the engine, often on the blower housing or frame.
- Disconnect the Wiring: Carefully disconnect the wiring harness from the rectifier/regulator. Note the location of each wire for proper reconnection. You may want to take a picture as a reference.
- Remove the Mounting Bolts: Remove the bolts or screws that secure the rectifier/regulator to the mower.
- Install the New Rectifier/Regulator: Install the new rectifier/regulator in the reverse order of removal. Ensure all connections are secure and properly tightened.
- Reconnect the Battery: Reconnect the negative battery cable.
- Test the Charging System: Start the engine and use a multimeter to verify that the battery is charging properly (13.5-14.5 volts).
When replacing your mower rectifier regulator, ensure you choose the correct replacement part for your specific mower model and engine. Check the part number on the old rectifier/regulator or consult your mower's parts manual. Madison Tractor Company offers a wide selection of replacement rectifiers/regulators for various brands, including John Deere, Craftsman, Cub Cadet, Husqvarna, and more. We also carry other essential parts like belts, blades, spindles, and spark plugs.
Preventative Maintenance
To prolong the life of your mower's charging system, consider these preventative maintenance tips:
- Keep Connections Clean: Regularly clean battery terminals and wiring connections to prevent corrosion.
- Maintain Battery Health: Use a battery maintainer during the off-season to keep the battery fully charged.
- Inspect Wiring: Periodically inspect wiring for damage, chafing, or loose connections.
- Avoid Overloading the System: If your mower has electrical accessories (lights, PTO clutch), avoid using them excessively, as this can strain the charging system. Speaking of PTO clutches, make sure to check your mower PTO switch if you're having issues with blade engagement.
Remember to also check your other electrical components regularly. This includes the riding mower starter, riding mower solenoid, lawn mower ignition coil, riding mower ignition switch, and lawn mower seat safety switch.
Shop for Mower Parts at Madison Tractor Company
Madison Tractor Company is your one-stop shop for all your riding mower parts needs! We carry a wide selection of John Deere, Craftsman, Cub Cadet, Husqvarna, and other major brand parts. Whether you need a new rectifier/regulator, filters, bearings, or even shear pins for your snow blower, we have you covered. Browse our extensive online catalog or contact our knowledgeable customer service team for assistance in finding the right parts for your machine. We're committed to providing high-quality parts at competitive prices, so you can keep your mower running smoothly for years to come. You can also use our AI-Powered Part Finder to search for parts by your specific make and model.
Part of our comprehensive guide
Mower Electrical Parts Guide: Starters, Solenoids, Switches & More