








Mower Diode: Rectifier Diode for Charging System
The mower diode, also known as a rectifier diode, is a small but critical component in your mower's charging system. This article explains its function, symptoms of failure, how to test it, and when to replace it.
Understanding the Mower Diode
The mower diode, often called a rectifier diode, is a semiconductor device that allows electrical current to flow in only one direction. In lawn mowers, riding mowers, and zero-turn mowers, it’s a crucial part of the charging system. The diode's primary function is to convert the alternating current (AC) produced by the engine's stator into direct current (DC), which is needed to charge the riding mower battery and power other electrical components.
Recommended Parts for This Guide
4 parts we recommend — in stock, ships fast, one-click add to cart.
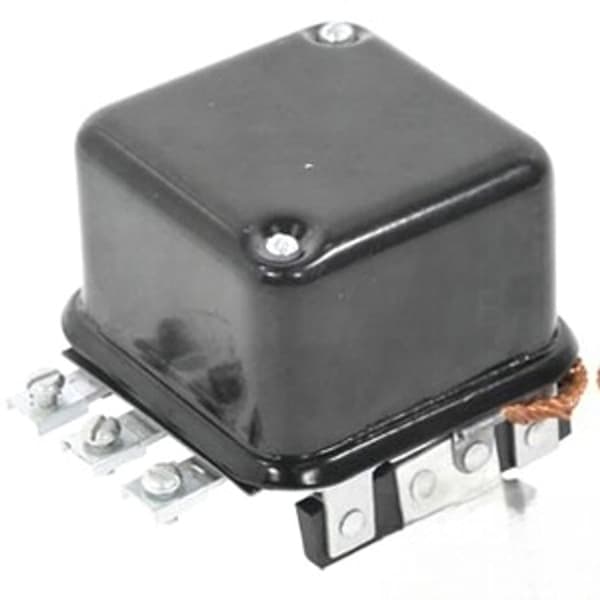
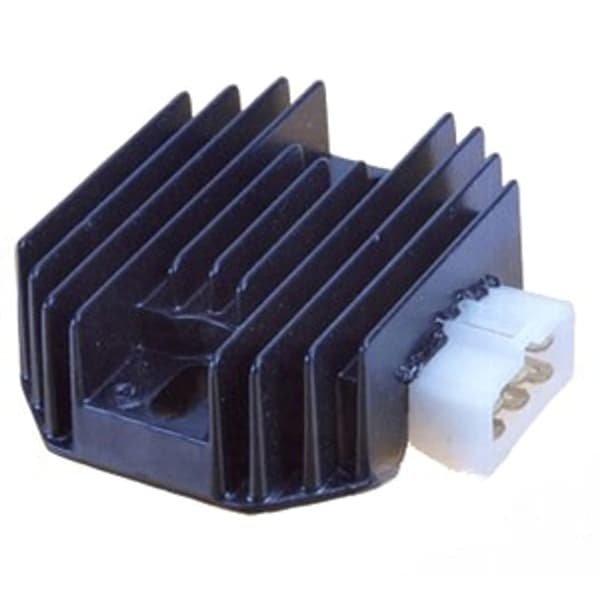
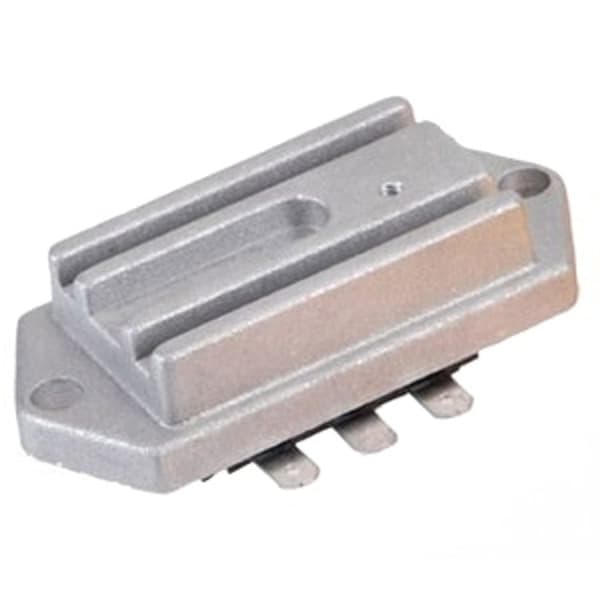
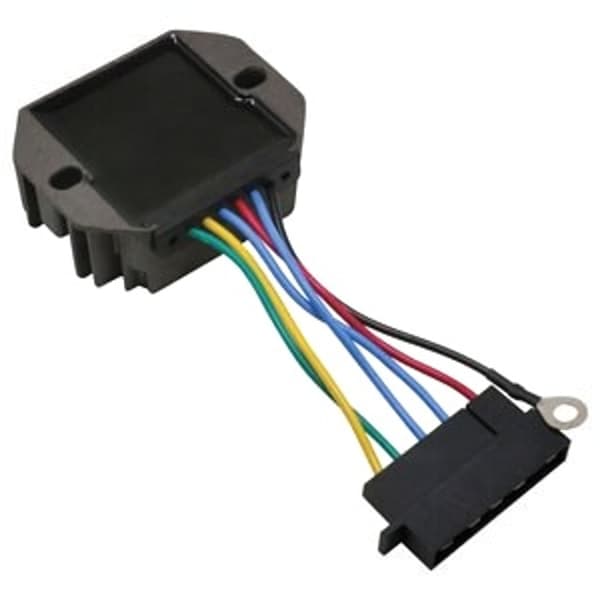
🔍 Looking for a specific part? Try our AI Part Finder — tell it your equipment and what you need, and it will find matching parts instantly.
Think of it as a one-way valve for electricity. Without a properly functioning diode, the battery won't charge, and the electrical system can experience significant problems. This component is common in various brands, including John Deere, Craftsman, Cub Cadet, Husqvarna, Toro, Ariens, Murray, Hustler, Scag, Exmark, Ferris, Snapper, Simplicity, and Dixie Chopper.
Location of the Mower Diode
The mower diode's location varies depending on the mower's make and model. However, it's commonly found in one of these places:
- Inline with the wiring harness: The diode may be directly spliced into the wiring harness, often near the voltage regulator or the battery.
- Attached to the stator: In some models, the diode is physically attached to the stator under the engine's flywheel.
- Inside the voltage regulator: More modern designs integrate the diode function into the voltage regulator itself. If this is the case, replacing the riding mower voltage regulator will solve the problem.
Consult your mower's service manual for the precise location of the diode on your specific machine. Many diagrams are available online as well. Being able to identify this component will allow you to proceed with troubleshooting.
Symptoms of a Failing Mower Diode
A failing mower diode can manifest in several ways:
- Battery not charging: This is the most common symptom. If the diode isn't rectifying the AC current, the battery won't receive the DC charge it needs.
- Dead battery: If the battery isn't charging, it will eventually drain completely, preventing the mower from starting.
- Dim headlights: On mowers equipped with headlights, a weak or failing diode can cause them to be dim.
- Engine stalling: In some cases, a faulty charging system can cause the engine to stall, especially at low RPMs.
- Blown fuses: A shorted diode can cause fuses to blow repeatedly.
These symptoms can overlap with other electrical issues, so proper diagnosis is crucial.
Testing the Mower Diode
Testing a mower diode requires a multimeter set to the diode test function. Here's how to do it:
- Disconnect the diode: Disconnect the diode from the wiring harness. This is crucial to avoid getting false readings from other components in the circuit.
- Set the multimeter: Set your multimeter to the diode test function. This is usually indicated by a diode symbol.
- Connect the leads: Place the red (positive) lead of the multimeter on one end of the diode and the black (negative) lead on the other end. Note the reading displayed on the multimeter.
- Reverse the leads: Reverse the multimeter leads, placing the red lead on the end that previously had the black lead, and vice versa. Note the new reading.
- Interpret the results:
- Good diode: A good diode will show a voltage drop (typically between 0.4 and 0.7 volts) in one direction and an open circuit (OL or infinite resistance) in the other direction.
- Shorted diode: A shorted diode will show a very low resistance (close to 0 ohms) in both directions.
- Open diode: An open diode will show an open circuit (OL or infinite resistance) in both directions.
If the diode fails this test, it needs to be replaced.
Replacing the Mower Diode
Replacing a mower diode is a relatively straightforward task. Here's a step-by-step guide:
- Disconnect the battery: As always, disconnect the negative terminal of the battery before starting any electrical work.
- Locate the diode: Find the diode you've identified as faulty.
- Note the orientation: Pay close attention to the orientation of the diode. Diodes are polarized, meaning they must be installed in the correct direction. There is usually a band on one end of the diode indicating the cathode (negative) side.
- Remove the old diode: If the diode is spliced into the wiring harness, you may need to cut the wires on either side of the diode. If it's connected with connectors, disconnect them.
- Install the new diode:
- Spliced diode: If you cut the wires, use butt connectors or solder the new diode into place, ensuring the correct orientation. Protect the connections with heat shrink tubing or electrical tape.
- Connectorized diode: Simply plug the new diode into the existing connectors, again ensuring correct orientation.
- Secure the diode: Secure the diode to the wiring harness with zip ties or electrical tape to prevent it from vibrating and potentially damaging the connections.
- Reconnect the battery: Reconnect the negative terminal of the battery.
- Test the charging system: Start the mower and use a multimeter to check the voltage at the battery terminals while the engine is running. You should see a voltage slightly higher than the battery's resting voltage (typically around 13.5 to 14.5 volts).
Remember to consult your mower's service manual for specific instructions and wiring diagrams. If you are not comfortable with electrical work, it's best to consult a qualified mechanic.
Choosing the Right Replacement Mower Diode
When replacing a mower diode, it's essential to choose a replacement with the correct specifications. Look for a diode with the same voltage and current rating as the original. Using a diode with a lower rating can lead to premature failure, while using one with a significantly higher rating may not provide adequate protection for other components in the circuit.
Madison Tractor Company carries a wide selection of replacement diodes for various mower brands, including John Deere, Craftsman, Cub Cadet, Husqvarna, Toro, Ariens, Murray and many more. Make sure to verify the part number against your mower's model number to ensure proper fit and function. A good replacement will last for years and keep your mower running reliably.
Prevention and Maintenance
While diodes are generally reliable, some preventive measures can help extend their lifespan:
- Maintain a clean electrical system: Keep the battery terminals clean and free of corrosion. Corrosion can increase resistance and put extra strain on the charging system.
- Avoid overcharging the battery: Using a battery charger designed for lead-acid batteries and avoiding overcharging can prevent damage to the battery and the charging system.
- Inspect the wiring harness: Regularly inspect the wiring harness for signs of damage, such as frayed wires or loose connections. Repair any damage promptly to prevent shorts and other electrical problems.
- Ensure proper ventilation: Make sure the engine compartment has adequate ventilation to prevent overheating, which can damage electrical components.
Following these tips can help keep your mower's electrical system in top condition and prevent premature diode failure. Don't forget other routine maintenance items either - changing your lawn mower air filter, changing your oil, and sharpening your lawn mower blades are all good ways to prolong the life of your machine.
Beyond the Diode: Other Electrical Considerations
While the diode is an important part of the charging system, remember to consider other electrical components when troubleshooting. The riding mower starter, riding mower solenoid, lawn mower ignition coil, riding mower ignition switch, lawn mower seat safety switch and mower PTO switch all play vital roles in the mower's electrical system. A problem with any of these components can cause similar symptoms to a faulty diode.
Shop Mower Parts at Madison Tractor Company
Madison Tractor Company is your trusted source for high-quality replacement parts for your lawn mower, riding mower, or zero-turn mower. We carry a wide selection of diodes, belts, blades, spindles, pulleys, filters, and more for all major brands, including John Deere, Craftsman, Cub Cadet, Husqvarna, Toro, Ariens, Murray, Hustler, Scag, Exmark, Ferris, Snapper, Simplicity, and Dixie Chopper. Our knowledgeable staff is here to help you find the right parts for your needs and get your mower back up and running quickly. Shop with us today and experience the Madison Tractor difference! You can also use our AI-Powered Part Finder to search for parts by your specific make and model.
Part of our comprehensive guide
Mower Electrical Parts Guide: Starters, Solenoids, Switches & More