








John Deere Combine Belt Diagram: All Belt Routes
Understanding your John Deere combine belt diagram is crucial for maintaining peak harvesting performance. This guide helps you correctly route belts and troubleshoot issues, ensuring a smooth and efficient harvest.
Introduction to John Deere Combine Belt Diagrams
A combine harvester is a complex machine with numerous belts that drive essential functions, from the header to the separator and unloading auger. Correct belt routing is critical for optimal performance and preventing costly downtime during harvest. This guide provides information about John Deere combine belt diagrams, common belt issues, and maintenance tips to keep your combine running smoothly. At Madison Tractor Company, we understand the importance of keeping your equipment in top condition, offering a wide range of combine parts for John Deere and other major brands like Case IH, New Holland, Gleaner, and Massey Ferguson.
Recommended Parts for This Guide
7 parts we recommend — in stock, ships fast, one-click add to cart.
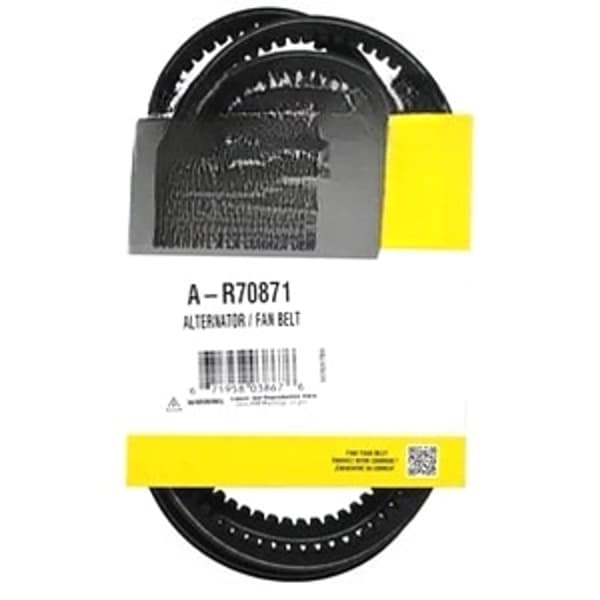
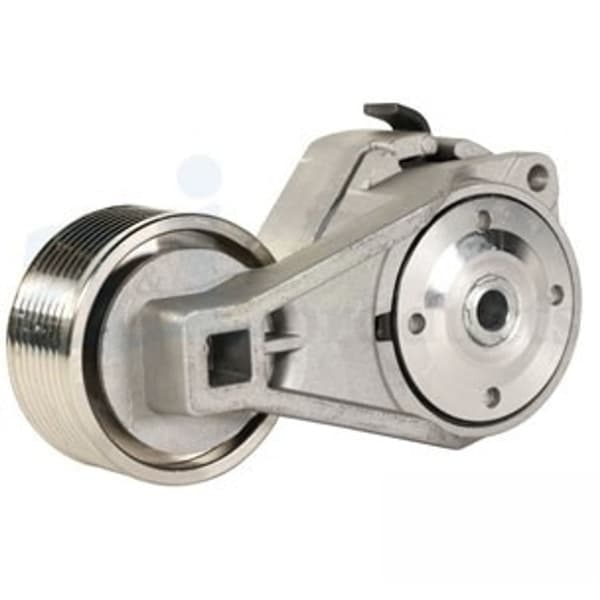
🔍 Looking for a specific part? Try our AI Part Finder — tell it your equipment and what you need, and it will find matching parts instantly.
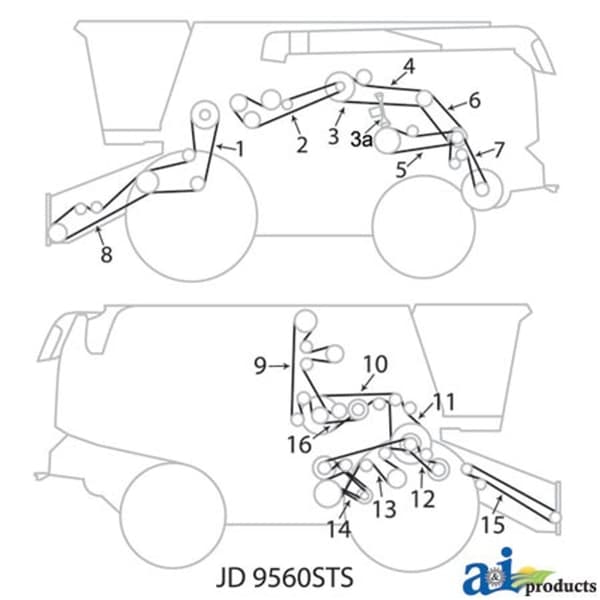
Incorrect belt routing can lead to reduced efficiency, belt slippage, increased wear and tear, and even complete system failure. Consulting the correct combine belt diagram is the first step to ensuring proper operation.
Finding the Right Belt Diagram for Your John Deere Combine
John Deere has produced a vast array of combine models over the years, each with its own unique belt configuration. To locate the correct belt diagram for your combine, you'll need to identify your specific model and serial number. Here's where to look:
- Operator's Manual: The operator's manual is the primary source for detailed belt diagrams. These diagrams typically show the routing of all belts, tensioner locations, and belt specifications.
- Service Manual: For more in-depth information, including troubleshooting tips and repair procedures, consult the service manual.
- John Deere Parts Catalog: The online John Deere parts catalog (available on the John Deere website) also includes belt diagrams.
- Dealer Assistance: Your local John Deere dealer can help you locate the correct diagram and provide additional technical support.
Make sure the diagram you are referencing matches the serial number range of your combine. Slight variations can exist even within the same model year.
Common John Deere Combine Belt Diagrams by Model
While it's impossible to cover every single model here, let's look at some common examples to illustrate the variety in belt configurations:
John Deere 9000 Series Combines
The 9000 series (e.g., 9500, 9600, 9610, 9650, 9750) typically feature diagrams showing belts for:
- Main drive belt
- Header Drive Belt
- Separator Drive Belt
- Fan Drive Belt
- Unloading Auger Belt
For example, the main drive belt on a 9600 combine (typically part number 579932) follows a specific path around the engine pulley, variable speed drive, and other components. Consult the diagram to ensure correct alignment and tension. Madison Tractor offers a full range of John Deere 9600 combine parts.
John Deere S-Series Combines
S-Series combines (e.g., S660, S670, S680, S690) have a more complex belt system due to the increased functionality and automation. Diagrams will show:
- Rotor Drive Belt
- Feederhouse Drive Belt
- Cleaning Fan Belt
- Chopper Drive Belt (if equipped)
- Various auxiliary drive belts
The rotor drive belt on an S680 combine (often part number E70966) is a critical component, responsible for powering the separating rotor. Proper tension and alignment are crucial to prevent rotor slippage and ensure efficient threshing. Remember to inspect your John Deere combine concave when doing belt maintenance.
John Deere STS Combines
Similar to the S-Series, STS combines have several belts. Check your manual for diagrams related to:
- Rotor Drive Belt
- Feederhouse Drive Belt
- Cleaning Fan Belt
- Unloading Auger Belt
The unloading auger belt on a 9760 STS combine (possible part number HXE16669) needs proper tension to work correctly.
Understanding Belt Tension and Adjustment
Correct belt tension is paramount for optimal performance and longevity. Too little tension leads to slippage and premature wear, while excessive tension can damage bearings and other components.
Checking Belt Tension
Refer to your operator's manual for specific tension specifications for each belt. Generally, tension is checked by measuring the deflection of the belt between two pulleys when a specific force is applied. Belt tension gauges are available for accurate measurement.
Adjusting Belt Tension
Most combine belts are tensioned using adjustable idler pulleys or tensioner arms. Loosen the locking bolts on the tensioner, adjust the tension to the specified value, and then retighten the locking bolts to the correct torque. Double-check the tension after tightening.
Safety Warning: Always shut off the engine and engage the parking brake before performing any belt adjustments.
Troubleshooting Common Belt Problems
Here are some common belt problems and their potential causes:
- Belt Slippage: Insufficient tension, worn belt, misaligned pulleys, or excessive load.
- Belt Squealing: Typically caused by belt slippage.
- Belt Cracking: Age, exposure to sunlight, or excessive heat.
- Belt Fraying: Misaligned pulleys, foreign object damage, or worn idler pulleys.
- Belt Breakage: Over-tensioning, worn belt, or sudden shock load.
Regular inspection is key to preventing major belt failures. Check for signs of wear, cracking, or fraying, and replace belts as needed. Also, inspect pulleys for damage and ensure they are properly aligned.
Belt Maintenance Tips
Follow these maintenance tips to extend the life of your combine belts:
- Regular Inspection: Visually inspect belts for wear and damage before each harvest season and periodically throughout the season.
- Proper Tension: Maintain correct belt tension according to the manufacturer's specifications.
- Cleanliness: Keep belts and pulleys clean and free of debris.
- Storage: Store spare belts in a cool, dry place away from direct sunlight.
- Replacement: Replace belts in sets when possible to ensure even wear and proper tension.
Beyond John Deere: Belt Diagrams for Other Combine Brands
While this guide focuses on John Deere combines, Madison Tractor also provides parts and resources for other major brands, including:
- Case IH: Refer to your Case IH operator's manual for belt diagrams specific to your Case IH combine model (e.g., Axial-Flow 1400, 1600, 2300, 2500, 7230, 8240, 9250).
- New Holland: New Holland belt diagrams can be found in the operator's manual for your New Holland combine (e.g., CR series, CX series, TR series).
- Gleaner: Consult the Gleaner service manual for belt diagrams related to your Gleaner combine (e.g., R series, S series).
- Massey Ferguson: Refer to the Massey Ferguson operator's manual or parts catalog for diagrams relating to your Massey Ferguson combine.
We also carry parts for older and more niche brands like Ford, Kubota, Allis Chalmers, Deutz, International Harvester, Oliver, White, Vermeer, Hesston, Mahindra, and Zetor. We stock a huge selection of combine belts and other combine parts like concaves, chains, filters, and bearings.
Conclusion
Understanding your John Deere combine belt diagram is essential for maintaining peak harvesting performance. By following the information in this guide, you can ensure correct belt routing, troubleshoot common problems, and extend the life of your belts. Remember to consult your operator's manual for specific details related to your combine model. Regular maintenance and timely belt replacement are crucial for avoiding costly downtime during harvest season.
Don't wait until harvest to find out you need a new belt. Explore Madison Tractor Company's extensive selection of combine parts, including belts, filters, bearings, and more. We're your one-stop shop for all your agricultural equipment needs. Contact us today for expert advice and fast shipping!
🔍 Can't Find Your Part?
Use our AI-Powered Part Finder to search by your equipment's make, model, and what you need. It's the fastest way to find the exact part for your machine.
Try the Part Finder →Part of our comprehensive guide
Combine Harvester Parts Guide: Pre-Season Checklist & Replacement Parts