








Combine Belt Replacement: Drive, Feeder & Separator Belts
Combine belts are critical for efficient harvesting. This guide covers inspecting, replacing, and maintaining drive, feeder, and separator belts to keep your combine running smoothly. Find the right combine belts for John Deere, Case IH, and more.
Introduction to Combine Belts and Their Importance
Combine harvesters rely on a complex system of belts to transfer power to various components, enabling them to harvest crops efficiently. These combine belts drive everything from the header and feeder house to the threshing cylinder, cleaning shoe, and unloading auger. Proper belt maintenance and timely replacement are crucial for minimizing downtime and maximizing harvesting efficiency. A broken belt during harvest can mean lost time, damaged crops, and significant repair costs. At Madison Tractor Company, we understand the urgency of getting your combine back in the field quickly, which is why we stock a wide range of high-quality belts for all major combine brands, including John Deere, Case IH, New Holland, Gleaner, and Massey Ferguson.
Recommended Parts for This Guide
8 parts we recommend — in stock, ships fast, one-click add to cart.
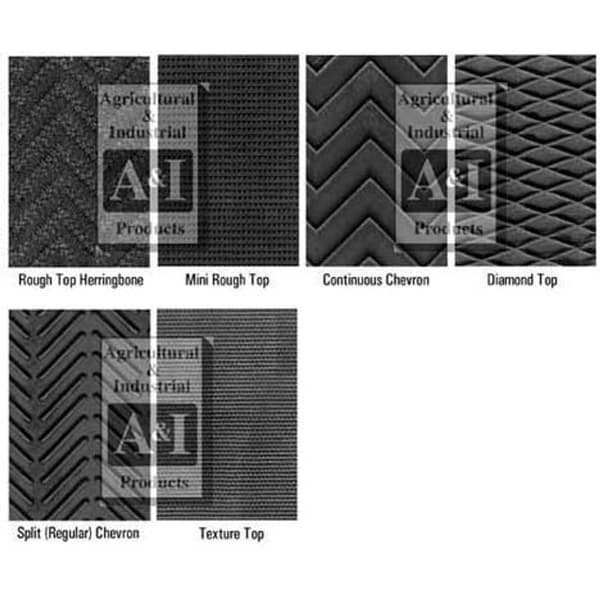
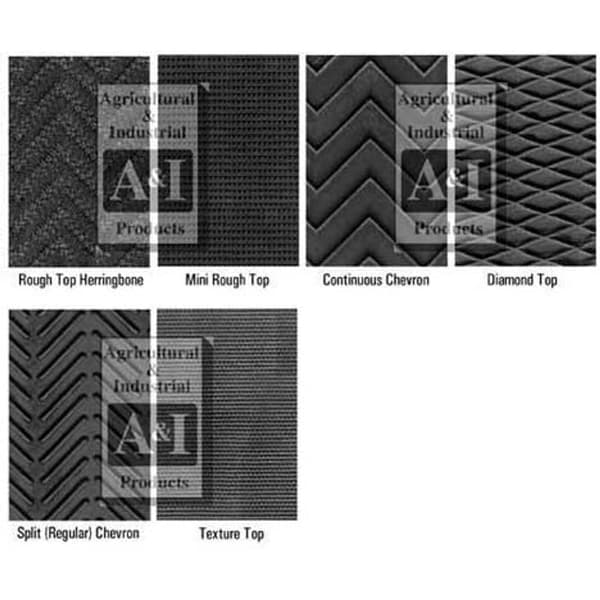
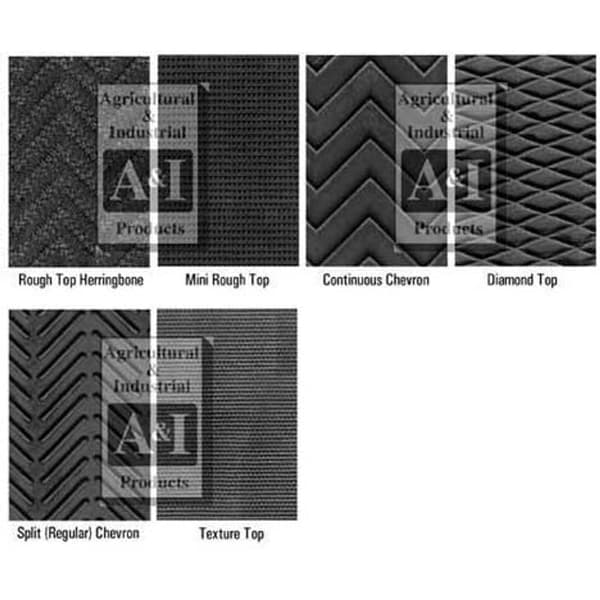
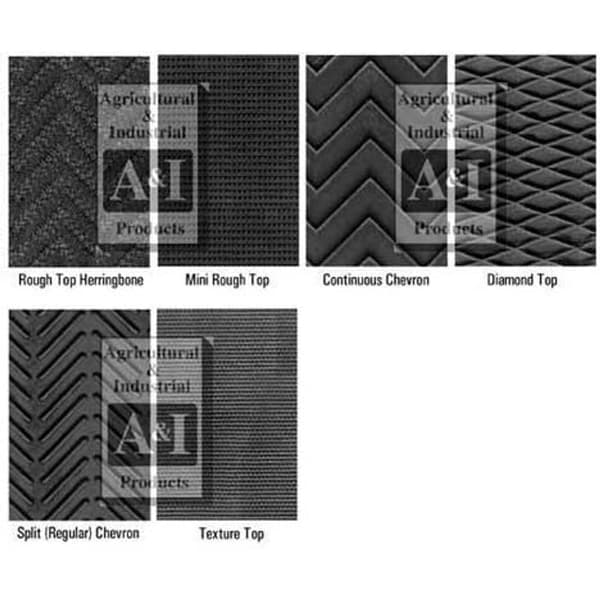
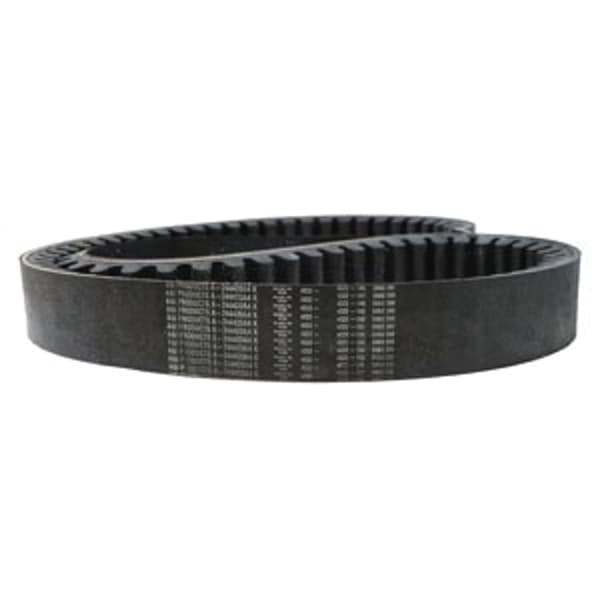
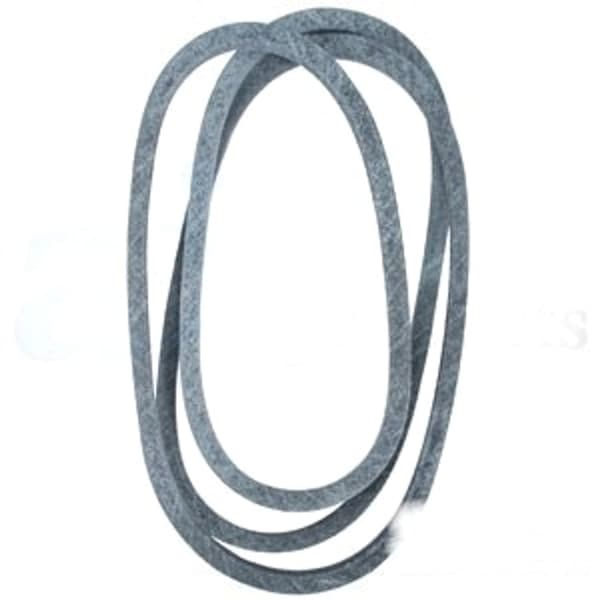
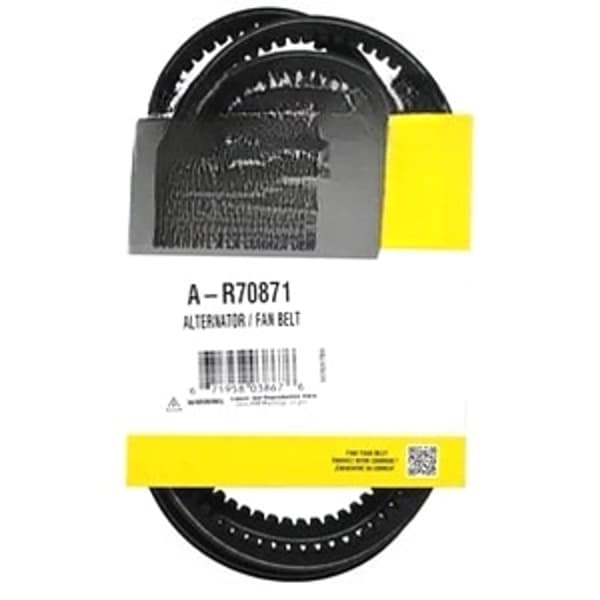
🔍 Looking for a specific part? Try our AI Part Finder — tell it your equipment and what you need, and it will find matching parts instantly.
This guide will cover the main types of combine belts, how to inspect them, when to replace them, and general maintenance tips to extend their lifespan. We'll also provide some specific examples and part numbers to help you find the right belts for your machine. Remember to always consult your combine's operator manual for specific recommendations and safety precautions.
Types of Combine Belts
Combines use several different types of belts, each designed to handle specific loads and operating conditions. Here are some of the most common:
- Drive Belts: These heavy-duty belts (like the M110313 Aramid Cord Drive Belt) transmit power from the engine to the main driveshaft. They are typically V-belts or banded V-belts designed to handle high torque.
- Discharge Beater Drive Belts: A specific type of drive belt designed for the discharge beater, crucial for residue management.
- Beater/Chopper Belts: These belts power the beater or chopper mechanisms, which help in processing crop residue.
- Feeder House Belts: These belts drive the feeder house, which conveys the crop material into the combine. They often need to be replaced due to the constant abrasion from plant matter.
- Separator Belts (Threshing Cylinder/rotor belts): These belts drive the threshing cylinder or rotor, which separates the grain from the plant material. They are subjected to high loads and speeds.
- Cleaning Shoe Belts: These belts power the cleaning shoe, which removes chaff and other debris from the grain.
- Auger Belts: These belts drive various augers within the combine, including the unloading auger.
- Variable Speed Belts: Used in systems allowing operators to change speeds of different components, such as header or feeder speed.
- Accessory Belts: Belts for other critical combine functions, such as the alternator/fan belt or compressor belt.
When to Inspect Your Combine Belts
Regular inspection is key to preventing belt failures. We recommend inspecting your combine belts:
- Before each harvest season: A thorough inspection before the season starts allows you to identify and replace worn belts before they cause problems in the field.
- During harvest, every 50-100 hours of operation: Frequent checks during the season can catch issues early and prevent unexpected downtime.
- After any major repair or service: Whenever you work on a related system, it's a good idea to inspect the belts.
How to Inspect Your Combine Belts
Follow these steps to inspect your combine belts effectively:
- Safety First: Disengage the engine and ensure the combine is completely shut down. Use wheel chocks for added safety.
- Visual Inspection: Look for signs of wear, such as cracks, fraying, glazing, missing chunks, or uneven wear patterns. Check the belt's alignment on the pulleys.
- Tension Check: Use a belt tension gauge to check the belt tension. Refer to your operator's manual for the correct tension specifications. If you don't have a gauge, you can use the deflection method (see below).
- Pulley Inspection: Inspect the pulleys for wear, damage, and debris. Clean the pulleys with a wire brush to remove any buildup. Misaligned or damaged pulleys can significantly shorten belt life.
- Feel for Soft Spots: While the engine is OFF, run your hand along the belt feeling for soft spots that indicate internal damage.
Deflection Method (Tension Check):
If you don't have a belt tension gauge, you can check the tension by measuring the deflection. Apply moderate pressure to the belt midway between the pulleys and measure how much it deflects. A general rule of thumb is that the deflection should be approximately 1/64 inch per inch of span length. For example, if the span length is 32 inches, the deflection should be about 1/2 inch.
Signs That a Combine Belt Needs Replacing
Here are some clear indicators that a combine belt needs replacement:
- Visible Cracks or Fraying: Any cracks or fraying on the belt surface indicate that the belt is deteriorating and needs to be replaced.
- Missing Chunks or Tears: Missing chunks or tears in the belt can cause vibrations and reduce the belt's ability to transmit power.
- Excessive Slippage: If the belt is slipping on the pulleys, it's not transmitting power efficiently and needs to be replaced or tightened (if possible).
- Unusual Noises: Squealing, chirping, or other unusual noises can indicate a worn or damaged belt.
- Glazing: A shiny, glazed surface on the belt indicates that it has been slipping and overheating.
- Incorrect Tension: If you cannot achieve the correct belt tension, even after adjusting the tensioner, the belt may be stretched or worn out.
Replacing a Combine Belt: A Step-by-Step Guide
Here's a general guide to replacing a combine belt. Always refer to your combine's operator manual for specific instructions and safety precautions.
- Safety First: Disengage the engine and ensure the combine is completely shut down. Use wheel chocks for added safety.
- Identify the Belt: Search available parts
- Loosen the Tensioner: Loosen the belt tensioner to create slack in the belt. The tensioner is usually a spring-loaded or hydraulic mechanism that applies tension to the belt.
- Remove the Old Belt: Carefully remove the old belt from the pulleys. Inspect the pulleys for wear and damage before installing the new belt.
- Install the New Belt: Install the new belt onto the pulleys, making sure it is properly seated in the grooves.
- Adjust the Tension: Adjust the belt tension to the correct specification using a belt tension gauge or the deflection method.
- Test the Belt: Start the combine and run it at idle speed to check the belt's alignment and tension. Listen for any unusual noises.
- Re-Check: After a short period of operation (15-30 minutes), stop the combine and re-check the belt tension. Adjust as needed.
Important Considerations:
- Always use the correct belt size and type for your combine model.
- Ensure the pulleys are clean and free of debris.
- Proper belt tension is crucial for optimal performance and belt life.
- When replacing a belt, consider replacing other related parts, such as idler pulleys or bearings, to prevent future problems.
Combine Belt Maintenance Tips
Here are some tips to extend the life of your combine belts:
- Keep Belts Clean: Regularly clean belts to remove dirt, debris, and crop residue.
- Store Belts Properly: Store spare belts in a cool, dry place away from direct sunlight and chemicals.
- Check Alignment: Regularly check the alignment of the pulleys to prevent uneven wear.
- Avoid Overloading: Avoid overloading the combine, as this can put excessive strain on the belts.
- Use Belt Dressing Sparingly: While belt dressing can temporarily reduce slippage, it can also attract dirt and debris. Use it sparingly and only when necessary.
- Consider Upgrading: For high-stress applications, consider upgrading to heavy-duty or Kevlar-reinforced belts.
Specific Combine Brands and Belt Types
At Madison Tractor Company, we stock a wide selection of combine belts for all major brands, including:
- John Deere Combine Belts: We carry belts for all John Deere combine series, including the 9000, S-Series, and X-Series. See our full selection of John Deere combine parts.
- Case IH Combine Belts: We offer belts for Case IH Axial-Flow combines, including the 1400-9200 series. Find Case IH combine parts for your model.
- New Holland Combine Belts: We stock belts for New Holland CR, CX, and TR series combines. Browse our New Holland combine parts.
- Gleaner Combine Belts: Find belts for Gleaner R, N, and S series combines. Check out our Gleaner combine parts.
- Massey Ferguson Combine Belts: We carry belts for Massey Ferguson 700 and 8500 series combines. Shop Massey Ferguson combine parts.
We also carry parts for other brands like Ford, Kubota, Allis Chalmers, Deutz, International Harvester, Oliver, White, Vermeer, Hesston, Mahindra, and Zetor. Along with belts, we also offer other essential combine parts such as combine concaves, rasp bars, radiators, water pumps, starters, alternators, hydraulic pumps, cylinders, clutch kits, PTO parts, fuel pumps, carburetors, injectors, filters, gaskets, pistons, bearings, and seals.
Conclusion
Maintaining and replacing combine belts is a crucial aspect of combine maintenance. By following the guidelines in this article and consulting your operator's manual, you can ensure your combine operates efficiently and reliably throughout the harvest season. Remember to inspect your belts regularly, replace them when necessary, and keep them clean and properly tensioned. Don't forget to check out our other articles on John Deere combine parts and Case IH combine parts for more helpful information.
At Madison Tractor Company, we are committed to providing you with the highest quality combine belts and other parts at competitive prices. We understand the importance of minimizing downtime during harvest, so we offer fast shipping and excellent customer service. Browse our selection of combine parts today and keep your machine running smoothly! You can also use our AI-Powered Part Finder to search for parts by your specific make and model.
Part of our comprehensive guide
Combine Harvester Parts Guide: Pre-Season Checklist & Replacement Parts