








Combine Feeder House Bearing: Front & Rear Replacement
Replacing worn combine feeder house bearings is crucial for smooth harvesting. This guide provides a step-by-step process for replacing front and rear bearings, ensuring optimal performance and preventing costly downtime.
Introduction to Combine Feeder House Bearings
The combine feeder house is a critical component of your harvesting operation. It's the bridge between the header and the threshing mechanism, responsible for efficiently conveying crop material into the combine. At the heart of its operation are the feeder house bearings, which support the rotating feeder chain or belts. These bearings endure significant stress and load, especially during long harvest days, making them susceptible to wear and eventual failure. Replacing your combine feeder house bearing should be a part of your regular maintenance schedule. Neglecting worn bearings can lead to feeder house malfunctions, crop loss, and, more importantly, expensive downtime. This guide will walk you through the process of inspecting and replacing both front and rear feeder house bearings on common combine models.
Recommended Parts for This Guide
7 parts we recommend — in stock, ships fast, one-click add to cart.
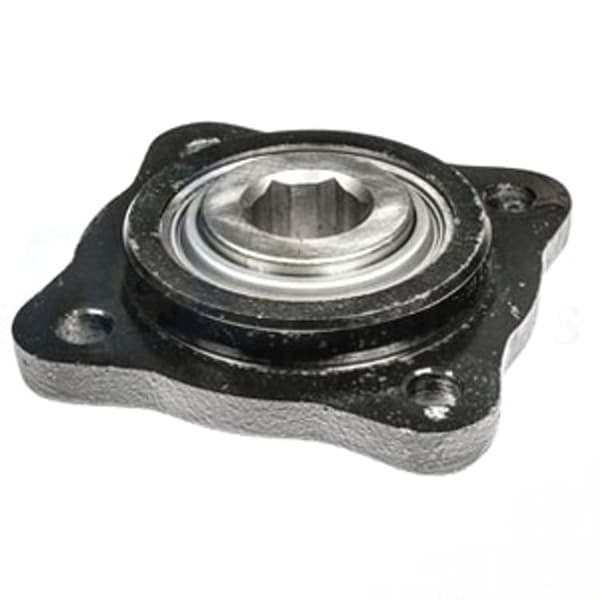
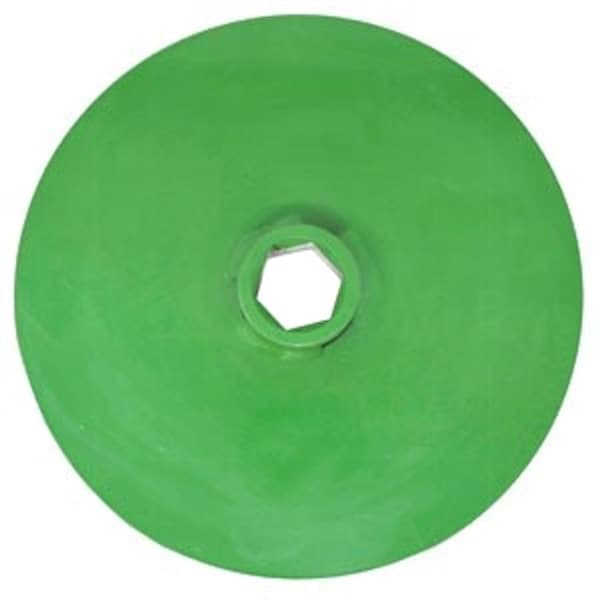
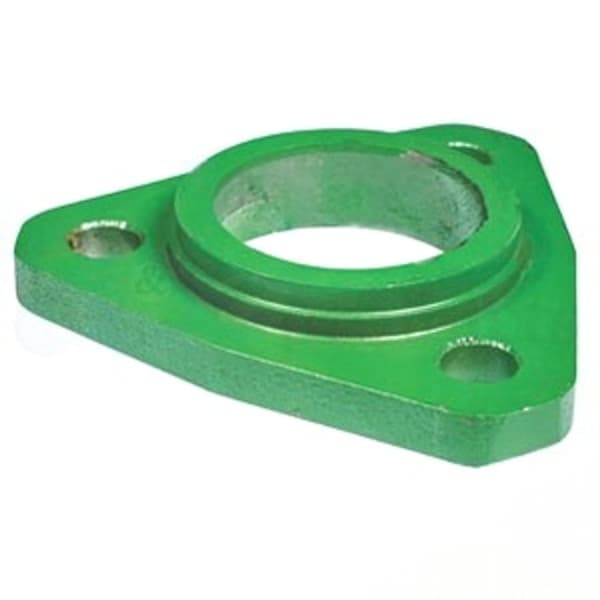
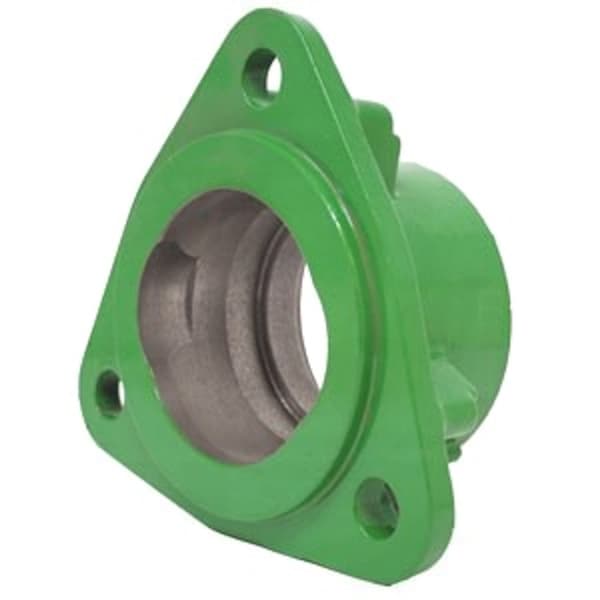
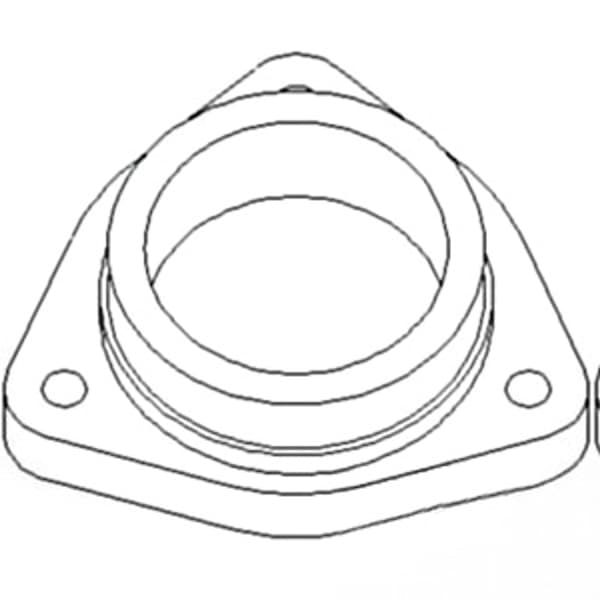
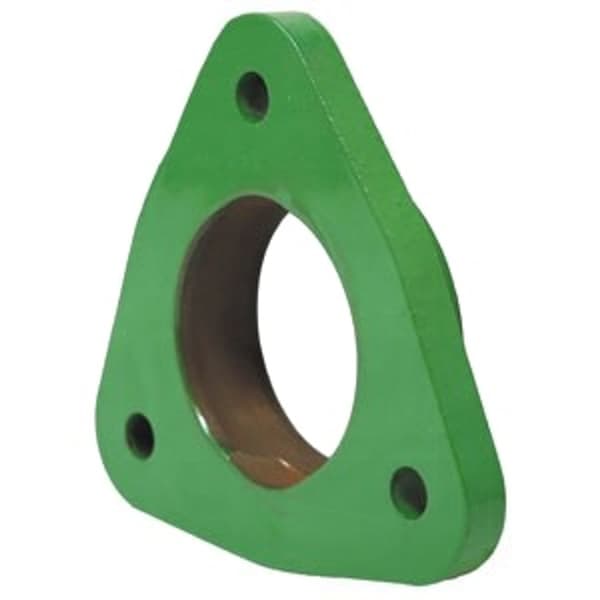
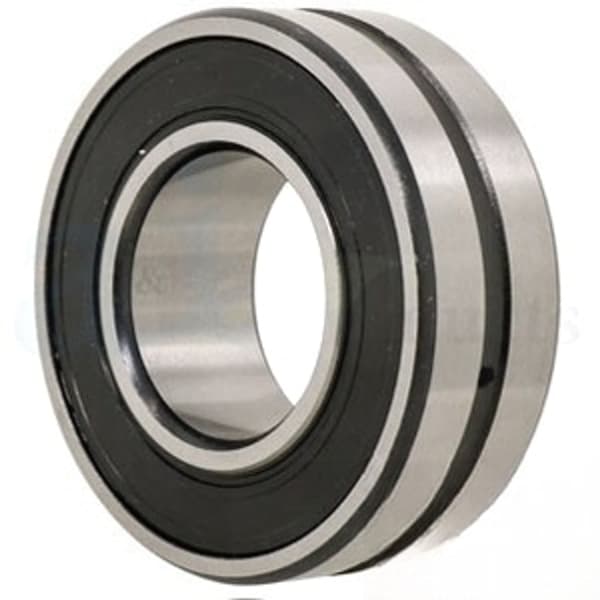
🔍 Looking for a specific part? Try our AI Part Finder — tell it your equipment and what you need, and it will find matching parts instantly.
Here at Madison Tractor Company, we understand the importance of keeping your combine running smoothly. We carry a wide selection of combine parts, including feeder house bearings, for all major brands such as John Deere, Case IH, New Holland, Massey Ferguson, Gleaner, and more. We also stock essential maintenance parts like combine belts, filters, and lubricants to keep your machine in top condition. Don't forget to check your combine's concaves for wear during this maintenance process.
Identifying Worn Feeder House Bearings
Recognizing the signs of failing feeder house bearings is crucial for preventing more extensive damage. Common symptoms include:
- Excessive Noise: Grinding, squealing, or rumbling sounds coming from the feeder house area.
- Vibration: Noticeable vibration in the feeder house, especially during operation.
- Play or Looseness: Visible play or looseness in the feeder chain or belts.
- Overheating: The feeder house bearing housing may be noticeably hotter than usual.
- Visual Inspection: Look for signs of grease leakage, rust, or physical damage to the bearing housing.
If you observe any of these symptoms, it's time to inspect your feeder house bearings more closely. Ignoring these warning signs can lead to catastrophic failure, resulting in significant damage to the feeder house and potential crop loss.
Tools and Materials Needed
Before you begin, gather the necessary tools and materials:
- New Feeder House Bearings: Consider options like 87658946 - Bearing; Feederhouse Conveyor (Import) or AH219987 - Bearing w/ Housing; Feeder Drum (Import) depending on your needs.
- Bearing Puller/Press: A bearing puller or press is essential for removing old bearings and installing new ones.
- Sockets and Wrenches: A set of standard and metric sockets and wrenches to remove and tighten bolts and nuts.
- Grease Gun: To lubricate the new bearings after installation.
- Hammer: A soft-faced hammer for gentle tapping.
- Penetrating Oil: To loosen corroded or stuck bolts.
- Safety Glasses: Essential for eye protection.
- Gloves: To protect your hands.
- Torque Wrench: To tighten bolts to the correct specifications.
- Jack and Jack Stands (if required): For safely supporting the feeder house.
Safety First! Always disconnect the combine's battery before working on any electrical or mechanical components. Never work under a machine that is not properly supported by jack stands.
Step-by-Step Replacement Process
The following steps provide a general guide for replacing front and rear feeder house bearings. Specific procedures may vary depending on your combine model. Always consult your operator's manual for detailed instructions and torque specifications.
- Preparation: Position the combine on a level surface and engage the parking brake. Disconnect the header from the feeder house. Depending on your combine, you may need to use a jack and jack stands to safely support the feeder house.
- Access the Bearings: Remove any guards or covers that obstruct access to the feeder house bearings.
- Remove the Feeder Chain or Belts: Loosen the tension on the feeder chain or belts and carefully remove them from the feeder house. This might involve removing a master link or releasing a tensioning mechanism. Refer to your operator's manual for specific instructions.
- Remove the Bearing Housing: Locate the bolts or fasteners that secure the bearing housing to the feeder house frame. Use penetrating oil to loosen any corroded bolts. Carefully remove the bolts and detach the bearing housing.
- Remove the Old Bearing: Using a bearing puller or press, carefully remove the old bearing from the bearing housing. If the bearing is severely stuck, apply heat with a torch to expand the housing slightly. Be careful not to damage the housing.
- Inspect the Bearing Housing: Thoroughly inspect the bearing housing for any signs of wear, cracks, or damage. Replace the housing if necessary.
- Install the New Bearing: Clean the bearing housing thoroughly. Using a bearing press or a soft-faced hammer, carefully install the new bearing into the housing. Ensure the bearing is seated properly and is flush with the housing.
- Reinstall the Bearing Housing: Position the bearing housing back onto the feeder house frame. Align the bolt holes and reinstall the bolts. Tighten the bolts to the manufacturer's recommended torque specifications using a torque wrench. Refer to your operator's manual for the correct torque values. Typically, these are in the range of 50-75 ft-lbs, but always verify.
- Reinstall the Feeder Chain or Belts: Reinstall the feeder chain or belts, ensuring they are properly aligned and tensioned according to your operator's manual. Proper tension is crucial for optimal performance and belt longevity. Refer to Combine Belt Replacement: Drive, Feeder & Separator Belts for more information.
- Lubricate the Bearing: Using a grease gun, lubricate the new bearing with the appropriate type of grease. Consult your operator's manual for the recommended grease type.
- Reinstall Guards and Covers: Reinstall any guards or covers that were removed to access the bearings.
- Test the Operation: Reconnect the header. Start the combine and carefully observe the feeder house operation. Listen for any unusual noises or vibrations. Ensure the feeder chain or belts are running smoothly and properly.
Front vs. Rear Bearing Considerations
While the general replacement procedure is similar for both front and rear feeder house bearings, there are a few key differences to consider:
- Accessibility: The location of the front and rear bearings may affect accessibility. The front bearing is often more exposed, while the rear bearing might be located within the feeder house frame, requiring more disassembly.
- Bearing Type: While both bearings perform the same general function, they may be different sizes or have different mounting configurations. Always verify you have the correct bearing for each location.
- Related Components: When replacing the rear bearing, you may need to remove or disconnect additional components, such as drive shafts or sprockets.
Preventative Maintenance for Feeder House Bearings
Regular preventative maintenance can significantly extend the life of your feeder house bearings and prevent costly downtime. Here are some tips:
- Regular Lubrication: Follow the manufacturer's recommendations for lubricating the feeder house bearings. Use the correct type of grease and avoid over-greasing, which can damage the seals.
- Regular Inspection: Inspect the bearings regularly for signs of wear, damage, or looseness. Address any issues promptly.
- Proper Tensioning: Maintain the correct tension on the feeder chain or belts. Excessive tension can overload the bearings, while insufficient tension can cause slippage and wear.
- Cleanliness: Keep the feeder house area clean and free of debris, which can accelerate wear on the bearings.
- Replace Bearings as a Set: When one bearing fails, it's often a good idea to replace both front and rear bearings as a set. This will ensure consistent performance and prevent future problems.
Remember to also inspect other combine parts regularly. For example, for John Deere combines, check your John Deere Combine Concave for any wear or damage, and replace if needed.
Finding the Right Replacement Parts
At Madison Tractor Company, we make it easy to find the right replacement feeder house bearings for your combine. You can search by OEM part number, combine make and model, or bearing dimensions. We carry a wide selection of bearings from top manufacturers, ensuring quality and reliability. We can supply parts for all major brands including Ford, Kubota, Allis Chalmers, Deutz, International Harvester, Oliver, White, Vermeer, Hesston, Mahindra, and Zetor. Our knowledgeable staff is always available to answer your questions and help you find the parts you need. We also stock radiators, water pumps, starters, alternators, hydraulic pumps, cylinders, clutch kits, PTO parts, fuel pumps, carburetors, injectors, filters, gaskets, pistons, seals, and chains.
For Case IH combines, we offer a comprehensive range of Case IH combine parts to keep your Axial-Flow models running strong. For New Holland combines, we have a large inventory of New Holland combine parts for CR, CX, and TR series combines. Don't forget to check out our selection of Gleaner combine parts and Massey Ferguson combine parts as well!
Conclusion
Replacing your combine feeder house bearings is a critical maintenance task that can prevent costly downtime and ensure optimal harvesting performance. By following the steps outlined in this guide and performing regular preventative maintenance, you can keep your combine running smoothly for years to come. Remember to always consult your operator's manual for specific instructions and torque specifications. And when you need replacement parts, Madison Tractor Company is here to help.
Ready to get your combine back in top shape? Shop our extensive selection of combine parts today and experience the Madison Tractor Company difference. We offer competitive prices, fast shipping, and expert support to help you keep your farm running smoothly. You can also use our AI-Powered Part Finder to search for parts by your specific make and model.
Part of our comprehensive guide
Combine Harvester Parts Guide: Pre-Season Checklist & Replacement Parts