








Tractor Tail Light & Warning Light Replacement
Properly functioning tail lights and warning lights are crucial for tractor safety. This guide covers everything from identifying faulty lights to replacement procedures, ensuring your equipment is safe and compliant on the road and in the field.
Introduction: Why Tractor Lights Matter
Operating a tractor on public roads or in low-light conditions requires functional tail lights and warning lights. These lights ensure your visibility to other drivers and workers, preventing accidents and injuries. A damaged or malfunctioning tractor tail light is a serious safety hazard and often a violation of local regulations. This guide will walk you through diagnosing, replacing, and maintaining your tractor's lights, keeping you safe and legal.
Recommended Parts for This Guide
10 parts we recommend — in stock, ships fast, one-click add to cart.
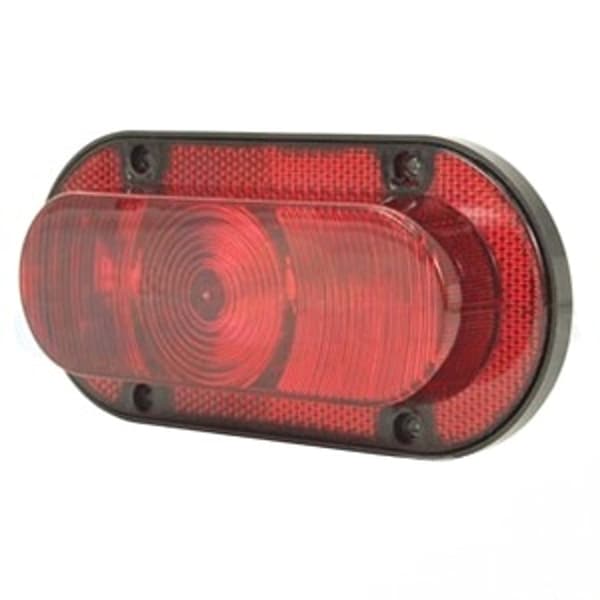
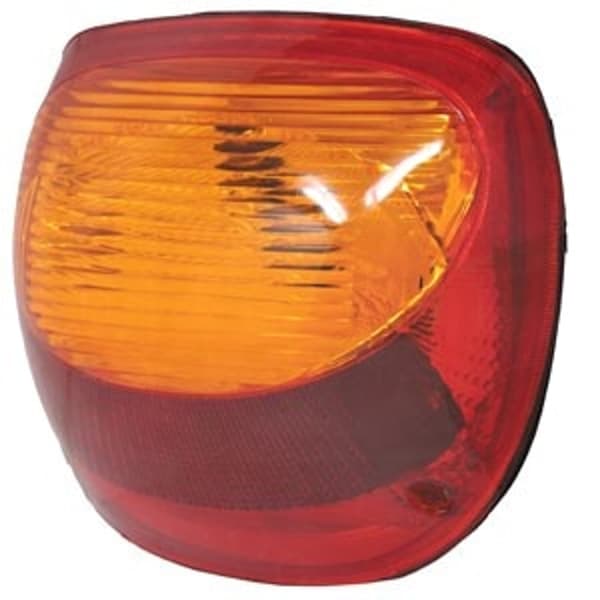
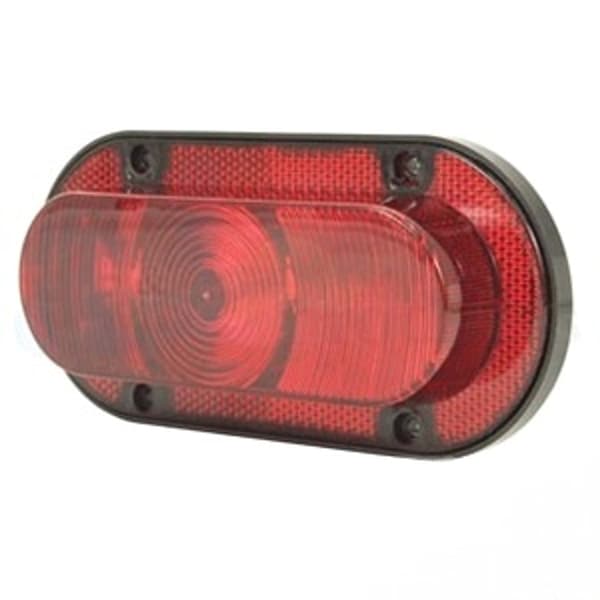
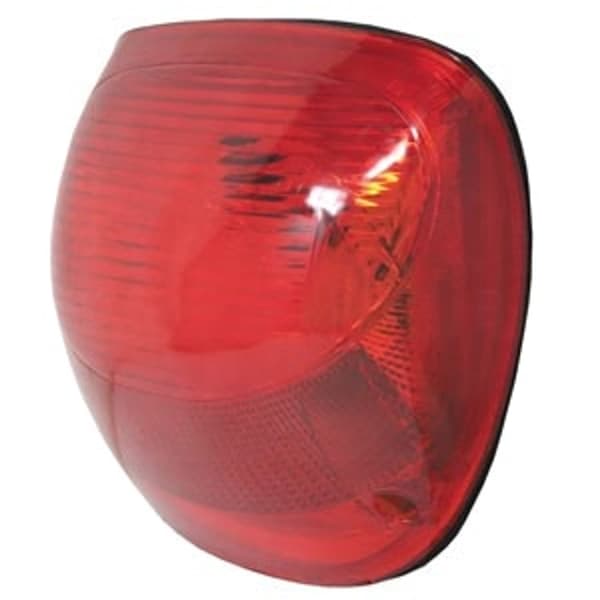
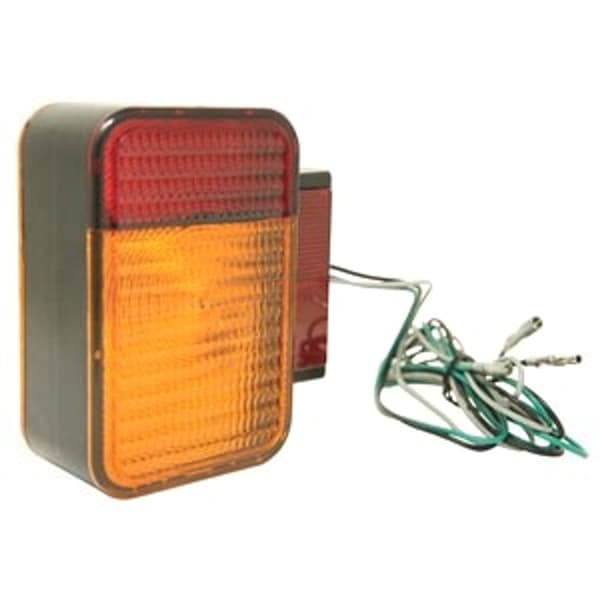
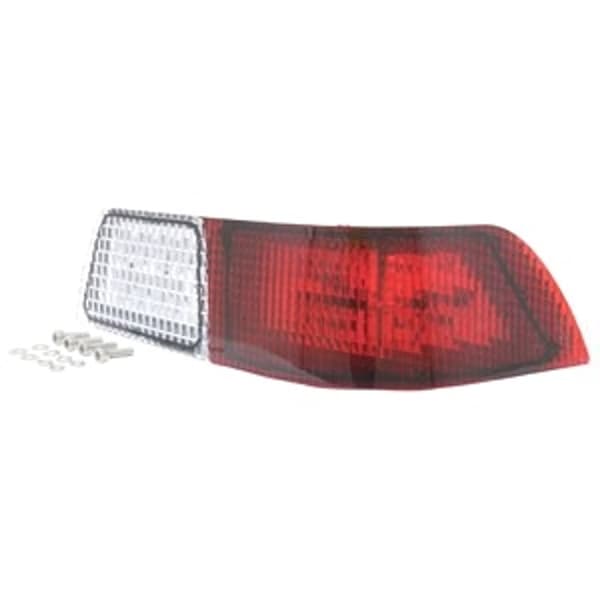
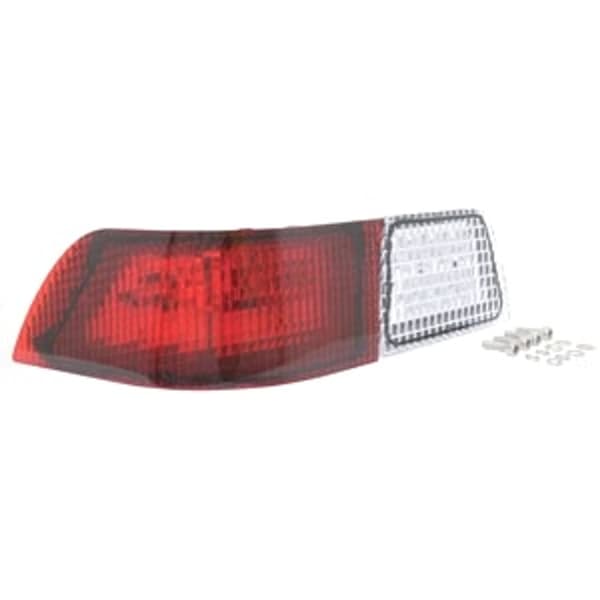
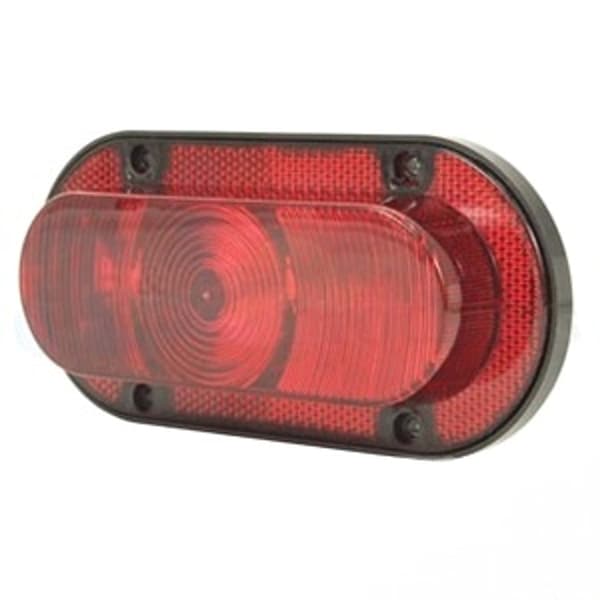
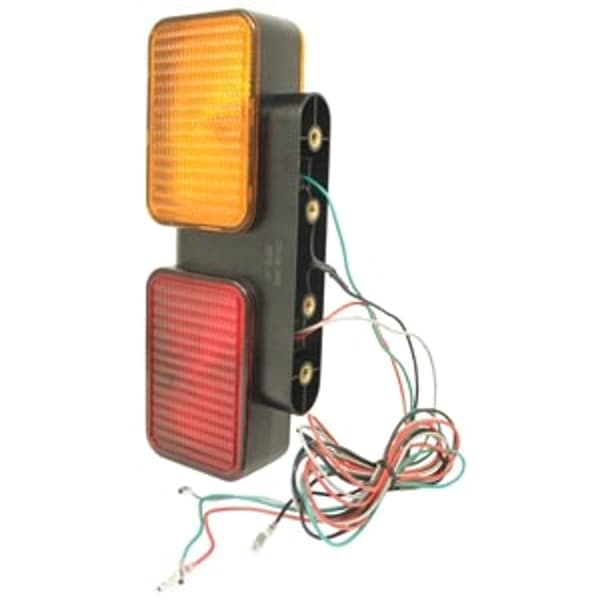
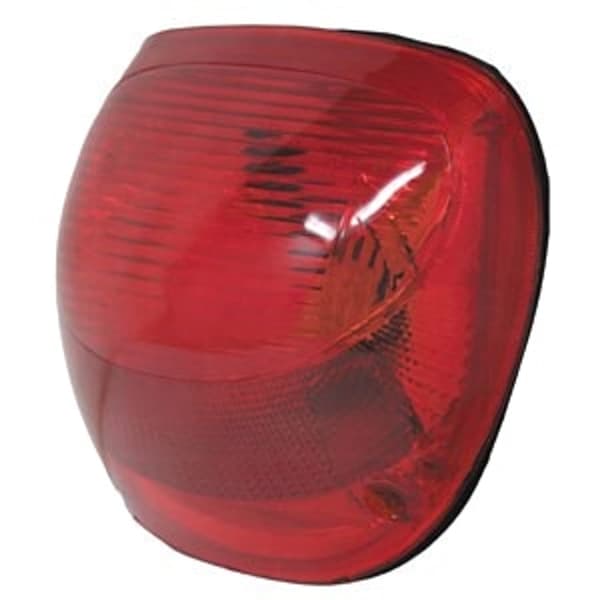
🔍 Looking for a specific part? Try our AI Part Finder — tell it your equipment and what you need, and it will find matching parts instantly.
Whether you're driving a classic John Deere, a rugged Case IH, a versatile Ford, or any other brand, the principles of light replacement are generally the same. We'll cover common issues, troubleshooting steps, and best practices for getting the job done right.
Identifying the Problem
Before rushing to replace a light, determine the root cause of the issue. Here's a systematic approach:
- Visual Inspection: Check for obvious damage, such as cracked lenses, broken housings, or loose wiring.
- Bulb Check: The simplest cause is a blown bulb. Remove the bulb (after disconnecting the power source!) and inspect the filament. A broken filament indicates a dead bulb.
- Voltage Test: Use a multimeter to check for voltage at the light socket. If there's no voltage, the problem lies further upstream.
- Wiring Check: Inspect the wiring harness for damage, corrosion, or loose connections. Pay close attention to ground connections, as a poor ground can cause various electrical problems.
- Fuse Check: Locate the fuse box (consult your tractor's operator manual) and check the fuse associated with the lights. A blown fuse is a common culprit. Replace it with a fuse of the correct amperage.
- Switch Test: If the fuse is good and there's no voltage at the socket, the light switch may be faulty. Use a multimeter to test the switch's continuity.
Tools and Materials You'll Need
Having the right tools and materials on hand will make the job much easier:
- New tractor tail light assembly or replacement bulb
- Screwdrivers (Phillips and flathead)
- Pliers
- Wire stripper/crimper
- Electrical tape or heat shrink tubing
- Multimeter
- Wiring diagram (consult your tractor's service manual)
- WD-40 or penetrating oil (for stubborn screws)
- Safety glasses
- Gloves
Step-by-Step Replacement Guide
Safety First: Disconnect the battery's negative terminal before working on any electrical components.
- Remove the Old Light: Depending on the design, the light assembly may be held in place by screws, bolts, or clips. Use the appropriate tools to carefully remove it.
- Disconnect the Wiring: Disconnect the wiring harness from the old light. If the wires are connected with bullet connectors or spade terminals, use pliers to gently pull them apart. If the wires are spliced together, cut them close to the old light.
- Prepare the New Light: If you're replacing the entire assembly, ensure it's the correct model for your tractor. Compare it to the old light to verify compatibility. If you're only replacing the bulb, make sure it's the correct type (e.g., 1156, 1157).
- Connect the Wiring: Connect the wiring harness to the new light. If you cut the wires, use wire strippers to remove about 1/2 inch of insulation from the ends. Twist the wires together and crimp on new connectors, or use solder and heat shrink tubing for a more secure connection. Ensure the correct wires are matched (e.g., tail light, brake light, ground). Refer to your tractor's wiring diagram for guidance.
- Install the New Light: Mount the new light assembly using the original hardware. Tighten the screws or bolts securely, but don't overtighten them.
- Test the Light: Reconnect the battery's negative terminal. Turn on the ignition and test the tail lights, brake lights, and turn signals to ensure they're working correctly.
- Final Check: Inspect the wiring to ensure it's properly secured and won't rub against any moving parts. Apply dielectric grease to the connections to prevent corrosion.
Specific Brand Considerations
While the general process is similar, some brands and models may have specific considerations:
- John Deere: Many John Deere tractors, especially older models, use sealed beam headlights and unique tractor tail light designs. Ensure you order the correct replacement part. For older models, finding OEM replacements might be challenging; consider aftermarket options. See our guide to John Deere Tractor Alternators for more on your electrical system.
- Case IH / International Harvester: Case IH and International Harvester tractors often have complex wiring harnesses. Refer to the service manual for accurate wiring diagrams. Models like the Farmall series often use standard bulb types that are readily available. Be sure to check our article on Case IH Tractor Alternator troubleshooting.
- Ford / New Holland: Ford and New Holland tractors may have different tail light configurations depending on the model year. Some models use a combination tail light and turn signal assembly. See our guide to Ford Tractor Alternator Conversion for info about converting to an alternator system.
- Massey Ferguson: Massey Ferguson tractors are known for their robust electrical systems, but wiring issues can still occur. Check the ground connections carefully.
- Kubota: Kubota tractors often use metric fasteners, so make sure you have the correct tools. Many compact Kubota tractors also require specific bulb types that can be difficult to source locally.
- Allis Chalmers, Deutz, Oliver, White, Gleaner, Vermeer, Hesston, Mahindra, Zetor: These brands often share similar lighting components and wiring schemes, but always verify compatibility before ordering replacement parts.
Common Problems and Solutions
- Dim Lights: Dim lights can be caused by low voltage, corroded connections, or a weak ground. Clean the connections and check the charging system. Refer to our articles about John Deere Tractor Alternator or Case IH Tractor Alternator for information on your charging system.
- Flickering Lights: Flickering lights are often caused by loose connections or a faulty switch. Check the wiring and replace the switch if necessary.
- Lights Not Working at All: This can be caused by a blown fuse, a broken wire, or a faulty switch. Start by checking the fuse and then trace the wiring. Also, verify that the starter is functioning correctly, as electrical problems can sometimes be interconnected. If you suspect the issue could be related to the alternator, test its output voltage.
Maintaining Your Tractor Lights
Preventive maintenance can extend the life of your tractor lights:
- Regular Cleaning: Keep the lenses clean to maximize light output. Use a mild soap and water solution.
- Inspect Wiring: Regularly inspect the wiring for damage and corrosion. Repair any issues promptly.
- Check Ground Connections: Ensure the ground connections are clean and tight.
- Use Dielectric Grease: Apply dielectric grease to all electrical connections to prevent corrosion.
- Replace Bulbs in Pairs: When one bulb fails, it's often a good idea to replace both bulbs at the same time. This ensures consistent light output and prevents the other bulb from failing shortly after.
Finding the Right Parts
Finding the right tractor tail light or warning light is crucial for a successful replacement. Check your tractor's operator manual for the correct part number. You can also search online parts catalogs or consult with a qualified mechanic. Madison Tractor Company offers a wide selection of replacement lights for all major tractor brands, including John Deere, Case IH, Ford, New Holland, Massey Ferguson, Kubota, Allis Chalmers, Deutz, International Harvester, Oliver, White, Gleaner, Vermeer, Hesston, Mahindra, and Zetor. We also carry a comprehensive line of other parts, including radiators, water pumps, starters, alternators, hydraulic pumps, cylinders, clutch kits, PTO parts, fuel pumps, carburetors, injectors, filters, gaskets, pistons, bearings, seals, belts, chains, concaves, and sickle sections. When in doubt, cross-reference the OEM part number to ensure compatibility. For example, if you're working on a John Deere, knowing the OEM part number for your John Deere tractor starter can also help ensure you select the correct tail light.
Conclusion
Replacing a tractor tail light or warning light is a straightforward task that can significantly improve safety and visibility. By following these steps and taking the time to properly diagnose the problem, you can keep your tractor operating safely and efficiently. Remember to always prioritize safety and consult your tractor's service manual for specific instructions.
Don't let a broken tail light keep you off the field! Shop Madison Tractor Company for a wide selection of tractor lights and other essential parts. We offer quality components at competitive prices, ensuring you can keep your equipment running smoothly for years to come. You can also use our AI-Powered Part Finder to search for parts by your specific make and model.
Part of our comprehensive guide
Tractor Starter & Alternator Guide: Find the Right Parts