








John Deere 4440 Alternator: High-Output Upgrade Options
Is your John Deere 4440's electrical system struggling? Learn how to upgrade your alternator for improved performance. Explore high-output options and get your tractor running at its best with Madison Tractor!
Upgrading Your John Deere 4440 Alternator: Why and How
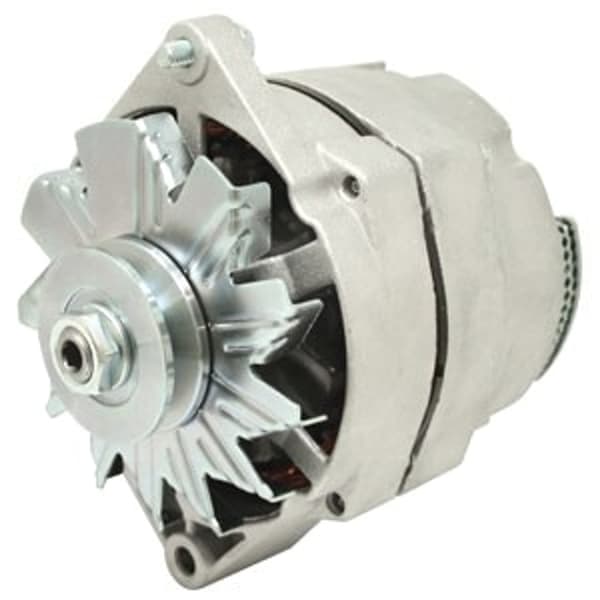
The John Deere 4440 is a workhorse of a tractor, known for its reliability and power. However, the original alternator on these models (typically around 55 amps) can sometimes struggle to keep up with the demands of modern implements, lights electronics. If you're experiencing dim headlights, slow cranking, or a constantly drained battery, it might be time to consider a high-output John Deere 4440 alternator upgrade.
Recommended Parts for This Guide
5 parts we recommend — in stock, ships fast, one-click add to cart.
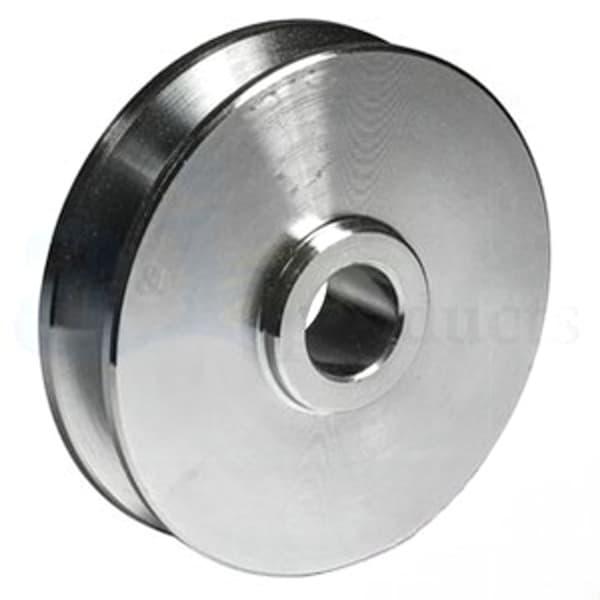
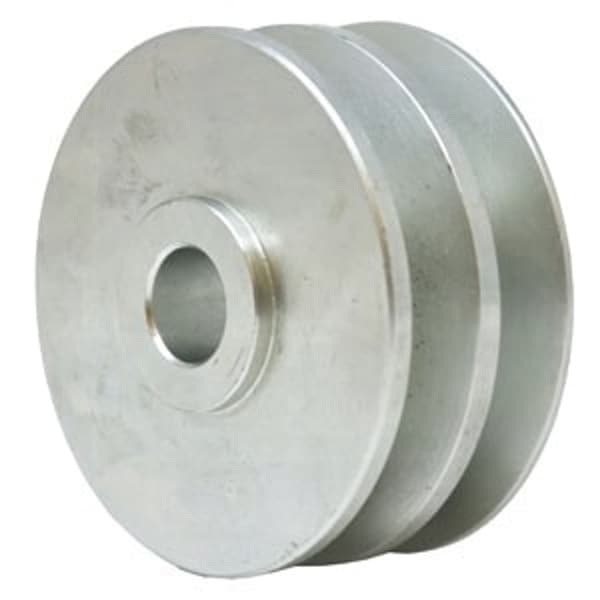
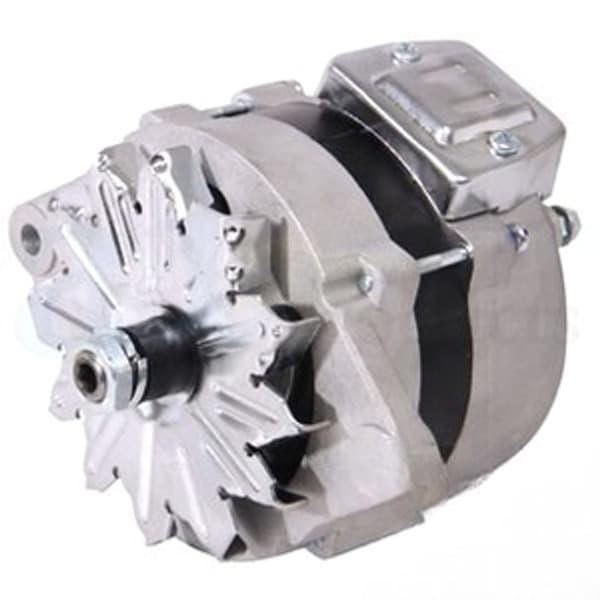
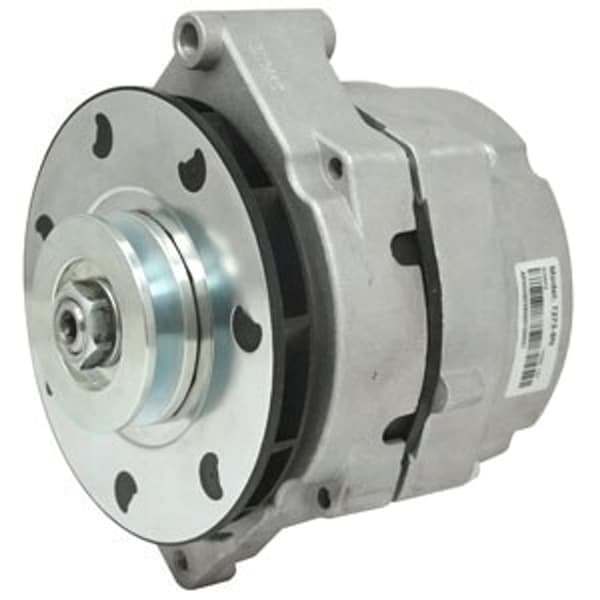
🔍 Looking for a specific part? Try our AI Part Finder — tell it your equipment and what you need, and it will find matching parts instantly.
At Madison Tractor, we understand the importance of keeping your farm equipment running smoothly. That's why we offer a wide selection of replacement parts for John Deere, Case IH, Ford, New Holland, Massey Ferguson, Kubota, Allis Chalmers, Deutz, International Harvester, Oliver, White, Gleaner, Vermeer, Hesston, Mahindra Zetor tractors. From radiators and water pumps to starters and hydraulic pumps, we've got you covered.
Recognizing the Need for an Upgrade
Before jumping into an alternator upgrade, it's important to accurately diagnose the problem. Here are some common signs that your John Deere 4440 alternator might be struggling
- Dim Headlights Especially noticeable at idle or when running multiple electrical accessories.
- Slow Cranking Difficulty starting, particularly in cold weather, even with a fully charged battery. See our article on John Deere Tractor Starter for more information.
- Battery Light On The battery warning light on the dashboard remains illuminated while the engine is running.
- Frequent Battery Charging You find yourself constantly needing to charge the battery, even after short periods of use.
- Voltage Drop Use a voltmeter to check the voltage at the battery terminals while the engine is running with accessories on. A voltage significantly below 13.5 volts indicates a potential problem.
Important Note Before assuming the alternator is the problem, ensure the battery is in good condition and that all electrical connections are clean and tight. A corroded ground connection can cause similar symptoms.
Understanding Alternator Specifications
When choosing a replacement or upgrade alternator, you'll need to consider a few key specifications
- Amperage (Amps) This indicates the alternator's maximum current output. A higher amperage alternator provides more power for running accessories. The original John Deere 4440 alternator typically outputs around 55 amps. Upgrading to a 70-100 amp alternator is a common choice.
- Voltage Most tractor electrical systems are 12-volt. Ensure the replacement alternator is also 12-volt.
- Mounting Style The alternator must physically fit your tractor's mounting bracket. Pay close attention to the mounting hole locations and the size of the mounting ears.
- Pulley Type Ensure the pulley on the replacement alternator matches the original pulley (V-belt or serpentine belt).
- Wiring Connector The wiring connector on the replacement alternator must be compatible with your tractor's wiring harness.
High-Output Alternator Upgrade Options for the John Deere 4440
Here are some popular options for upgrading your John Deere 4440 alternator
- Direct Replacement High-Output Alternators These alternators are designed to bolt directly into the original mounting location and use the same wiring connector. This makes installation relatively straightforward. Look for alternators with outputs in the 70-100 amp range. Check with Madison Tractor for specific brands and models that fit the 4440.
- One-Wire Alternators These alternators are simple to wire, requiring only one wire connected to the battery positive terminal. While easy to install, they might not provide the same level of charging control as a three-wire alternator.
- Three-Wire Alternators These alternators have three wires: one to the battery, one to the ignition switch one to the voltage regulator. They offer more precise voltage regulation and are generally considered a better option for demanding applications.
- Delco Remy Style Alternators Many aftermarket alternators use a Delco Remy style housing, which is a common and reliable design. These often require slight wiring modifications but can offer a significant performance upgrade, and for certain applications, a double groove pulley may be recommended.
When selecting an alternator, consider the additional electrical load you'll be placing on the system. Do you have extra lights, a radio, a GPS system, or other electrical accessories? Choose an alternator with enough amperage to handle the load.
Installation Guide: Upgrading Your Alternator
Safety First! Disconnect the battery's negative terminal before starting any electrical work.
- Disconnect the Battery As mentioned, disconnect the negative (-) battery cable to prevent shorts and electrical shocks.
- Remove the Old Alternator
- Disconnect the wires from the existing alternator, noting their positions.
- Loosen the alternator mounting bolts and remove the belt.
- Remove the alternator from the tractor.
- Install the New Alternator
- Position the new alternator in the mounting bracket.
- Install the mounting bolts and tighten them securely. Refer to your tractor's service manual for the correct torque specifications.
- Install the belt and adjust the tension according to the manufacturer's recommendations.
- Connect the wires to the new alternator, ensuring they are properly connected. If using a one-wire alternator, simply connect the main wire to the battery positive terminal. For a three-wire alternator, follow the wiring diagram provided with the alternator.
- Reconnect the Battery Reconnect the negative (-) battery cable.
- Test the System Start the tractor and use a voltmeter to check the voltage at the battery terminals. The voltage should be between 13.5 and 14.5 volts with the engine running. Turn on the headlights and other accessories to ensure the alternator is providing adequate power.
Wiring Considerations If you are significantly increasing the alternator's output, you may need to upgrade the wiring between the alternator and the battery to handle the increased current. Use thicker gauge wire to prevent voltage drop and overheating. Consider using a fuse or circuit breaker in the wiring to protect the system from overloads.
Maintenance and Care of Your New Alternator
To ensure your new alternator lasts for years to come, follow these maintenance tips
- Keep the Alternator Clean Periodically clean the alternator to remove dirt, grease debris. Use a brush or compressed air to remove loose material.
- Check the Belt Tension Ensure the belt tension is correct. A loose belt can cause the alternator to slip, reducing its output and potentially damaging the alternator.
- Inspect the Wiring Regularly inspect the wiring for damage, corrosion, or loose connections. Repair or replace any damaged wiring immediately.
- Monitor the Battery Voltage Keep an eye on the battery voltage to ensure the alternator is charging properly. If you notice any unusual voltage fluctuations, have the alternator checked by a qualified technician.
Troubleshooting Common Alternator Issues
Even with a new alternator, problems can sometimes arise. Here are some common issues and how to troubleshoot them
- Alternator Not Charging Check the wiring connections, belt tension battery condition. Use a voltmeter to check the alternator's output voltage.
- Overcharging This can damage the battery. Check the voltage regulator and replace it if necessary.
- Noisy Alternator This could be caused by worn bearings or a damaged pulley. Replace the alternator.
Remember that Madison Tractor carries a full range of belts, batteries other electrical components to support your John Deere 4440 and other tractors. We also carry clutch kits, PTO parts, fuel pumps everything you need to keep your equipment running smoothly.
Conclusion
Upgrading your John Deere 4440 alternator is a worthwhile investment that can improve your tractor's performance and reliability. By choosing the right alternator and following the installation and maintenance tips outlined in this guide, you can ensure your tractor is ready for any job. If you are experiencing electrical problems, you might also want to check out our articles on John Deere Tractor Alternator amp ratings and part numbers, as well as Ford Tractor Alternator conversions.
Remember, at Madison Tractor, we're here to help you find the parts you need to keep your farm equipment running strong. We carry a vast inventory of parts for all major brands, including John Deere, Case IH, Ford more. Don't hesitate to contact us with any questions or to place an order.
Shop Madison Tractor for All Your Tractor Part Needs!
Visit our website today to browse our extensive selection of tractor parts and find the perfect upgrade for your John Deere 4440!
🔍 Can't Find Your Part?
Use our AI-Powered Part Finder to search by your equipment's make, model, and what you need. It's the fastest way to find the exact part for your machine.
Try the Part Finder →Part of our comprehensive guide
Tractor Starter & Alternator Guide: Find the Right Parts