








Combine Knife Section: Sickle Blade Replacement Guide
Maintaining your combine's knife section is crucial for efficient harvesting. This guide provides a step-by-step process for replacing sickle blades, ensuring a clean cut and minimizing crop loss. Learn about common issues, safety precautions, and where to find the right parts for your machine.
Introduction to Combine Knife Sections
The combine knife section, or sickle section, is a critical component of your combine harvester's header. It's responsible for cutting the crop material before it enters the threshing and separating processes. A sharp, well-maintained knife section ensures a clean, efficient cut, reducing header losses and maximizing yield. Worn or damaged blades can lead to increased fuel consumption, uneven cutting, and ultimately, lower profits. Whether you operate a John Deere, Case IH, New Holland, or any other brand, regular inspection and timely replacement of your combine knife sections are essential for optimal performance.
Recommended Parts for This Guide
10 parts we recommend — in stock, ships fast, one-click add to cart.
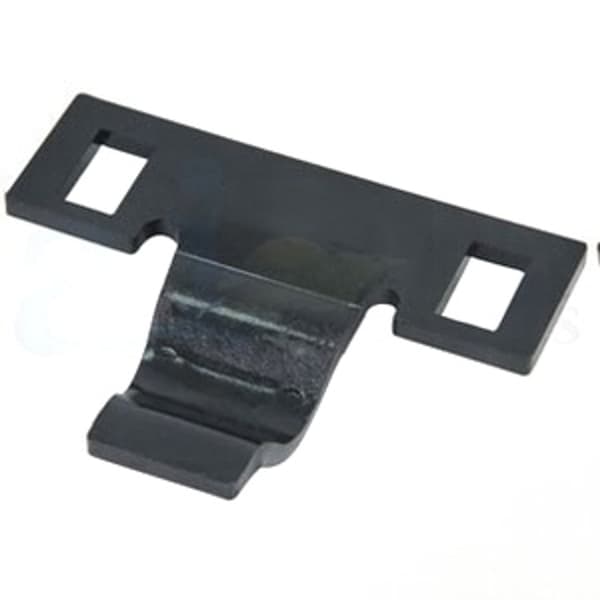
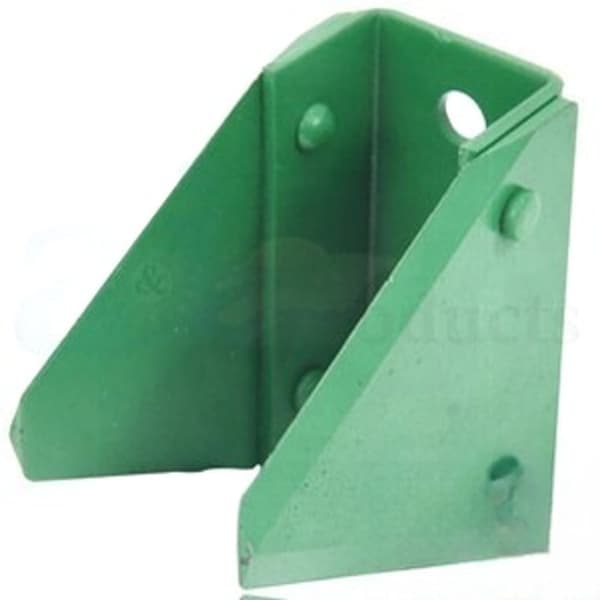
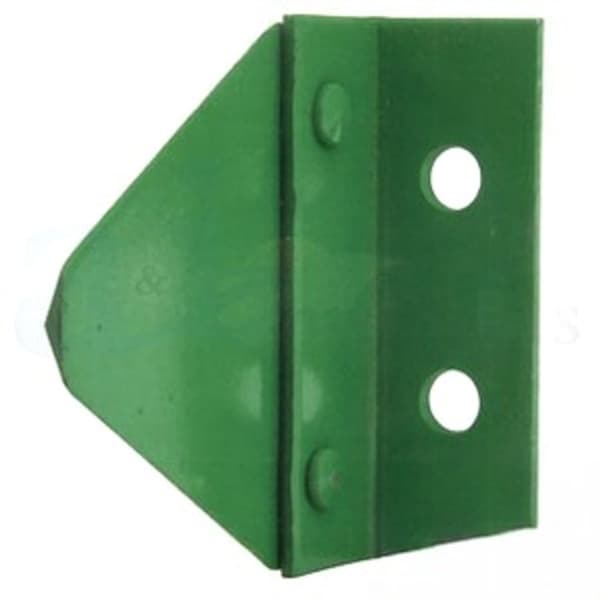
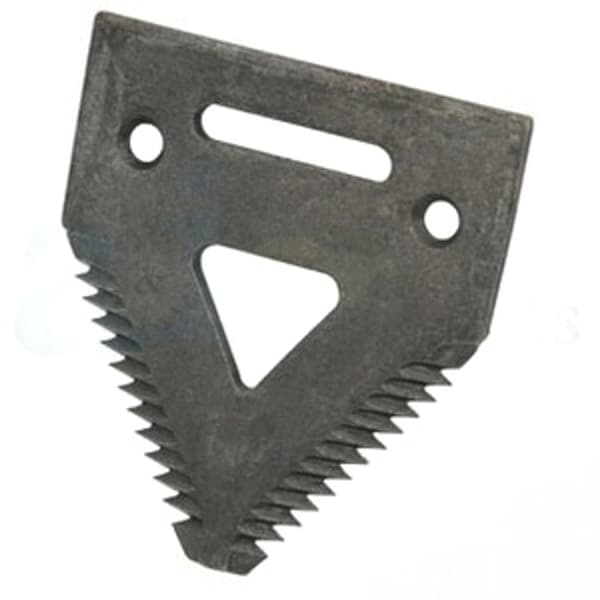
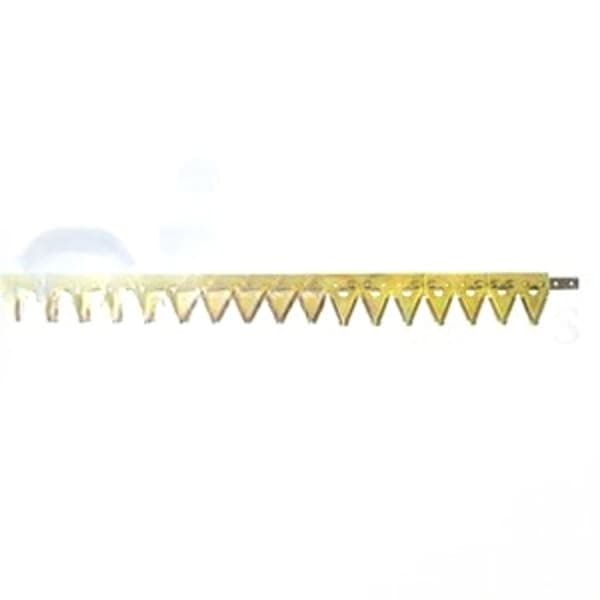
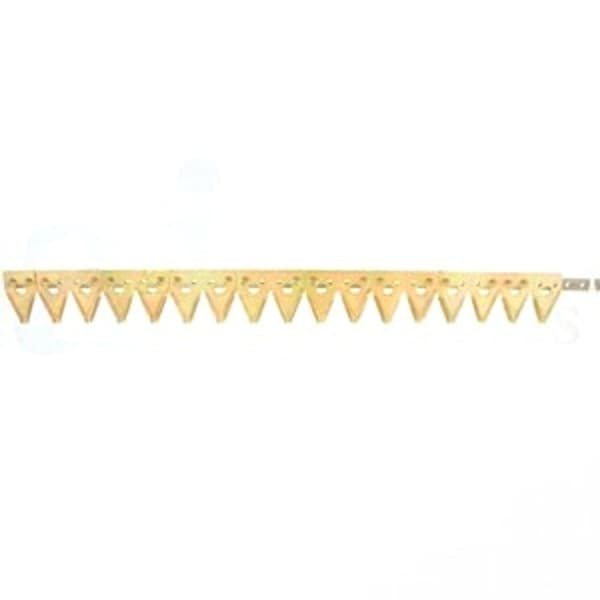
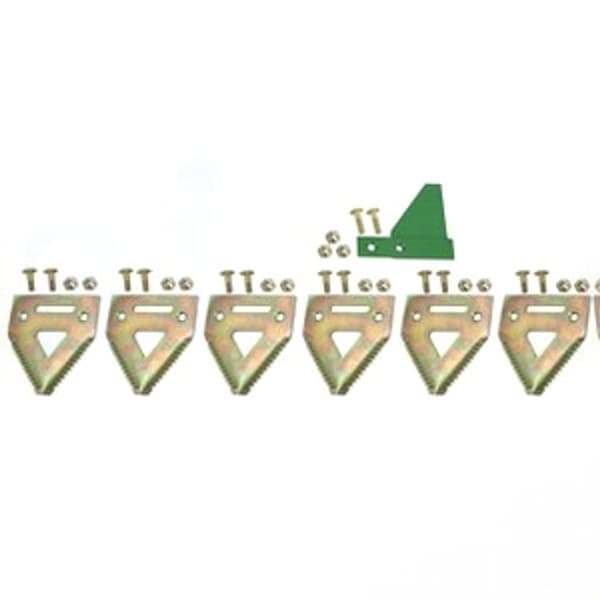
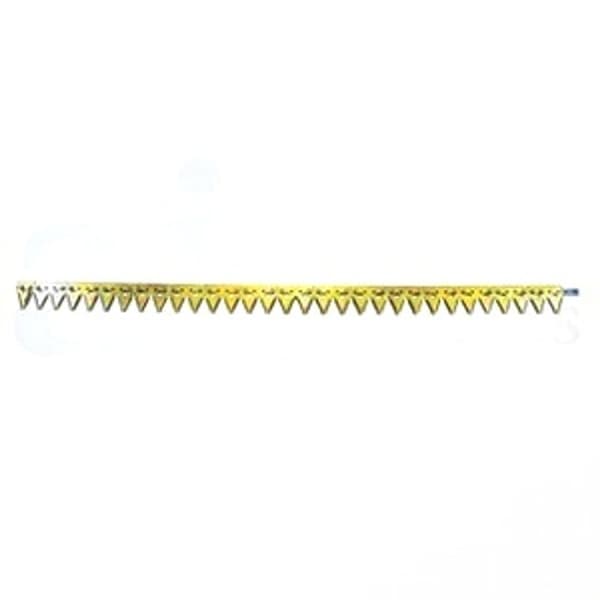
🔍 Looking for a specific part? Try our AI Part Finder — tell it your equipment and what you need, and it will find matching parts instantly.
This guide will walk you through the process of inspecting and replacing combine knife sections. We'll cover safety precautions, step-by-step instructions, and tips for selecting the right replacement parts for your specific combine model. Madison Tractor Company is your trusted source for all your combine parts needs, from John Deere combine parts to Case IH combine parts, and everything in between.
Identifying Common Problems with Combine Knife Sections
Several signs indicate it's time to inspect and potentially replace your combine knife sections:
- Uneven Cutting: If you notice uncut stalks or ragged edges after harvesting, your blades may be dull or damaged.
- Increased Header Losses: More grain left in the field behind the header is a sign of inefficient cutting.
- Vibration and Noise: Excessive vibration or unusual noise from the header could indicate damaged or loose blades.
- Visual Damage: Inspect each blade for cracks, chips, breaks, or excessive wear. Look for bent or missing guards as well.
- Difficulty Cutting Through Tough Stalks: The combine may struggle to cut through heavy or dense crop material, resulting in plugging.
Regular inspection of the knife section is best done during pre-season maintenance and periodically throughout the harvesting season.
Safety Precautions
Safety First! Before working on your combine, always:
- Shut Off the Engine: Ensure the engine is completely off and the key is removed.
- Disconnect the Battery: Disconnect the negative battery cable to prevent accidental starting.
- Engage the Parking Brake: Properly secure the combine to prevent it from moving.
- Wear Safety Glasses and Gloves: Protect your eyes and hands from sharp blades and debris.
- Use Proper Tools: Use the correct tools for the job to avoid injury or damage to the machine.
- Work in a Well-Ventilated Area: If using any solvents or cleaners, ensure adequate ventilation.
Tools and Materials Needed
Before you begin, gather the necessary tools and materials:
- New combine knife sections (check your operator's manual for the correct part number)
- New knife clips (if replacing)
- Joint Kit (if your system uses them)
- Wrench or socket set
- Screwdriver (Phillips and flathead)
- Hammer (optional, for stubborn rivets)
- Punch or drift pin
- Riveting tool or bolt and nut set (depending on the type of blade attachment)
- Wire brush or scraper
- Penetrating oil (for loosening rusted fasteners)
- Work gloves
- Safety glasses
- Your combine's operator's manual
Step-by-Step Guide to Replacing Combine Knife Sections
- Preparation: Park the combine on a level surface, shut off the engine, disconnect the battery, and engage the parking brake. Raise the header to a comfortable working height and secure it with safety locks or supports.
- Inspection: Carefully inspect the entire knife section for any signs of damage or wear. Note the type of fasteners used to attach the blades (rivets, bolts, etc.).
- Removing the Old Blades:
- Riveted Blades: Use a punch or drift pin to drive out the old rivets. If the rivets are stubborn, apply penetrating oil and use a hammer to gently tap the punch. You may need to grind off the head of the rivet first.
- Bolted Blades: Use a wrench or socket to remove the bolts and nuts securing the blades. Apply penetrating oil if the fasteners are rusted or seized.
- Cleaning: Thoroughly clean the knife bar and guards with a wire brush or scraper. Remove any rust, debris, or old gasket material.
- Installing the New Blades:
- Riveted Blades: Align the new blade with the holes in the knife bar. Insert new rivets and use a riveting tool to secure them in place. Ensure the rivets are properly formed and tight.
- Bolted Blades: Align the new blade with the holes in the knife bar. Install new bolts and nuts, tightening them to the manufacturer's specified torque. Refer to your operator's manual for the correct torque specifications. A common torque spec is around 15-20 ft-lbs, but verify for your machine.
- Alignment: Ensure all blades are properly aligned and evenly spaced. Check that the guards are in good condition and properly aligned with the blades. Misalignment can cause premature wear and inefficient cutting.
- Lubrication: Apply a light coat of oil or grease to the knife bar and guards to reduce friction and prevent rust.
- Testing: Carefully rotate the knife section by hand to ensure smooth operation and proper clearance. Look for any binding or interference.
- Lowering the Header and Final Check: Remove the safety locks or supports and carefully lower the header. Start the engine and engage the header to test the knife section under normal operating conditions. Listen for any unusual noises or vibrations.
Choosing the Right Replacement combine knife section
Selecting the correct replacement combine knife section is crucial for optimal performance and longevity. Here are some factors to consider:
- OEM Part Number: Search available parts
- Combine Model and Year: Specify your combine's make, model, and year when ordering replacement parts. This will help ensure you receive the correct size, shape, and mounting configuration. Madison Tractor Company carries parts for a wide range of combines, including older models like the International Harvester 1460 and newer machines like the John Deere S790. We also offer New Holland Combine Parts for machines like the CR9090.
- Blade Type: Knife sections come in various styles, including smooth, coarse tooth, and undercut. Choose the blade type that is best suited for your crop and harvesting conditions. Serrated blades are generally more effective for cutting through tough or tangled material.
- Material: Look for blades made from high-quality steel that are hardened and tempered for increased durability and wear resistance.
Madison Tractor Company offers a wide selection of combine knife sections and sickle assemblies for all major brands, including Gleaner combine parts and Massey Ferguson combine parts, plus brands like Ford, Kubota, Allis Chalmers, Deutz, Oliver, White, Vermeer, Hesston, Mahindra, and Zetor. We also stock straw chopper bracket assemblies, RH end sections, and a variety of other essential combine parts, such as combine belts, combine concaves, radiators, water pumps, starters, alternators, hydraulic pumps, cylinders, clutch kits, PTO parts, fuel pumps, carburetors, injectors, filters, gaskets, pistons, bearings, and seals. Our knowledgeable staff can help you find the right parts for your specific needs and budget.
Torque Specifications and Fluid Capacities
Always refer to your combine's operator's manual for the correct torque specifications for all fasteners. Improperly tightened bolts can lead to premature wear, component failure, and potential safety hazards. Fluid capacities for your combine's engine, transmission, and hydraulic system are also listed in the operator's manual. Use the recommended fluids and filters to ensure optimal performance and longevity.
Maintenance Tips for Combine Knife Sections
- Regular Inspection: Inspect your knife sections regularly for signs of wear or damage.
- Sharpening: Consider sharpening your knife sections if they are only slightly dull. Special grinding tools are available for this purpose, or you can take them to a professional sharpening service.
- Proper Storage: Store your combine indoors or under cover during the off-season to protect the knife sections from rust and corrosion.
- Replace Worn Parts Promptly: Don't wait until your knife sections are completely worn out before replacing them. Timely replacement will prevent further damage to other components and ensure optimal harvesting performance.
Troubleshooting Common Issues
- Knife Section Plugging: This can be caused by dull blades, excessive crop moisture, or incorrect header settings. Ensure your blades are sharp, adjust your header settings according to the crop conditions, and consider using a header attachment to improve crop feeding.
- Excessive Vibration: This can be caused by unbalanced blades, loose fasteners, or worn bearings. Inspect the knife section for any signs of damage or wear and tighten all fasteners to the correct torque specifications.
- Uneven Cutting: This can be caused by dull blades, misaligned guards, or a bent knife bar. Sharpen or replace your blades, align your guards, and straighten or replace your knife bar if necessary.
Conclusion
Maintaining your combine's knife section is a vital part of ensuring a successful and efficient harvest. By following the steps outlined in this guide, you can safely and effectively replace your knife sections and keep your combine running smoothly. Remember to always consult your operator's manual for specific instructions and safety precautions related to your combine model.
Madison Tractor Company is committed to providing you with the highest quality combine parts and exceptional customer service. Shop our extensive selection of combine knife sections and other essential parts today, including those hard to find John Deere combine concave parts. We are your partner in keeping your farm equipment running at its best. Don't forget to check out our other helpful guides, such as John Deere Combine Parts: 9000, S-Series & X-Series and Case IH Combine Parts: Axial-Flow 1400-9200 Series, for all your combine maintenance needs! You can also use our AI-Powered Part Finder to search for parts by your specific make and model.
Part of our comprehensive guide
Combine Harvester Parts Guide: Pre-Season Checklist & Replacement Parts