








Case IH Combine Belt: Axial-Flow Belt Routing & Sizes
Navigating Case IH combine belt systems can be challenging. This guide provides essential information on Axial-Flow belt routing, correct belt sizes, and practical replacement tips for peak performance during harvest season.
Introduction to Case IH combine belts
The heart of any Case IH Axial-Flow combine lies in its efficient belt system. These belts transfer power from the engine to various components like the header, feeder, threshing rotor, cleaning fan, and unloading auger. A properly maintained belt system ensures optimal performance and minimizes downtime during crucial harvesting periods. At Madison Tractor Company, we understand the importance of keeping your Case IH combine running smoothly, offering a wide selection of Case IH combine parts to meet your needs.
Recommended Parts for This Guide
3 parts we recommend — in stock, ships fast, one-click add to cart.
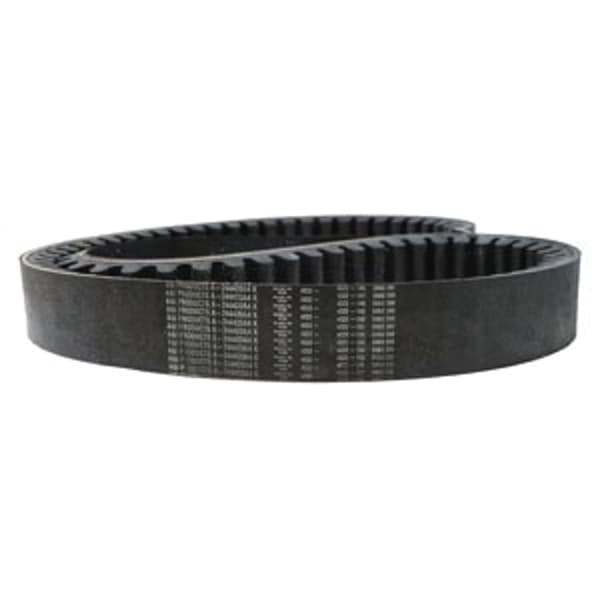
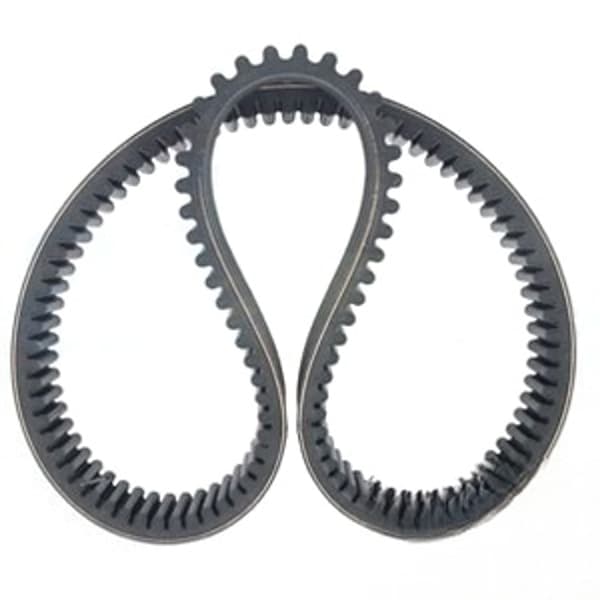
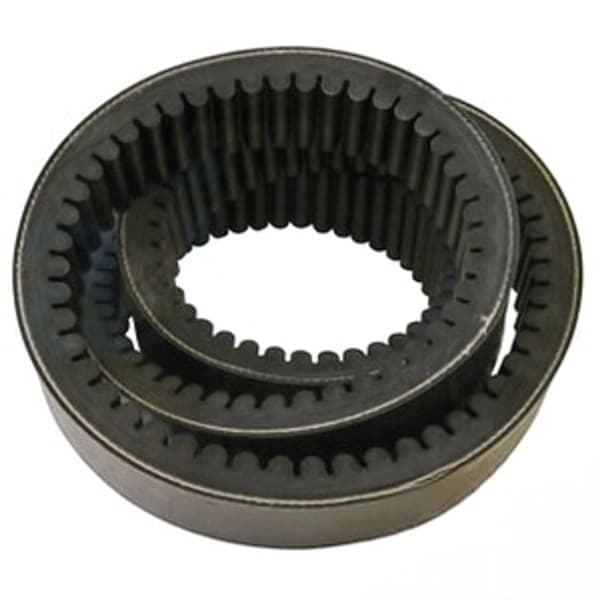
🔍 Looking for a specific part? Try our AI Part Finder — tell it your equipment and what you need, and it will find matching parts instantly.
This guide provides detailed information on Case IH combine belts, specifically focusing on Axial-Flow models. We'll cover belt routing diagrams, common belt sizes, inspection tips, and replacement procedures to help you keep your machine in top condition. While this guide focuses on Case IH, we also carry a wide range of parts for other major brands including John Deere, New Holland, Massey Ferguson, Gleaner, and more.
Understanding Axial-Flow Belt Routing
Belt routing in an Axial-Flow combine can seem complex, but understanding the basics is crucial for proper maintenance and troubleshooting. Referencing the operator's manual for your specific model is always the best first step. However, here are some general principles and common belt locations:
- Engine to Main Drive: This belt transmits power from the engine to the main combine drive system. It's typically a large, heavy-duty belt and one of the most critical in the system.
- Main Drive to Rotor: Powers the Axial-Flow rotor, responsible for threshing and separating grain.
- Main Drive to Cleaning Fan: Drives the cleaning fan, which removes chaff and debris from the grain.
- Header Drive: Powers the header, responsible for cutting and gathering the crop.
- Feeder House Drive: This belt drives the feeder house, which conveys the cut crop into the combine.
- Unloading Auger Drive: Operates the unloading auger for transferring grain to a grain cart or truck.
Finding Belt Routing Diagrams: The best source for your specific combine is your operator's manual. However, online parts diagrams are also available from Case IH and aftermarket parts suppliers. These diagrams visually illustrate the correct routing for each belt. When viewing a diagram, pay close attention to the idler pulleys and their positioning, as they play a critical role in belt tension and alignment.
Specific Model Considerations
Axial-Flow combine designs evolved over the years. Belt routing differs between earlier models (like the 1400 series) and newer generations (such as the 7120, 7230, 8240, 9240 series). Always consult the correct diagram for your machine's year and model. For example, a Case IH Combine Parts: Axial-Flow 1400-9200 Series guide may provide valuable information.
Common Case IH Combine Belt Sizes
Identifying the correct belt size is essential for proper function. Using an incorrect size can lead to slippage, premature wear, and even damage to other components. Belts are typically identified by a part number or a size code that includes width, length, and type. Here are some examples of typical Case IH combine belt sizes; always double-check your machine's parts manual for precise specifications:
- Rotor Drive Belts: Examples include 244420A4 - Belt, Rotor Belt, 87615553 - Belt, Rotor Drive, 87714971 - Belt, Rotor Gearbox, and 244422A4 - Belt, Rotor Drive. Always verify the correct number for your specific machine.
- Feeder House Belt (Example): 87683555 (This is an example; verify the correct number for your machine)
- Header Drive Belt (Example): 84390036 (This is an example; verify the correct number for your machine)
Where to Find Belt Sizes:
- Operator's Manual: Your operator's manual is the primary resource for belt sizes and part numbers.
- Belt Itself: Many belts have the size or part number printed directly on them.
- Parts Catalogs: Online parts catalogs from Case IH and aftermarket suppliers provide belt specifications.
- Madison Tractor Company: Our knowledgeable staff can help you identify the correct belt for your Case IH combine.
Cross-Referencing Belt Numbers: Original Equipment Manufacturer (OEM) belts can be expensive. However, aftermarket options are often available at a lower cost. When considering aftermarket belts, ensure they meet or exceed the OEM specifications for strength, heat resistance, and dimensional accuracy. Madison Tractor Company carries high-quality replacement belts that are designed to meet the demands of harvesting season. For example, you might find an aftermarket equivalent for a John Deere Combine Parts belt that performs just as well as the OEM part.
Inspecting Combine Belts for Wear and Damage
Regular belt inspection is crucial for preventing breakdowns. Inspect belts before each harvest season and periodically throughout the season, especially during long days in the field.
Signs of a Worn or Damaged Belt:
- Cracks: Cracks on the belt's surface indicate aging and weakening.
- Fraying: Fraying edges suggest misalignment or excessive wear.
- Missing Chunks: Missing chunks of rubber severely compromise the belt's strength.
- Glazing: A shiny, glazed surface indicates slippage and heat buildup.
- Excessive Wear: Visible thinning or narrowing of the belt.
- Unusual Noises: Squealing or chirping noises often indicate a slipping belt.
Inspection Procedure:
- Safety First: Before inspecting any belts, shut down the engine and ensure the combine is properly secured to prevent accidental movement. Disconnect the battery to prevent accidental starting.
- Visual Inspection: Carefully examine the entire length of each belt for the signs mentioned above.
- Feel the Belt: Run your hand along the belt to check for soft spots, bulges, or uneven wear.
- Check Alignment: Ensure pulleys are properly aligned. Misalignment can cause premature belt wear. Use a straight edge or laser alignment tool for accuracy.
- Check Tension: Belt tension should be within the manufacturer's specifications. Too little tension causes slippage, while too much tension can damage the belt and pulleys. Use a belt tension gauge to verify proper tension.
Safety Warning: Never inspect belts while the engine is running. Serious injury can result from entanglement in moving parts.
Case IH Combine Belt Replacement: A Step-by-Step Guide
Replacing a combine belt is a straightforward task, but it's crucial to follow the correct procedure. Here's a general guide; always consult your operator's manual for specific instructions:
- Preparation: Gather the necessary tools: wrenches, sockets, belt tension gauge, and a new belt. Ensure the combine is shut down and secured.
- Release Tension: Loosen the tensioner pulley or adjustment mechanism to relieve tension on the belt. Some combines have spring-loaded tensioners that require a special tool to compress.
- Remove the Old Belt: Carefully remove the old belt from the pulleys, noting the routing for reference.
- Install the New Belt: Route the new belt exactly as the old belt was routed, ensuring it sits properly in the grooves of each pulley.
- Adjust Tension: Adjust the tensioner pulley or adjustment mechanism to achieve the correct belt tension according to the manufacturer's specifications. Use a belt tension gauge to verify the tension.
- Verify Alignment: Double-check that all pulleys are properly aligned.
- Test Run: Start the engine and run the combine at a slow speed to ensure the belt is running smoothly and quietly. Check for any signs of slippage or misalignment.
Torque Specifications: Consult your operator's manual for the correct torque specifications for tensioner pulley bolts and other related hardware.
Tips for Extended Belt Life
- Proper Tension: Maintaining the correct belt tension is critical.
- Pulley Alignment: Ensure pulleys are properly aligned.
- Cleanliness: Keep belts and pulleys clean and free of debris.
- Storage: Store spare belts in a cool, dry place away from direct sunlight.
- Regular Inspection: Inspect belts regularly and replace them at the first sign of wear.
Beyond Belts: Maintaining Your Case IH Combine
While belts are crucial, a comprehensive maintenance plan ensures your Case IH combine runs efficiently. This includes regular checks and replacements of other vital components. Madison Tractor Company offers a complete range of combine parts, including combine concaves, filters, combine belts, bearings, and more. We also stock parts for other agricultural equipment like tractors, including popular brands like Ford, New Holland, and Massey Ferguson. Don't forget to inspect radiators, water pumps, starters, alternators, hydraulic pumps, and cylinders regularly.
Shop Case IH Combine Belts and Parts at Madison Tractor Company
At Madison Tractor Company, we are committed to providing you with high-quality Case IH combine belts and parts at competitive prices. We understand the importance of minimizing downtime during harvest season, and our experienced team is ready to help you find the right parts for your machine. Browse our extensive online catalog or contact us today to speak with a parts specialist. We carry parts for Case IH, John Deere, New Holland, Massey Ferguson, Gleaner, and many other brands. From radiators to filters to complete combines, we are your one-stop shop for agricultural parts and equipment!
🔍 Can't Find Your Part?
Use our AI-Powered Part Finder to search by your equipment's make, model, and what you need. It's the fastest way to find the exact part for your machine.
Try the Part Finder →Part of our comprehensive guide
Combine Harvester Parts Guide: Pre-Season Checklist & Replacement Parts