








Combine Header Parts: Knife Sections, Guards & Fingers
The combine header is where the harvesting process begins. This guide focuses on the critical components of the header: knife sections, guards, and fingers. Learn how to maintain and replace these parts for optimal combine performance.
Understanding Combine Header Parts: Knife Sections, Guards, and Fingers
The combine header is the unsung hero of harvest season. Its job is simple: cleanly cut and gather the crop. But its function is critical a well-maintained header is key to minimizing grain loss and maximizing efficiency. At the heart of the header are three crucial components: knife sections, guards fingers. These parts work together to slice through stalks and guide the crop into the combine. Understanding their roles and how to maintain them is essential for any farmer. Don't forget to check out our main guide on combine parts to learn more about your machine's maintenance needs.
Recommended Parts for This Guide
7 parts we recommend — in stock, ships fast, one-click add to cart.
🔍 Looking for a specific part? Try our AI Part Finder — tell it your equipment and what you need, and it will find matching parts instantly.
Knife Sections: The Cutting Edge
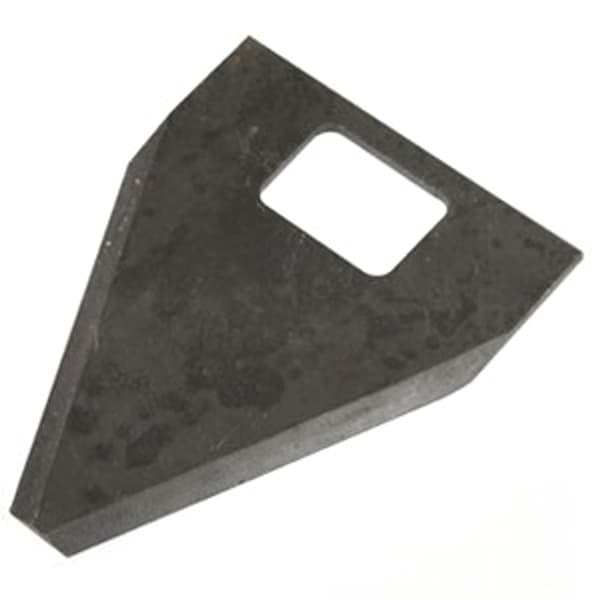
Knife sections are the triangular or diamond-shaped blades that do the actual cutting. They are riveted or bolted to the knife back (sickle bar) and oscillate rapidly back and forth within the guards. The sharpness and condition of these sections directly impact the cutting efficiency. Here's what you need to know
- Types of Knife Sections Common types include under serrated, over serrated, smooth rock guards. The best type depends on the crop and field conditions. Serrated sections are generally better for tougher stalks and weedy conditions, while smooth sections work well in cleaner, drier crops.
- Material Most sections are made from hardened steel, but some premium sections are made from tungsten carbide for extended wear life, especially in abrasive conditions.
- Maintenance Regularly inspect knife sections for sharpness, chips, cracks looseness. Dull or damaged sections should be replaced immediately. A dull knife section won't cut cleanly, leading to increased stalk breakage and grain loss. Sharpening is generally not recommended, as it can weaken the steel and shorten the section's lifespan.
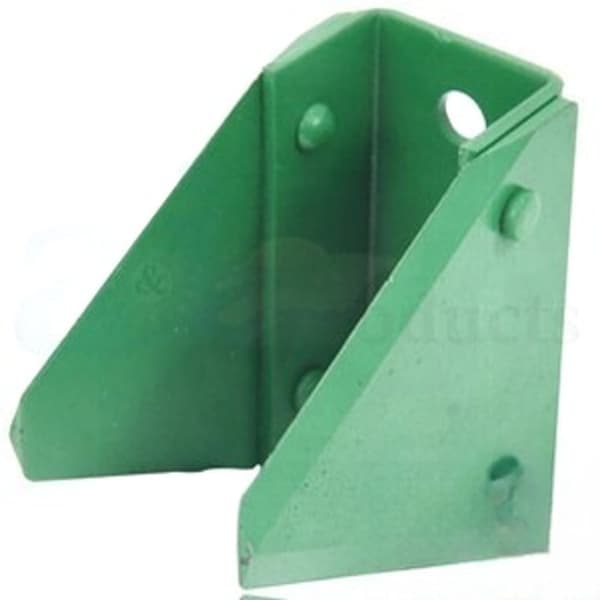
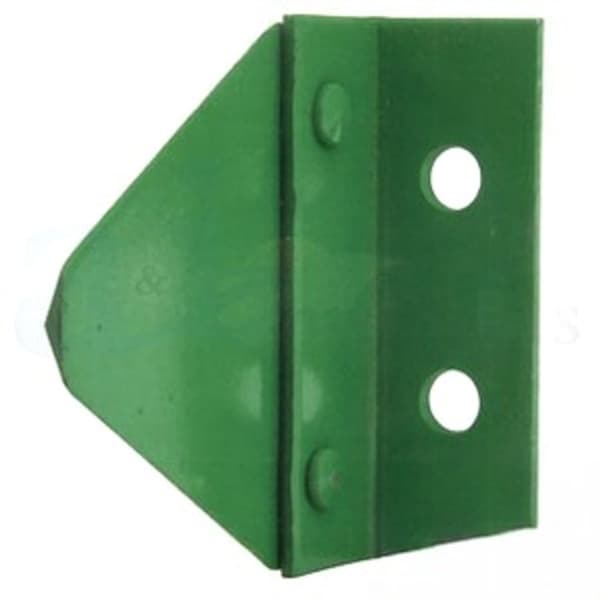
- Replacement Replacing knife sections is a straightforward process. Use a punch and hammer to remove the old rivets (or loosen bolts). Clean the knife back thoroughly and install the new sections with new rivets or bolts. Ensure the sections are aligned correctly and securely fastened. For some models, entire assemblies, like the AP23601 Bracket Assy with Knife Sections or the AH89918 Bracket Assy with Knife Sections, may be available for more comprehensive replacements.
- Torque Specs If using bolts, refer to your combine's service manual for the correct torque specifications. Overtightening can damage the sections or the knife back. Typically, these are tightened to around 15-20 ft-lbs, but always double-check your manual.
For example, a John Deere combine model 9600 might use knife sections with part number, while a Case IH combine 1660 might use 87041506. Be sure to confirm compatibility for your machine and header.
Guards: Protecting the Knife and the Crop
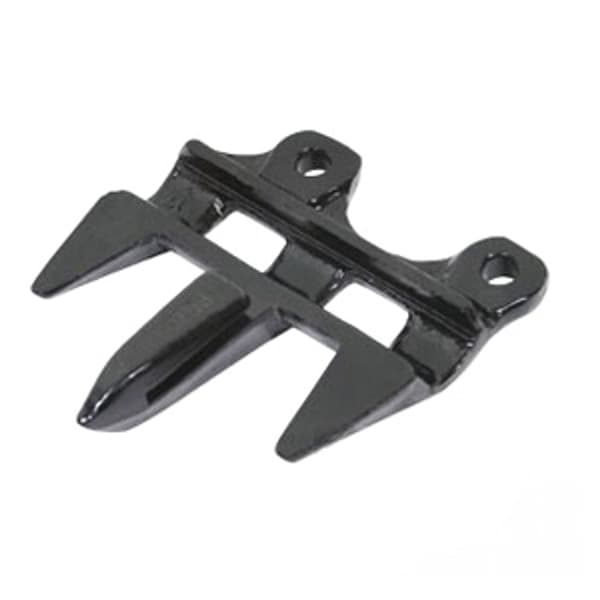
Guards are the stationary metal fingers that enclose the knife sections. They serve several important functions
- Protecting the Knife Guards prevent the knife sections from contacting the ground or other obstructions, reducing wear and damage.
- Supporting the Crop Guards support the crop stalks as they are being cut, ensuring a clean cut and minimizing shatter loss.
- Guiding the Crop Guards help guide the cut crop into the header auger or draper belt.
Types of Guards
- Standard Guards These are the most common type of guard and are suitable for most conditions.
- Underserrated Guards These guards have serrations on the underside to help grip and cut tough stalks.
- Overserrated Guards These guards have serrations on the top side, offering better cutting in lodged or tangled crops.
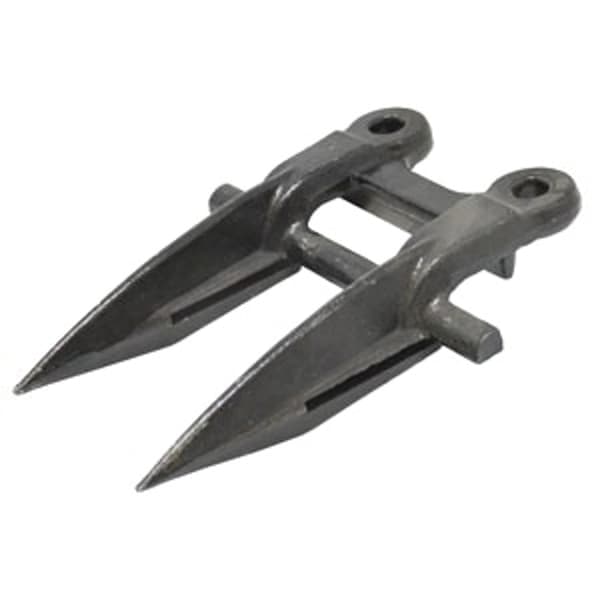
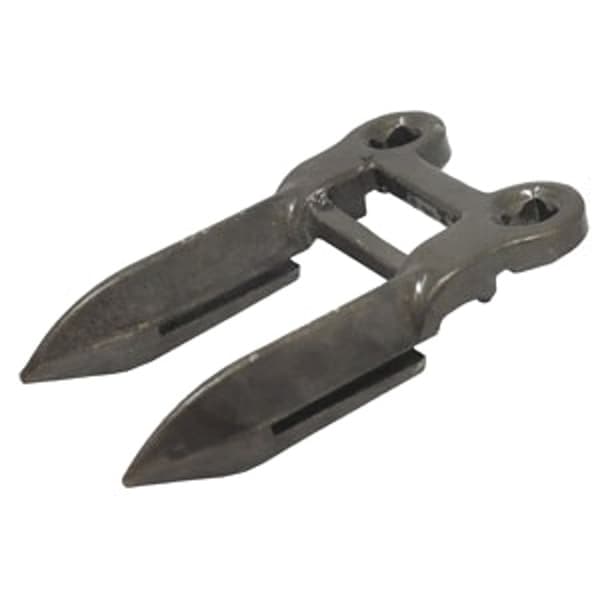
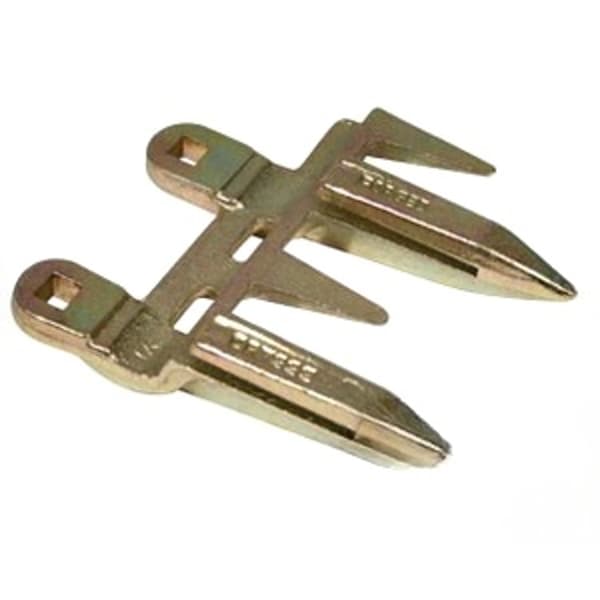
- Double Guards These are heavier-duty guards with two points for extra support and protection in rocky or uneven terrain.
- Rock Guards Made with reinforced steel or hardened material, they are designed to withstand impact and reduce damage from rocks and other debris.
- 4" Blunt Point Guards: Designed for durability and specific cutting actions, such as the H229538 model.
Maintenance Inspect guards regularly for damage, bending, or wear. Bent or broken guards can interfere with the knife's movement and cause uneven cutting. Check that the guard ledgers (the flat surface on the top of the guard) are sharp and free of nicks or burrs. Dull or damaged ledgers can cause the crop to be pinched rather than cut, leading to stalk breakage and grain loss. Replacing guards is a straightforward process. Simply unbolt the old guard and bolt on the new one. Ensure the guard is aligned correctly and securely fastened. A New Holland combine CR9060 might use part number 84475697 for a standard guard.
Alignment Proper guard alignment is crucial for smooth cutting. Use a guard alignment tool to ensure all guards are properly aligned with the knife sections. Misaligned guards can cause excessive wear on the knife sections and increase the risk of plugging.
Fingers (Crop Dividers): Guiding the Flow
Fingers, also known as crop dividers or row dividers, are located on the outer edges of the header. Their primary function is to
- Separate Crop Rows Fingers separate individual crop rows, preventing them from becoming tangled or matted together.
- Guide Crop into the Header Fingers guide the crop towards the knife and auger or draper belt, ensuring a consistent flow of material into the combine.
Types of Fingers Fingers can be rigid or flexible, depending on the crop and field conditions. Rigid fingers are suitable for standing crops, while flexible fingers are better for lodged or tangled crops. Some fingers are also adjustable, allowing you to customize their position to suit different row spacings.
Maintenance Inspect fingers regularly for damage or bending. Bent or broken fingers can interfere with crop flow and cause uneven feeding. Straighten or replace damaged fingers as needed. Check that the fingers are properly adjusted for the crop being harvested. Too much or too little finger spacing can lead to crop loss.
Common Issues & Solutions
- Plugging If the header is constantly plugging, check the guard alignment, knife section sharpness finger spacing. Ensure the header speed is appropriate for the crop yield and ground speed.
- Uneven Cutting Uneven cutting can be caused by dull knife sections, misaligned guards, or worn ledger plates. Replace or repair these components as needed.
- Shatter Loss Excessive shatter loss can be a sign of dull knife sections, excessive header speed, or improper reel adjustment. Adjust the header speed and reel settings to minimize grain loss.
General Combine Header Maintenance Tips
- Daily Inspection Before each day of harvesting, inspect the knife sections, guards fingers for damage, wear, or misalignment.
- Lubrication Lubricate all moving parts according to the combine's service manual. This includes the knife drive, reel bearings auger bearings.
- Cleanliness Keep the header clean and free of debris. Accumulated crop residue can interfere with the knife's movement and cause plugging.
- Storage When storing the combine for the off-season, thoroughly clean the header and apply a rust preventative to all metal surfaces. This will help prevent corrosion and extend the life of the header. Check your combine concave condition as well!
- Regularly Replace Worn Parts Don't wait for parts to fail completely. Proactive replacement of worn knife sections, guards fingers can prevent costly downtime during harvest. Also, remember to check on the state of your combine belts to ensure no slippage or breakage occurs.
For older machines like Allis Chalmers combines or Massey Ferguson combines, finding the right replacement parts might seem challenging. However, at Madison Tractor, we strive to provide a comprehensive selection of parts for various makes and models, including Gleaner combine parts, Kubota, Ford, International Harvester, OliverWhite equipment, alongside newer models. We stock essential components like radiators, water pumps, starters, alternators, hydraulic pumps, cylinders, clutch kits, PTO parts, fuel pumps, carburetors, injectors, filters, gaskets, pistons, bearings seals.
Safety First!
Always follow these safety precautions when working on a combine header
- Disconnect the power Always shut down the combine and disconnect the power source before performing any maintenance or repairs.
- Use proper tools Use the correct tools for the job and ensure they are in good condition.
- Wear safety glasses Always wear safety glasses to protect your eyes from flying debris.
- Wear gloves Wear gloves to protect your hands from sharp edges and chemicals.
- Be aware of your surroundings Keep children and bystanders away from the work area.
- Refer to the manual Always consult the combine's service manual for specific safety instructions and procedures.
Shop Combine Header Parts at Madison Tractor Company
Maintaining your combine header is essential for a successful harvest. By understanding the function of knife sections, guards fingers by following these maintenance tips, you can keep your header running smoothly and efficiently. Madison Tractor Company carries a wide selection of combine header parts for all major brands, including John Deere, Case IH, New Holland more. Browse our online catalog or contact our knowledgeable staff for assistance in finding the right parts for your combine. We are here to help you keep your equipment running smoothly, all season long! You can also use our AI-Powered Part Finder to search for parts by your specific make and model.
Part of our comprehensive guide
Combine Harvester Parts Guide: Pre-Season Checklist & Replacement Parts