








Combine Straw Chopper Blade: Knives & Counterblade
Maintaining your combine's straw chopper is crucial for efficient residue management. This guide covers everything you need to know about straw chopper blades, counterblades, and their impact on your harvest, plus tips on replacement and maintenance.
Introduction to Combine Straw Choppers
The straw chopper on your combine is a vital piece of equipment for managing crop residue after harvest. A properly functioning straw chopper efficiently chops and spreads the remaining straw, facilitating faster decomposition and easier tillage for the next planting season. The heart of this system is the combine straw chopper blade, also known as a knife, working in conjunction with a stationary counterblade. Dull or damaged blades can significantly reduce chopping efficiency, leading to uneven residue distribution and potential problems with subsequent field operations.
Recommended Parts for This Guide
7 parts we recommend — in stock, ships fast, one-click add to cart.
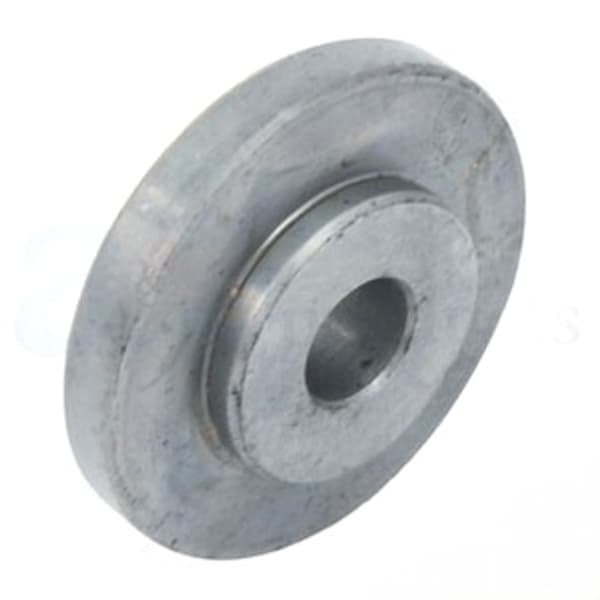
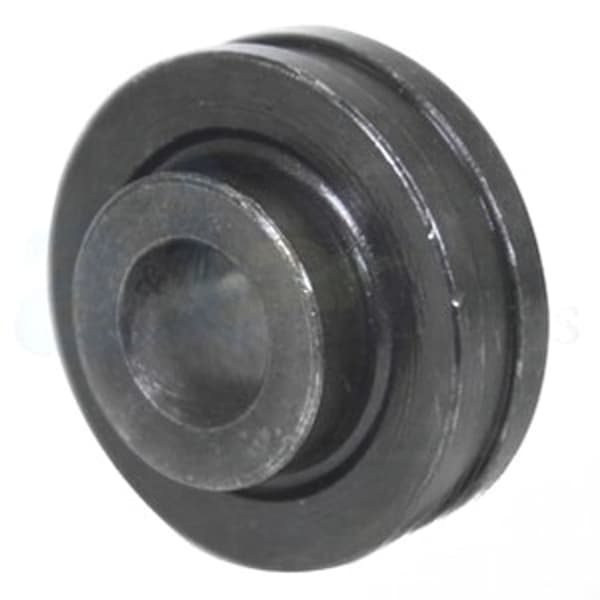
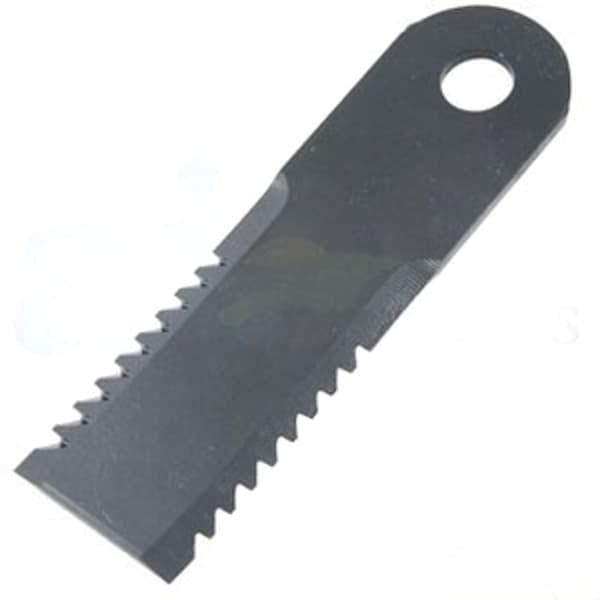
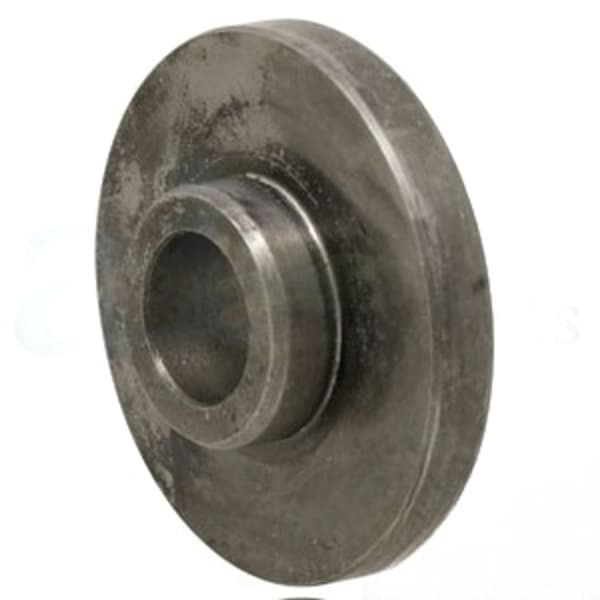
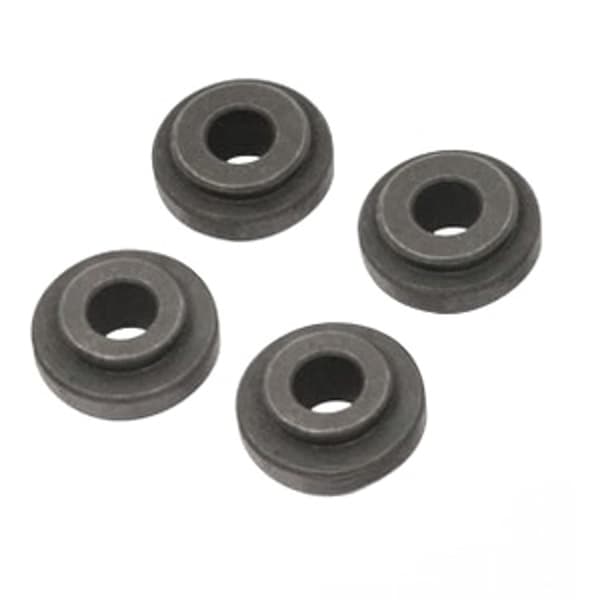
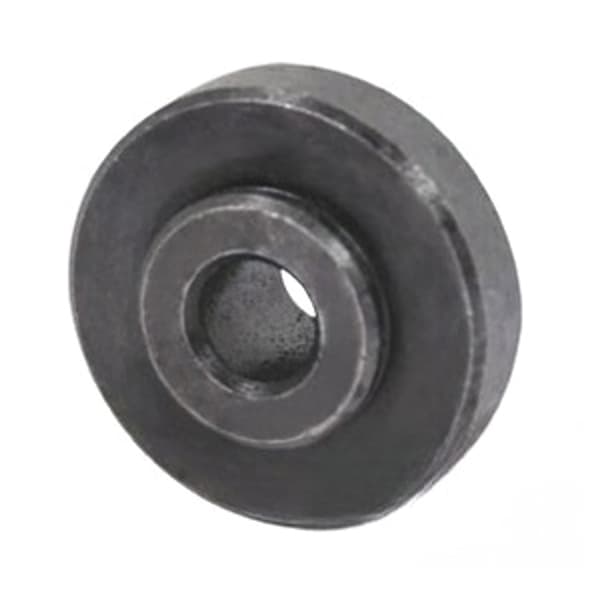
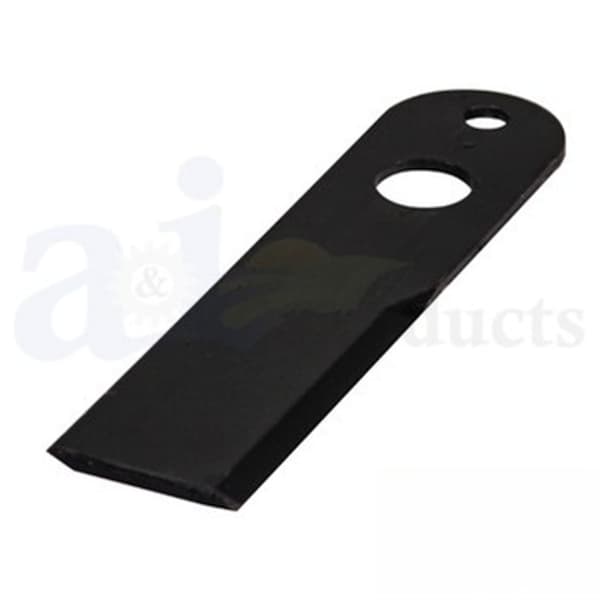
🔍 Looking for a specific part? Try our AI Part Finder — tell it your equipment and what you need, and it will find matching parts instantly.
This guide provides a comprehensive overview of combine straw chopper blades and counterblades, including their function, common problems, maintenance tips replacement procedures. We'll cover crucial aspects relevant to popular brands like John Deere, Case IH, New Holland, Massey Ferguson Gleaner.
Understanding the Role of Straw Chopper Blades
The primary function of the combine straw chopper blade is to cut the straw into smaller pieces. This process is essential for several reasons
- Improved Decomposition Smaller straw pieces decompose faster, releasing nutrients back into the soil.
- Easier Tillage Chopped straw is easier to incorporate into the soil during tillage operations, reducing the risk of hair-pinning and other issues.
- Uniform Residue Distribution Proper chopping and spreading ensure even residue distribution, preventing localized buildup that can hinder germination and seedling establishment.
Straw chopper blades come in various designs, including straight, curved serrated edges. The type of blade required depends on the combine model and the specific chopping requirements.
Types of Combine Straw Chopper Blades and Counterblades
Different blade designs are optimized for specific conditions and crop types. Here are some common types
- Straight Blades Simple and durable, ideal for general-purpose chopping.
- Curved Blades Provide a more aggressive cutting action, suitable for tough straw.
- Serrated Blades Offer enhanced cutting performance, especially in wet or tangled straw.
Counterblades are equally important. They provide a stationary surface against which the rotating blades cut the straw. The gap between the blade and counterblade is critical for effective chopping. Many combines use adjustable counterblades to fine-tune chopping performance.
For example, John Deere combines often use serrated blades in their S-Series combines, while Case IH Axial-Flow combines might utilize curved blades for better handling of heavy residue. Ensure you select the correct blade type recommended for your specific combine model.
Common Problems with Straw Chopper Blades
Several issues can affect the performance of your straw chopper blades
- Dullness Over time, blades become dull, reducing their cutting efficiency. This is the most common problem.
- Damage Rocks, stones other foreign objects can damage blades, causing chips, cracks, or bends.
- Wear Constant use wears down the blades, reducing their size and effectiveness.
- Improper Installation Incorrectly installed blades can cause uneven chopping and premature wear.
Worn or damaged blades can cause several problems, including
- Poor Chopping Quality Uneven and coarse chopping leads to slow decomposition.
- Increased Power Consumption Dull blades require more power to cut the straw, increasing fuel consumption.
- Uneven Residue Distribution Poor chopping results in uneven distribution, affecting seedbed preparation and germination.
- Excessive Vibration Damaged or unbalanced blades can cause excessive vibration, potentially damaging other combine components.
Inspecting and Maintaining Straw Chopper Blades
Regular inspection and maintenance are crucial for ensuring optimal straw chopper performance. Here's a checklist
- Frequency Inspect the blades at least daily during harvest, or more frequently in abrasive conditions.
- Visual Inspection Look for signs of dullness, damage, or wear. Pay close attention to the cutting edges.
- Blade Sharpness Check the sharpness of the blades. Dull blades should be sharpened or replaced.
- Blade Balance Ensure the blades are balanced. Unbalanced blades cause excessive vibration. You can use a blade balancer tool.
- Counterblade Condition Inspect the counterblades for wear and damage. Replace them if necessary.
- Clearance Verify the clearance between the blades and counterblades. Adjust as needed to maintain optimal chopping performance.
Safety First! Always disconnect the combine's engine and engage the parking brake before inspecting or working on the straw chopper. Wear gloves to protect your hands from sharp edges.
Sharpening or Replacing Straw Chopper Blades
If the blades are only slightly dull, you can sharpen them using a grinding wheel or angle grinder. However, severely damaged or worn blades should be replaced.
Sharpening Straw Chopper Blades
- Safety Gear Wear safety glasses and gloves.
- Grinding Wheel Use a grinding wheel with a fine grit.
- Grinding Angle Maintain the original blade angle while sharpening.
- Cooling Avoid overheating the blade by frequently dipping it in water. Overheating can weaken the metal.
- Balance After sharpening, check the blade balance and adjust as needed.
Replacing Straw Chopper Blades
- Part Numbers Consult your combine's operator manual or parts catalog to identify the correct replacement straw chopper blade part numbers. For example, a John Deere S680 might require part number, while a Case IH 7250 might use 87654321. Madison Tractor Company stocks a wide range of blades for various makes and models, including New Holland, Massey Ferguson, Gleaner more. Consider also a straw chopper blade kit, which often includes essential hardware like bolts and bushings.
- Removal Loosen and remove the bolts or fasteners securing the old blade. Note the orientation of the blade for proper reinstallation.
- Installation Install the new blade, ensuring it is properly aligned and secured. Use new hardware if necessary.
- Torque Tighten the bolts to the specified torque. Consult your operator's manual for the correct torque specifications. For example, some blades might require 50 ft-lbs of torque.
Choosing the Right Replacement Blades
Selecting the correct replacement straw chopper blade is crucial for optimal performance and longevity. Consider the following factors
- Combine Model Always choose blades specifically designed for your combine model. Refer to your operator's manual or parts catalog for the correct part numbers.
- Blade Material Look for blades made from high-quality steel that can withstand the abrasive conditions of harvesting.
- Blade Design Choose a blade design that is suitable for the type of crop you are harvesting and the desired chopping quality.
- OEM vs. Aftermarket While OEM (Original Equipment Manufacturer) blades are generally more expensive, they are often made to higher standards and offer better performance and durability. However, reputable aftermarket brands can provide excellent value and performance. Madison Tractor Company offers both OEM and aftermarket options to fit your needs and budget.
Beyond the Blades: Complete Combine Maintenance
While straw chopper maintenance is important, remember that a well-maintained combine requires attention to many areas. Be sure to check combine belts for wear and proper tension. Also consider replacing combine concaves if you're experiencing excessive grain loss. From John Deere combine concaves to general combine parts, keeping everything in good working order will ensure a successful harvest.
Don't forget to inspect and maintain other essential components, such as
- Engine Components Regularly check and maintain the engine, including the radiator, water pump, starter, alternatorfuel pump.
- Hydraulic System Inspect the hydraulic pump, cylinders hoses for leaks or damage.
- Driveline Check the clutch kit and PTO parts for wear.
- Filters Replace air, fuel oil filters regularly to maintain optimal performance.
Regularly consult your combine's operator's manual for specific maintenance schedules and recommendations. Brands such as Ford, Kubota, Allis Chalmers, Deutz, International Harvester, Oliver, White, Vermeer, Hesston, Mahindra Zetor all require specific maintenance based on their design and intended use.
Conclusion
Maintaining your combine's straw chopper blades and counterblades is essential for efficient residue management and overall harvesting performance. By following the tips outlined in this guide, you can ensure that your combine operates at its best, maximizing your yield and minimizing downtime. Remember to prioritize safety when working on your combine always consult your operator's manual for specific instructions and recommendations.
At Madison Tractor Company, we understand the importance of keeping your farm equipment running smoothly. That's why we offer a wide selection of high-quality straw chopper blades, counterblades other combine parts for all major brands, including John Deere, Case IH, New Holland, Massey Ferguson Gleaner. Browse our online catalog or contact our knowledgeable team today to find the parts you need to keep your harvest on track!
🔍 Can't Find Your Part?
Use our AI-Powered Part Finder to search by your equipment's make, model, and what you need. It's the fastest way to find the exact part for your machine.
Try the Part Finder →Part of our comprehensive guide
Combine Harvester Parts Guide: Pre-Season Checklist & Replacement Parts