








The feeder house chain, sometimes called the elevator chain, is a crucial component of your combine harvester. It's responsible for pulling the crop material from the header into the threshing and separating mechanisms. A properly functioning feeder chain is vital for efficient harvesting and minimizing grain loss. This guide will walk you through the process of maintaining, replacing, and adjusting your combine feeder chain.
Combine Feeder House Chain: Replacement & Adjustment
The feeder house chain is a critical component of your combine, ensuring efficient crop flow. This guide covers maintenance, replacement procedures, and proper adjustment to keep your combine running smoothly during harvest season.
Recommended Parts for This Guide
9 parts we recommend — in stock, ships fast, one-click add to cart.
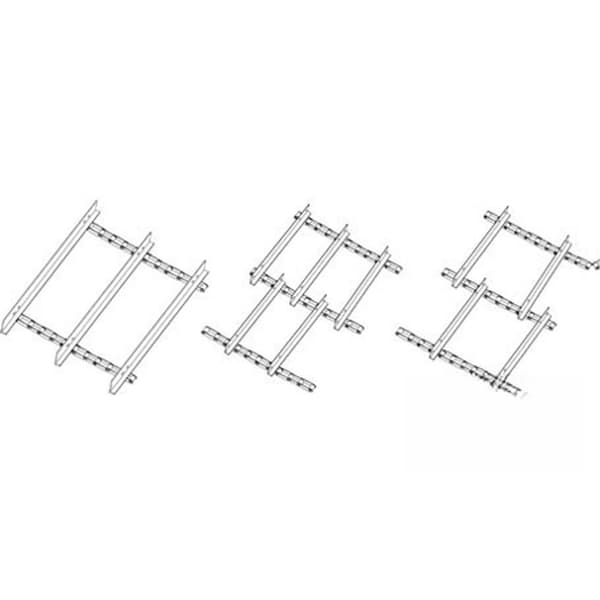
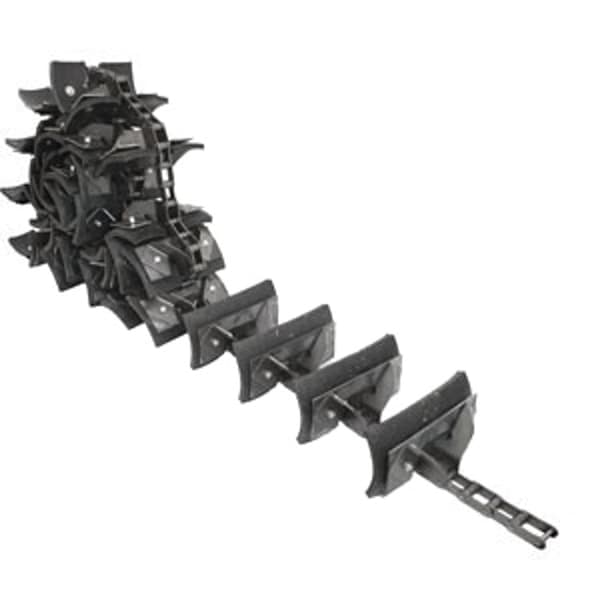
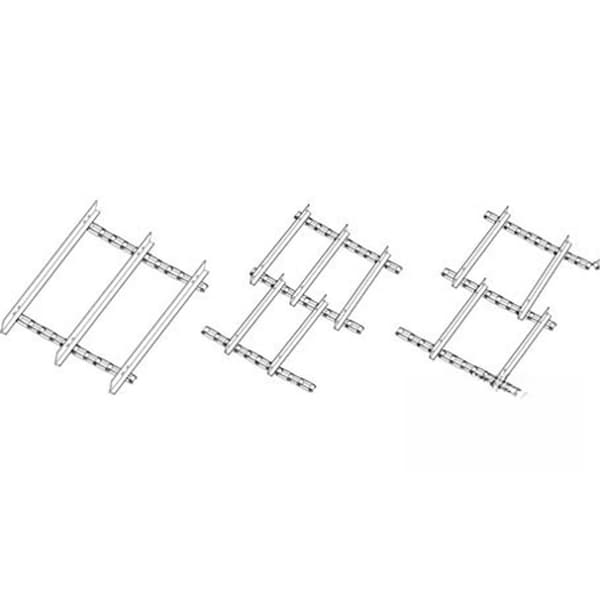
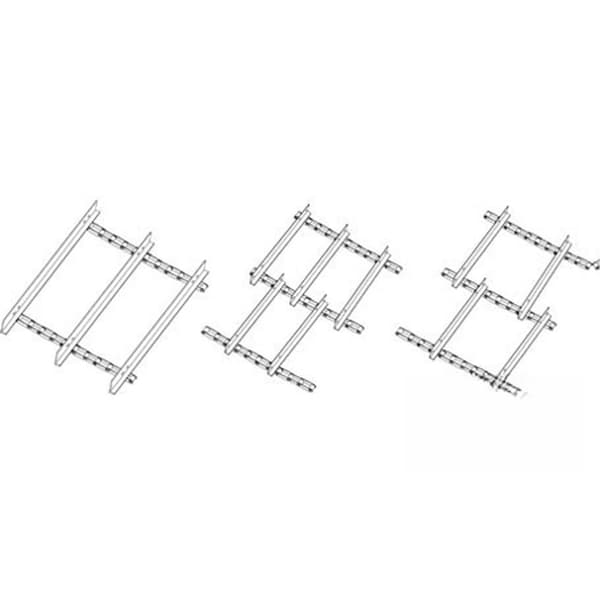
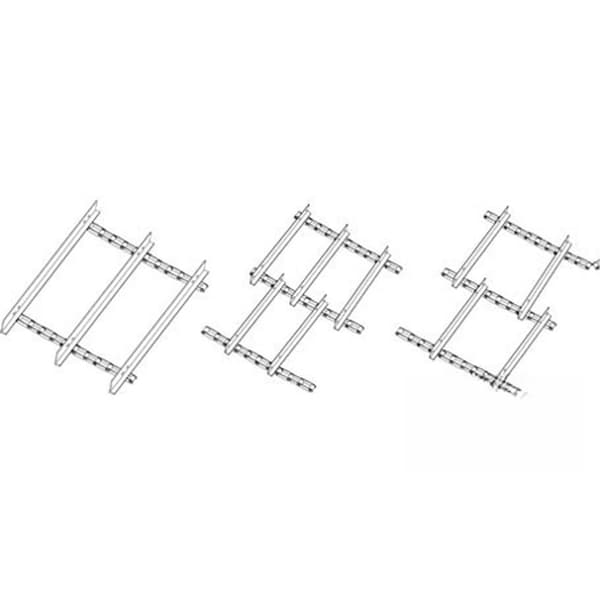
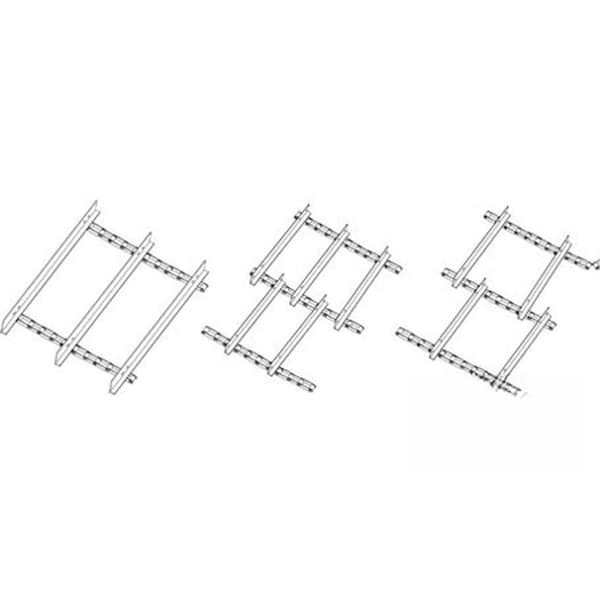
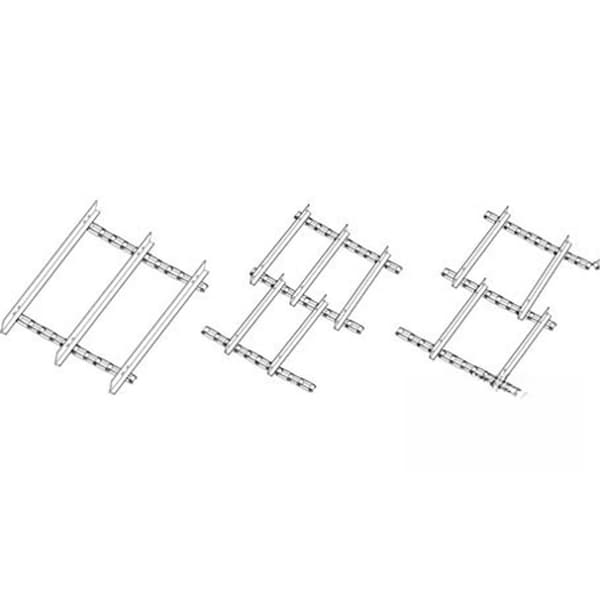
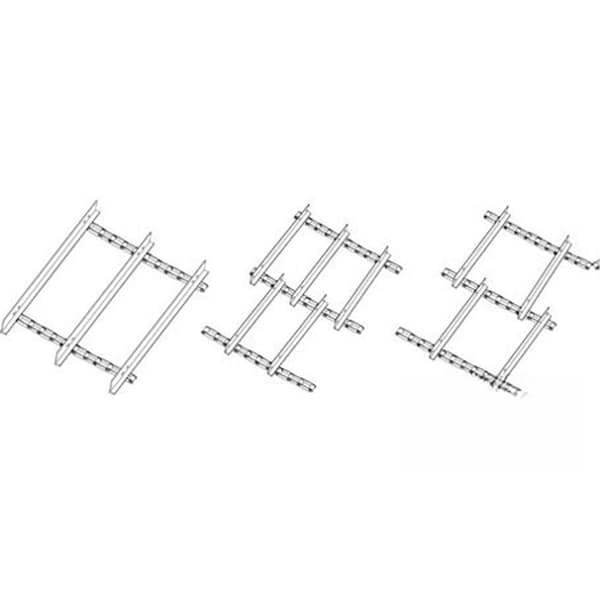
🔍 Looking for a specific part? Try our AI Part Finder — tell it your equipment and what you need, and it will find matching parts instantly.
Importance of a Well-Maintained Feeder Chain
A worn or poorly adjusted feeder chain can lead to several problems:
- Reduced Harvesting Efficiency: Slippage or uneven feeding reduces the combine's throughput capacity.
- Increased Grain Loss: Improper crop flow can cause grain to be ejected from the header or lost during threshing.
- Equipment Damage: A loose or damaged chain can damage other components in the feeder house, such as the floor, sides, or drive sprocket.
- Downtime: Chain breakage or slippage requires immediate attention, leading to costly downtime during the critical harvest season.
Inspecting Your Combine Feeder Chain
Regular inspection is key to identifying potential problems before they escalate. Aim to inspect the feeder chain every 50-100 hours of operation, or more frequently in dusty or abrasive conditions.
Visual Inspection:
- Chain Wear: Look for signs of wear on the chain links, rollers, and sprockets. Check for elongation, rust, or pitting.
- Damaged Components: Inspect the chain for bent, cracked, or missing links. Examine the connecting links for secure fastening. Check the paddles or slats (if equipped) for damage or wear. Madison Tractor Company carries a wide range of combine chains and components.
- Sprocket Condition: Check the sprocket teeth for wear, sharpness, or breakage. Ensure the sprockets are properly aligned.
- Feeder House Condition: Inspect the feeder house floor and sides for damage, wear, or debris accumulation.
Functional Inspection:
- Chain Tension: Check the chain tension according to your combine's operator manual. Excessive slack can cause slippage, while excessive tension can accelerate wear.
- Chain Movement: Observe the chain's movement while the combine is running (with the engine off, first!). Look for jerky movements, binding, or excessive noise.
- Crop Flow: Monitor the crop flow into the feeder house. Uneven feeding or slugging indicates a potential problem with the chain or header.
Safety Warning: Always disengage the engine and ensure the combine is properly parked and secured before performing any inspections or maintenance.
Adjusting Combine Feeder Chain Tension
Proper chain tension is crucial for optimal performance. Refer to your combine's operator manual for specific tension recommendations and adjustment procedures. The typical procedure involves the following:
- Locate the Tensioning Mechanism: Most combines have a tensioning mechanism, often consisting of an adjustable idler sprocket or a sliding carrier for the feeder house.
- Loosen the Adjustment Bolts: Loosen the bolts that secure the tensioning mechanism.
- Adjust the Tension: Adjust the tension by moving the idler sprocket or sliding the carrier. The goal is to achieve the correct amount of slack in the chain. Typically, this means being able to deflect the chain a specified amount (e.g., 1/2 inch) at its midpoint.
- Tighten the Adjustment Bolts: Once the correct tension is achieved, tighten the adjustment bolts to the specified torque. Refer to your operator's manual.
- Verify the Adjustment: After tightening the bolts, recheck the chain tension to ensure it is still within the recommended range.
Note: Over-tightening the chain can damage the chain, sprockets, and bearings. Always follow the manufacturer's recommendations.
Replacing Your Combine Feeder Chain
If the feeder chain is excessively worn, damaged, or elongated beyond the acceptable limit, it's time for replacement. Madison Tractor carries feeder chains for most major combine brands, including John Deere, Case IH, New Holland, Gleaner, and Massey Ferguson.
Tools Required:
- Wrenches and sockets
- Chain breaker tool (if necessary)
- Hammer and punch
- New feeder chain
- Connecting links
Replacement Procedure:
- Disconnect the Old Chain: Use a chain breaker tool or hammer and punch to disconnect the old chain.
- Remove the Old Chain: Carefully remove the old chain from the feeder house, noting the routing and orientation.
- Install the New Chain: Install the new chain, following the same routing and orientation as the old chain.
- Connect the Chain: Use new connecting links to connect the ends of the new chain. Ensure the connecting links are properly installed and secured.
- Adjust the Chain Tension: Adjust the chain tension as described in the previous section.
- Test the Chain: Run the combine (with the engine off first!) to ensure the chain is running smoothly and properly.
Tip: When replacing the feeder chain, it's often a good idea to inspect and replace the sprockets as well, especially if they show signs of wear.
Example: A common John Deere combine like the 9600 may require a feeder chain with a specific number of links. Refer to the John Deere parts catalog and cross-reference the part number with Madison Tractor. Common wear items on these machines also include John Deere combine concaves.
Common Issues and Troubleshooting
- Chain Slippage: Caused by loose chain tension, worn chain or sprockets, or excessive debris in the feeder house.
- Chain Breakage: Caused by excessive wear, overloading, or improper chain tension.
- Uneven Crop Flow: Caused by damaged paddles or slats, misaligned sprockets, or obstructions in the feeder house.
- Noisy Operation: Caused by worn chain or sprockets, lack of lubrication, or loose components.
Regular maintenance, proper adjustment, and timely replacement of worn parts are essential for preventing these issues.
Preventative Maintenance Tips
- Lubrication: Regularly lubricate the chain with a suitable chain lubricant. Follow the combine manufacturer's recommendations.
- Cleaning: Keep the feeder house clean and free of debris. Remove any accumulated crop material or foreign objects.
- Storage: When storing the combine for the off-season, inspect the feeder chain and apply a rust preventative coating.
Example: For Case IH Axial-Flow combines like the 7230, proper chain tension is critical. Refer to your operator's manual for the correct specification. Madison Tractor also carries a full line of Case IH combine parts, including radiators, filters, and belts.
Remember to consult your operator's manual for specific maintenance schedules and recommendations for your combine model, whether it's a Ford, Kubota, Allis Chalmers, Deutz, International Harvester, Oliver, White, Vermeer, Hesston, Mahindra, or Zetor.
Don't forget to check our articles on other essential combine parts, such as Combine Belt Replacement and Combine Concave Replacement for more helpful tips.
Shop Combine Feeder Chains at Madison Tractor Company
At Madison Tractor Company, we understand the importance of keeping your combine running smoothly during the harvest season. That's why we offer a wide selection of high-quality combine parts, including feeder chains, sprockets, belts, filters, and more. Browse our online catalog or contact our knowledgeable team for assistance in finding the right parts for your combine. We carry parts for all major brands, and we're committed to providing you with the best possible service and support.
🔍 Can't Find Your Part?
Use our AI-Powered Part Finder to search by your equipment's make, model, and what you need. It's the fastest way to find the exact part for your machine.
Try the Part Finder →Part of our comprehensive guide
Combine Harvester Parts Guide: Pre-Season Checklist & Replacement Parts