








John Deere Tractor Fuel Gauge: Sender & Gauge Repair
Is your John Deere tractor's fuel gauge giving you false readings or not working at all? This guide will walk you through troubleshooting and repairing the fuel gauge system, from the sender unit to the gauge itself. Keep your tractor running smoothly by ensuring accurate fuel level monitoring.
Introduction to John Deere fuel gauge Problems
A malfunctioning fuel gauge on your John Deere tractor can be more than just an inconvenience; it can lead to running out of fuel unexpectedly, causing delays and potential damage. Accurately monitoring fuel levels is crucial for efficient operation, especially during long days in the field. This guide will help you diagnose and repair common John Deere fuel gauge issues, focusing on both the fuel sender unit and the gauge itself. Whether you own a classic 3020 or a newer 5000 series, understanding the components of your fuel system is the first step in getting that gauge working again. Of course, fuel system issues can be caused by other things such as clogged fuel lines, a faulty fuel pump or even a dirty carburetor. Let's get started!
Recommended Parts for This Guide
9 parts we recommend — in stock, ships fast, one-click add to cart.
🔍 Looking for a specific part? Try our AI Part Finder — tell it your equipment and what you need, and it will find matching parts instantly.
Madison Tractor carries a wide variety of parts for John Deere, Case IH, Ford, New Holland, Massey Ferguson, Kubota, Allis Chalmers, Deutz, International Harvester, Oliver, White, Gleaner, Vermeer, Hesston, Mahindra Zetor tractors.
Understanding the John Deere Fuel Gauge System
The John Deere fuel gauge system is relatively simple, consisting primarily of two main components
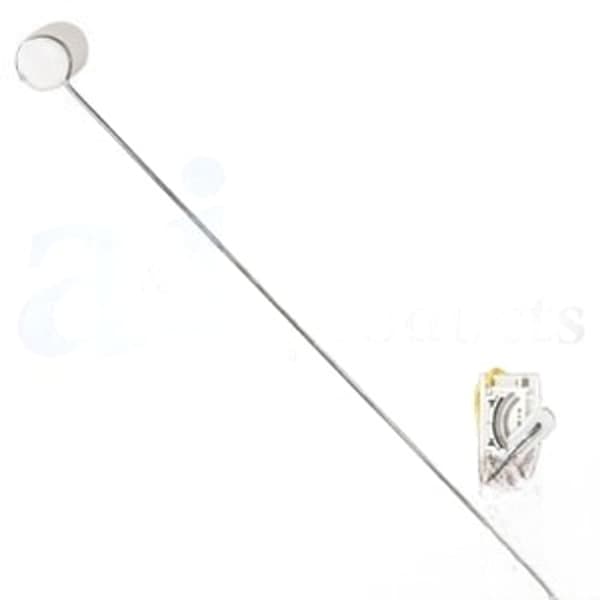
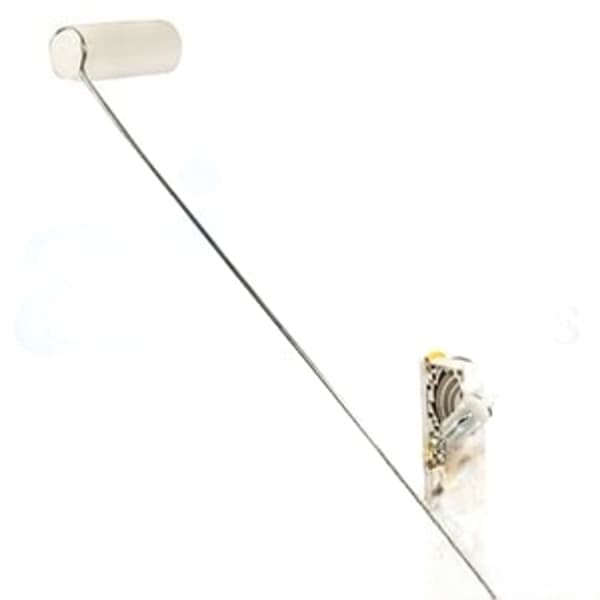
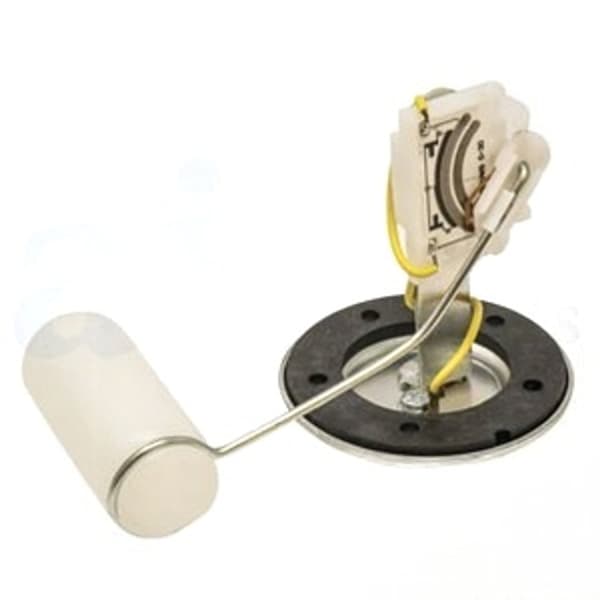
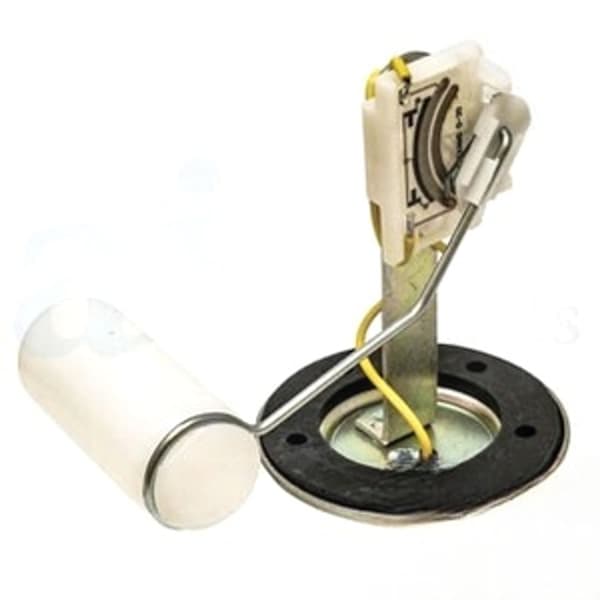
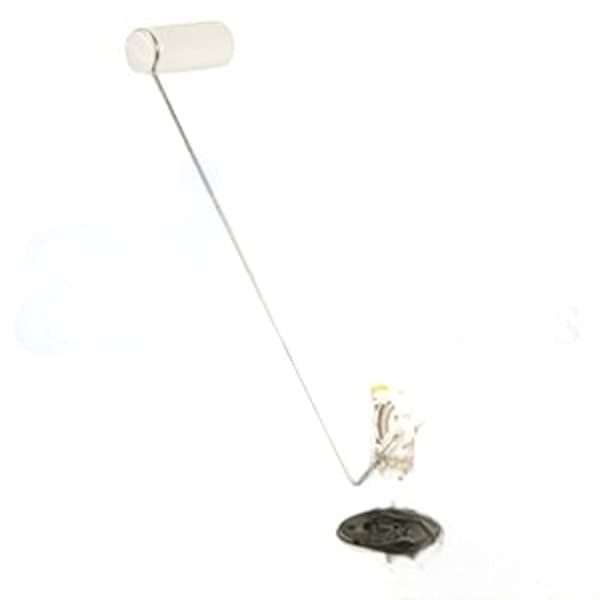
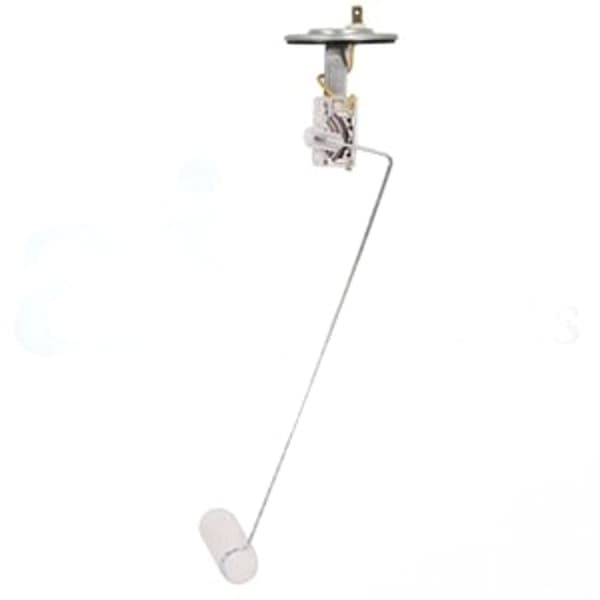
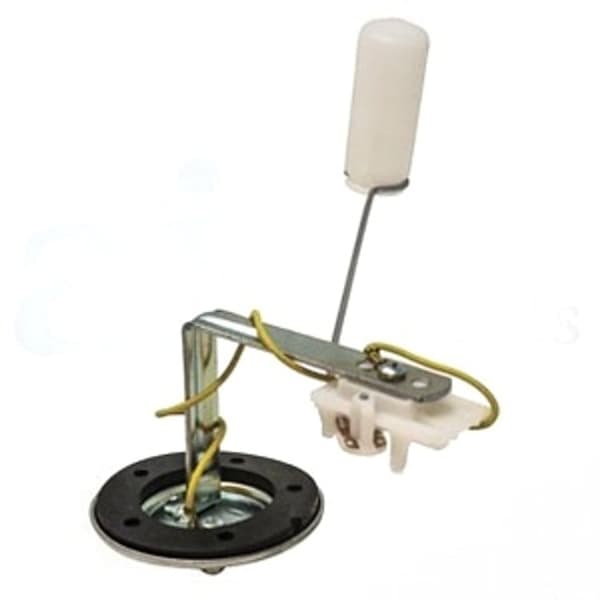
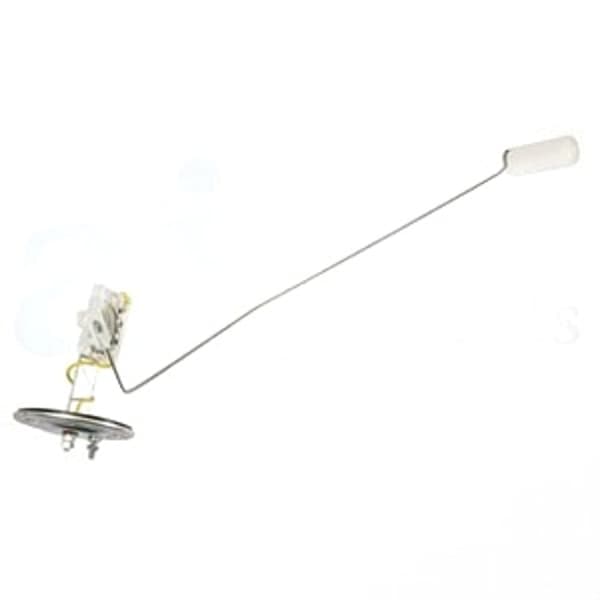
- Fuel Sender Unit Located inside the fuel tank, the sender unit is a float attached to a variable resistor. As the fuel level changes, the float moves, changing the resistance.
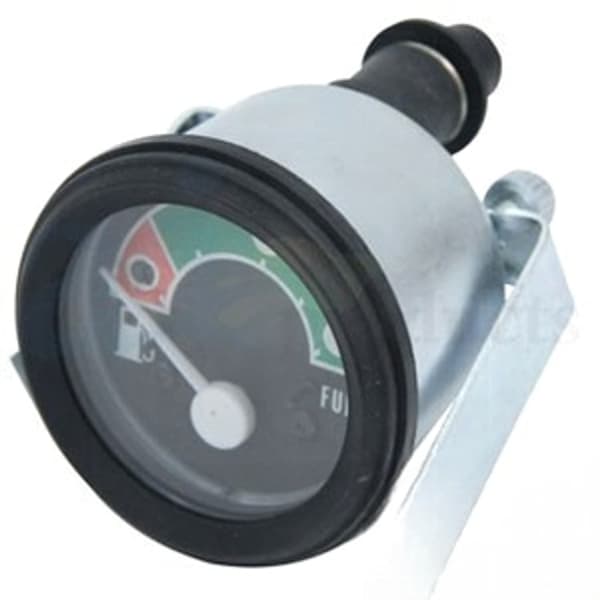
- Fuel Gauge The gauge on the instrument panel receives the resistance reading from the sender unit and displays the corresponding fuel level.
The system relies on a consistent electrical circuit. Poor connections, corrosion, or damaged wiring can all disrupt the signal and cause inaccurate readings. Problems with the John Deere Tractor Carburetor itself are not directly related to the gauge, but a sputtering engine can be a symptom of running out of fuel unexpectedly due to a faulty gauge.
Troubleshooting Your John Deere Fuel Gauge
Before replacing any parts, it's essential to properly diagnose the problem. Here's a step-by-step troubleshooting process
- Visual Inspection Check for any obvious signs of damage to the wiring, connectors, or the gauge itself. Look for corrosion, loose connections, or frayed wires. A faulty ground is a very common issue.
- Check the Ground Ensure the fuel tank and the gauge are properly grounded. A poor ground can cause inaccurate readings. Clean the ground connections and ensure they are securely attached to a clean metal surface.
- Test the Fuel Gauge To test the gauge, you'll need a multimeter. Disconnect the wire from the fuel sender unit and use a jumper wire to ground the terminal on the gauge that connects to the sender. If the gauge reads full, the gauge itself is likely working properly the problem lies with the sender unit or the wiring between the sender and the gauge.
- Test the Fuel Sender Unit With the wire disconnected from the sender, use a multimeter to measure the resistance between the sender terminal and ground. The resistance should vary as you manually move the float arm up and down. If the resistance doesn't change or is erratic, the sender unit is likely faulty.
- Check Wiring Use a multimeter to check the continuity of the wiring between the sender unit and the gauge. Look for breaks or shorts in the wire.
John Deere Fuel Sender Unit Repair and Replacement
If your troubleshooting points to a faulty fuel sender unit, you have two options: repair or replace. Repairing the sender might be possible if the issue is a corroded contact or a stuck float. However, replacement is often the more reliable solution, especially for older tractors.
Repairing the Fuel Sender (If Possible)
- Remove the Sender Unit Carefully drain the fuel tank or siphon out enough fuel to lower the level below the sender unit. Disconnect the wiring and remove the sender unit from the tank. Note the position of the float arm for reassembly.
- Inspect and Clean Clean the sender unit with a solvent to remove any debris or corrosion. Inspect the float for leaks or damage. Check the movement of the float arm to be certain it moves freely.
- Repair/Replace Components If the float is damaged, it must be replaced. If there is corrosion on the resistor, gently clean it with a wire brush or electrical contact cleaner.
- Test the Sender Unit Before reinstalling, test the sender unit with a multimeter to ensure the resistance changes smoothly as you move the float arm.
- Reinstall Reinstall the sender unit, ensuring the gasket is in good condition to prevent leaks. Connect the wiring and refill the fuel tank.
Replacing the Fuel Sender Unit
Replacing the sender unit is often the best option for long-term reliability. Madison Tractor offers replacement fuel sender units for a variety of John Deere models. When selecting a replacement, be sure to match the part number to your specific tractor model. For example, a common sender unit for John Deere 3020 models might be cross-referenced to an aftermarket part number such as. However, always verify fitment based on your tractor's serial number and original part number before ordering.
- Remove the Old Sender Unit Follow the same steps as above to remove the old sender unit.
- Install the New Sender Unit Install the new sender unit, ensuring the gasket is in good condition. Connect the wiring according to the wiring diagram.
- Test the Gauge After installation, fill the fuel tank and check the fuel gauge reading. The gauge should accurately reflect the fuel level in the tank.
John Deere Fuel Gauge Repair and Replacement
If the troubleshooting process indicates a faulty fuel gauge, you'll need to either repair or replace the gauge. Repairing a fuel gauge can be complex and often requires specialized tools and knowledge. Replacement is often the simpler and more reliable option.
Repairing the Fuel Gauge (Advanced)
Repairing a fuel gauge typically involves disassembling the gauge and inspecting the internal components for damage or wear. This may involve replacing the bimetallic strip, the coil, or other small parts. Unless you have experience with instrument repair, it's best to leave this to a professional.
Replacing the Fuel Gauge
Replacing the fuel gauge is a straightforward process.
- Remove the Old Gauge Disconnect the wiring from the back of the gauge. Remove the gauge from the instrument panel, typically by unscrewing a retaining ring or removing mounting screws.
- Install the New Gauge Install the new gauge in the instrument panel and connect the wiring according to the wiring diagram. Double-check that you've got proper polarity to the gauge.
- Test the Gauge Turn on the tractor and check the fuel gauge reading. The gauge should now function correctly.
Madison Tractor offers a variety of replacement gauges for John Deere tractors. Be sure to match the gauge to your specific tractor model. Gauges come in many styles so make sure you buy one that fits the tractor dash.
Common Issues and Solutions
- Inaccurate Readings Often caused by a faulty sender unit or poor ground connection. Test the sender unit and clean the ground connections.
- Gauge Sticking Can be caused by a bent or damaged float arm. Inspect the float arm and ensure it moves freely.
- Gauge Not Reading at All Check the wiring and connections. Test the gauge and sender unit with a multimeter.
- Erratic Readings Can be caused by a loose connection or a faulty sender unit. Inspect the wiring and test the sender unit.
Safety Precautions
- Always disconnect the battery before working on the electrical system.
- Work in a well-ventilated area when working with fuel.
- Avoid smoking or open flames near fuel.
- Use appropriate safety glasses and gloves.
Preventative Maintenance
Regular maintenance can help prevent fuel gauge problems. Inspect the wiring and connections periodically clean any corrosion. Consider adding a fuel stabilizer to prevent corrosion inside the fuel tank. Replacing fuel filters regularly will also help keep the entire fuel system clean. See our article about John Deere Tractor Fuel Pump maintenance to keep the whole fuel system healthy.
Remember to reference your tractor's service manual for specific torque specifications and wiring diagrams. Also, if you are also experiencing carburetor issues, take a look at our other helpful articles, such as John Deere Tractor Carburetor: OEM Part Numbers & Rebuild Kits. If you also need to address fuel delivery, review our Tractor Fuel Pump: Mechanical & Electric by Brand page.
Shop John Deere Parts at Madison Tractor
Madison Tractor is your trusted source for John Deere parts and accessories. We offer a wide selection of John Deere tractor parts, including fuel sender units, fuel gauges, wiring harnesses more. Whether you need a new radiator, water pump, starter, alternator, hydraulic pump, cylinder, clutch kit, PTO part, fuel pump, carburetor, injector, filter, gasket, piston, bearing, seal, belt, chain, concave, or sickle section, we have the parts you need to keep your John Deere running smoothly. Browse our online catalog or contact our knowledgeable parts experts for assistance. We also carry parts for Case IH, Ford, New Holland, Massey Ferguson, Kubota, Allis Chalmers, Deutz, International Harvester, Oliver, White, Gleaner, Vermeer, Hesston, Mahindra Zetor tractors and equipment. Don't let a faulty fuel gauge keep you out of the field – shop Madison Tractor today! You can also use our AI-Powered Part Finder to search for parts by your specific make and model.
Part of our comprehensive guide
Tractor Fuel System Guide: Carburetor, Injection & Fuel Pump Parts