








Tractor Starter Drive (Bendix): How It Works & Replacement
The tractor starter drive, often called a Bendix, is a crucial component for starting your engine. This guide explains its operation, common issues, troubleshooting steps, and how to replace it when necessary, ensuring your tractor starts reliably.
Understanding the tractor starter drive (Bendix)
The tractor starter drive, commonly known as a Bendix drive, is a mechanical marvel responsible for engaging the starter motor with the engine's flywheel. Without a functioning starter drive, your tractor won't start, plain and simple. It's a critical link in the starting process. Understanding how it works will help you diagnose problems and perform replacements effectively.
Recommended Parts for This Guide
8 parts we recommend — in stock, ships fast, one-click add to cart.
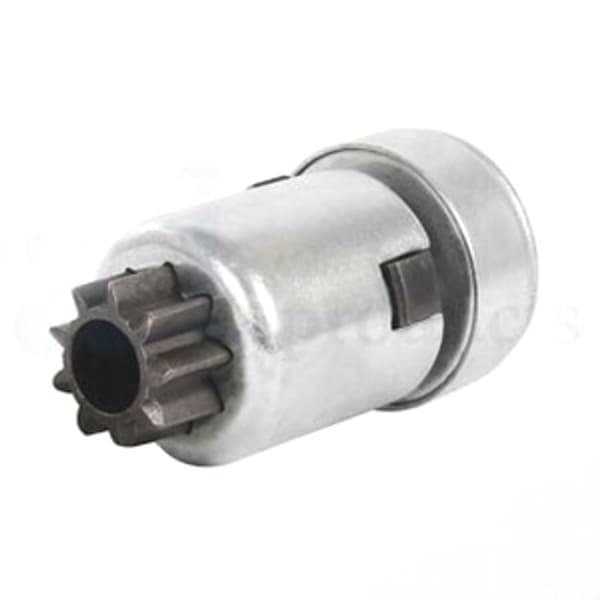
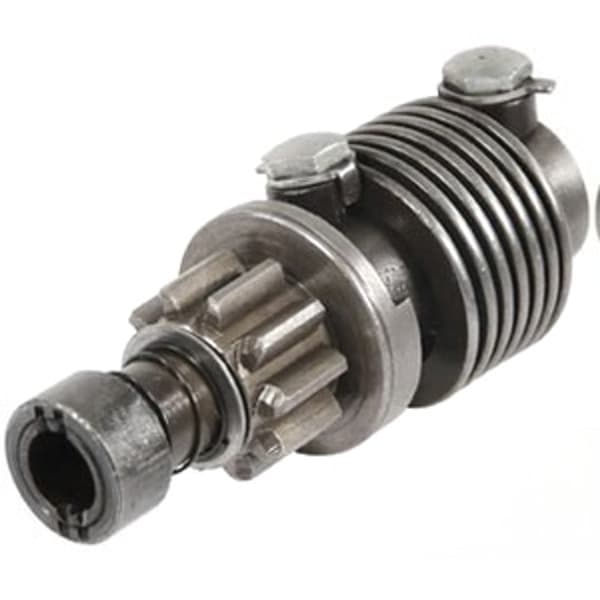
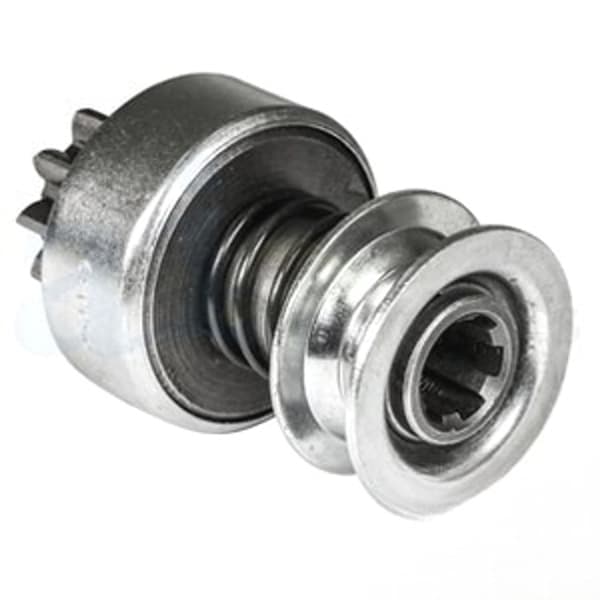
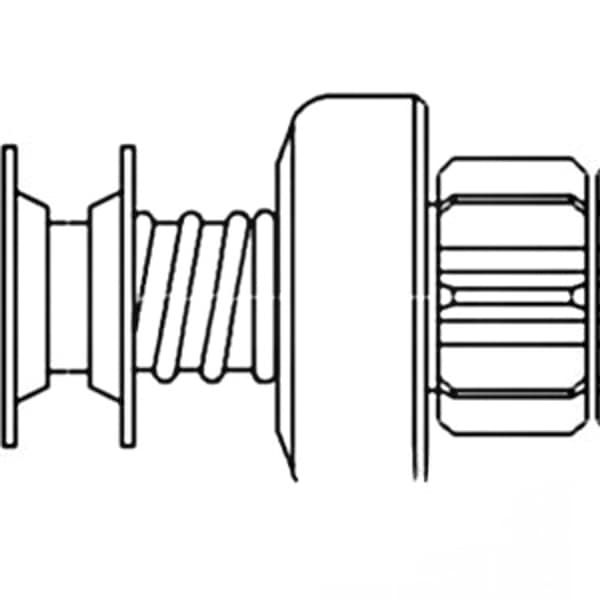
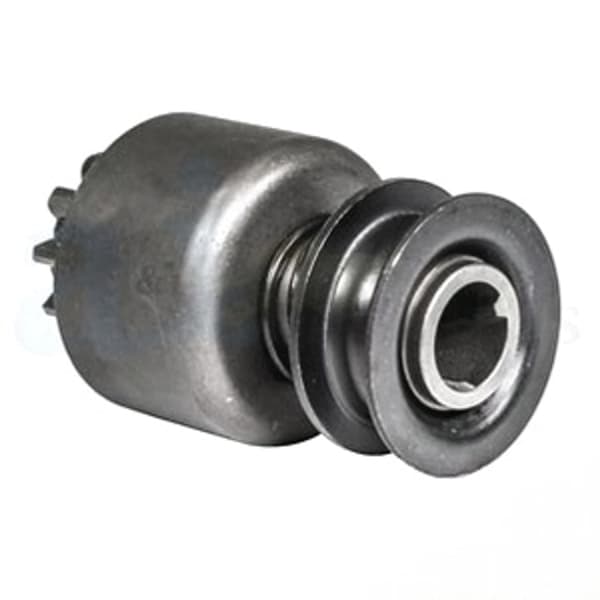
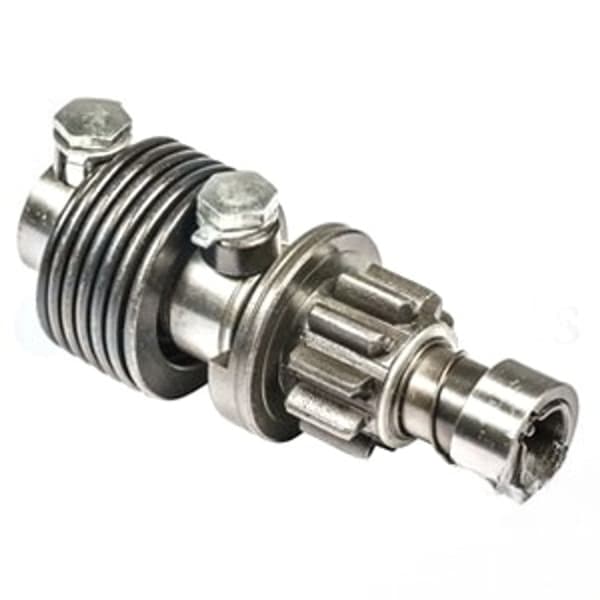
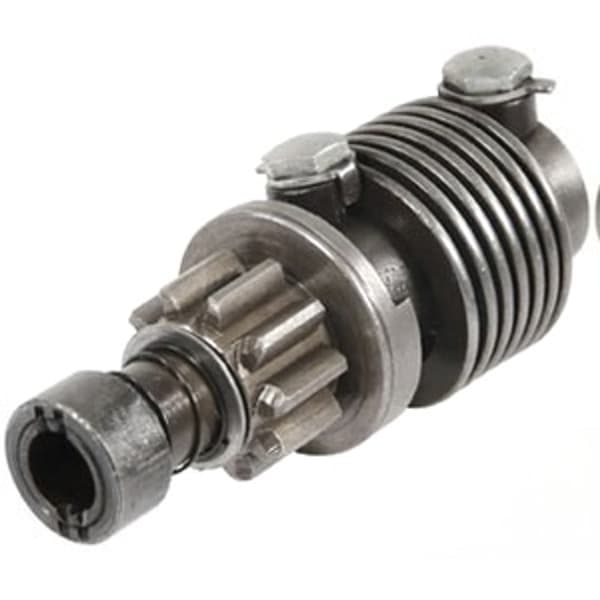
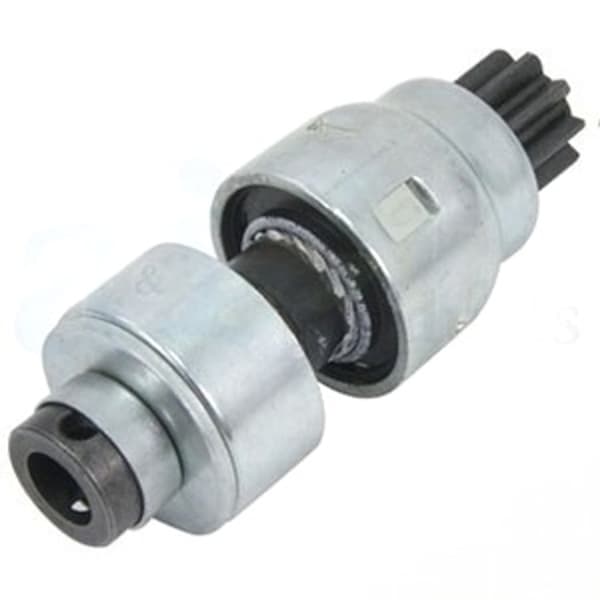
🔍 Looking for a specific part? Try our AI Part Finder — tell it your equipment and what you need, and it will find matching parts instantly.
Essentially, the starter drive’s job is to extend the starter pinion gear to mesh with the flywheel ring gear when you turn the key. After the engine starts, it must retract the pinion gear to prevent the starter motor from being over-revved by the now much faster engine. Think of it as a controlled engagement and disengagement mechanism.
We carry a wide range of starter drives for various tractor brands, including John Deere, Case IH, Ford, New Holland, Massey Ferguson, Kubota, Allis Chalmers, Deutz, International Harvester, Oliver, White, Gleaner, Vermeer, Hesston, Mahindra, and Zetor. Whether you need a complete starter or just the drive, we've got you covered.
How the Starter Drive Works
The Bendix drive typically consists of these key components:
- Pinion Gear: The small gear that engages with the flywheel ring gear.
- Drive Spring: A heavy-duty spring that absorbs the shock of engagement.
- Sleeve or Housing: A metal casing that supports the pinion gear and spring.
- Spiral Threads or Helical Splines: These threads convert the starter motor's rotational motion into linear motion, forcing the pinion gear forward.
Here’s a simplified breakdown of the process:
- When you turn the ignition key, the John Deere tractor starter motor begins to spin.
- The rotating starter motor spins the armature, which is connected to the starter drive.
- The spiral threads on the starter drive cause the pinion gear to move forward, engaging with the flywheel ring gear.
- Once the engine starts, the flywheel spins faster than the starter motor.
- This overrunning action forces the pinion gear to retract from the flywheel ring gear, preventing damage to the starter motor.
Common Tractor Starter Drive Problems
Several issues can plague a tractor starter drive. Recognizing these problems early can prevent more significant damage and costly repairs. Always disconnect the battery before working on any electrical components!
- Slipping or Grinding: This is a common symptom where the pinion gear doesn't fully engage with the flywheel, resulting in a grinding noise or the starter motor spinning without turning the engine over. This can indicate worn pinion gear teeth or damaged flywheel teeth.
- Failure to Engage: The starter motor spins, but the pinion gear doesn't move forward to engage the flywheel. This could be due to a broken drive spring, worn spiral threads, or a stuck pinion gear.
- Failure to Disengage: The pinion gear remains engaged with the flywheel even after the engine starts, leading to a high-pitched whining noise and potential damage to the starter motor. This can happen due to a binding pinion gear or insufficient lubrication.
- Broken Drive Spring: A broken drive spring can prevent the pinion gear from engaging properly or cause it to engage erratically.
- Worn Pinion Gear Teeth: Over time, the pinion gear teeth can wear down, leading to slipping and grinding.
Troubleshooting the Tractor Starter Drive
Before replacing the entire starter, try these troubleshooting steps. Always disconnect the battery's negative terminal first!
- Visual Inspection: Remove the starter (after disconnecting the battery!) and carefully inspect the pinion gear for worn or damaged teeth. Look for any signs of wear, cracks, or broken pieces on the drive spring and sleeve.
- Manual Engagement Test: Manually try to move the pinion gear forward and backward. It should move freely but with some resistance from the drive spring. If it's stuck or binds, it indicates a problem.
- Check Flywheel Teeth: Inspect the flywheel ring gear teeth through the starter mounting hole. Look for worn, broken, or missing teeth. A damaged flywheel will require more extensive repair.
- Electrical Connections: Ensure all electrical connections to the starter motor are clean and tight. Loose or corroded connections can prevent the starter from receiving sufficient power. Refer to related articles like Ford Tractor Alternator Conversion to ensure your charging system is healthy.
- Voltage Test: Use a voltmeter to check the voltage at the starter motor while attempting to start the tractor. A significant voltage drop indicates a wiring problem or a weak battery.
- Lubrication: Sometimes, a simple lubrication can resolve sticking issues. Use a light penetrating oil to lubricate the spiral threads and pinion gear. Do not use grease, as it can attract dirt and cause further problems.
Replacing the Tractor Starter Drive
If troubleshooting reveals a faulty starter drive, replacement is the next step. Here's a general guide. Always consult your tractor's service manual for specific instructions and torque specifications.
Safety First: Disconnect the negative battery cable before starting any work on the electrical system.
- Remove the Starter: Disconnect the electrical connections to the starter motor. Typically, there will be a large cable from the battery and a smaller wire from the ignition switch. Remove the bolts securing the starter to the engine. The location varies greatly between tractor models; for example, a Case IH starter location can differ significantly from a Massey Ferguson starter motor.
- Disassemble the Starter: Place the starter on a clean workbench. You'll likely need to remove the rear cover and possibly the solenoid to access the starter drive. Refer to your starter's specific repair manual for detailed disassembly instructions.
- Remove the Old Starter Drive: Depending on the design, the starter drive may be held in place by a retaining clip, a snap ring, or a threaded collar. Use the appropriate tools to remove the retaining device and slide the old starter drive off the armature shaft.
- Install the New Starter Drive: Slide the new starter drive onto the armature shaft, ensuring it's oriented correctly. Secure it with the retaining clip, snap ring, or threaded collar. Make sure it moves freely.
- Reassemble the Starter: Reassemble the starter motor, following the disassembly instructions in reverse. Pay attention to the correct placement of all components.
- Install the Starter: Reinstall the starter motor onto the engine, aligning it properly and securing it with the mounting bolts. Tighten the bolts to the torque specifications listed in your tractor's service manual. For instance, a Kubota tractor starter might have specific torque requirements.
- Reconnect Electrical Connections: Reconnect the electrical connections to the starter motor, ensuring they are clean and tight.
- Reconnect the Battery: Reconnect the negative battery cable.
- Test the Starter: Turn the ignition key to start the tractor. The engine should crank over smoothly and start.
Important Considerations:
- Part Numbers: When ordering a new starter drive, be sure to use the correct part number for your specific tractor model and starter motor. For example, if you have an older Ford tractor starter, the part number will be different from a newer model.
- Flywheel Damage: If the flywheel ring gear is damaged, consider replacing it or having it repaired by a qualified machine shop. A damaged flywheel will quickly ruin a new starter drive.
- Starter Solenoid: The starter solenoid is often integrated with the starter motor. If the solenoid is faulty, it can prevent the starter from engaging. Consider replacing the solenoid along with the starter drive.
- Starter Motor Condition: If the starter motor is old or worn, consider replacing the entire starter assembly rather than just the starter drive. This can save you time and money in the long run.
Preventive Maintenance
While starter drives are robust, proper maintenance can extend their lifespan:
- Keep Connections Clean: Regularly clean battery terminals and starter connections to prevent corrosion and ensure good electrical contact.
- Proper Battery Voltage: Ensure your battery is fully charged and in good condition. A weak battery puts extra strain on the starter motor and drive.
- Avoid Prolonged Cranking: Avoid cranking the engine for extended periods. If the engine doesn't start after a few attempts, diagnose the problem before continuing to crank. Overheating the starter can damage the starter drive.
Remember, Madison Tractor Company is your one-stop shop for all your tractor parts needs. We carry a full line of parts for radiators, water pumps, starters, alternators, hydraulic pumps, cylinders, clutch kits, PTO parts, fuel pumps, carburetors, injectors, filters, gaskets, pistons, bearings, seals, belts, chains, concaves and sickle sections. We have the right parts to keep your John Deere tractor alternator or Case IH tractor alternator charging properly, and all the parts you need for everything from combines to hay equipment.
Shop Tractor Starter Drives at Madison Tractor
Don't let a faulty starter drive keep your tractor out of commission. Browse our extensive selection of high-quality tractor starter drives and other starter components at Madison Tractor Company. With our wide selection, competitive prices, and expert support, you can be sure to find the right part for your machine and get back to work quickly. Search our website today! You can also use our AI-Powered Part Finder to search for parts by your specific make and model.
Part of our comprehensive guide
Tractor Starter & Alternator Guide: Find the Right Parts