








Convert Tractor Generator to Alternator: Step by Step
Older tractors often use generators, which can be less reliable than modern alternators. This guide provides a step-by-step process for converting your tractor's generator system to a more efficient and dependable alternator, improving its performance and reliability.
Introduction to Tractor Generator to Alternator Conversion
Many older tractors, including those from John Deere, Ford, Case IH, Massey Ferguson, and others, were originally equipped with generators. While generators served their purpose, they often suffer from lower output at idle, reduced overall power, and increased maintenance needs compared to alternators. Converting a tractor's generator system to an alternator provides several benefits, including improved charging performance, increased reliability, and better support for modern electrical accessories like lights and radios. This guide provides a comprehensive, step-by-step walkthrough of the conversion process. We'll cover what you need, how to do it, and things to watch out for.
Recommended Parts for This Guide
10 parts we recommend — in stock, ships fast, one-click add to cart.
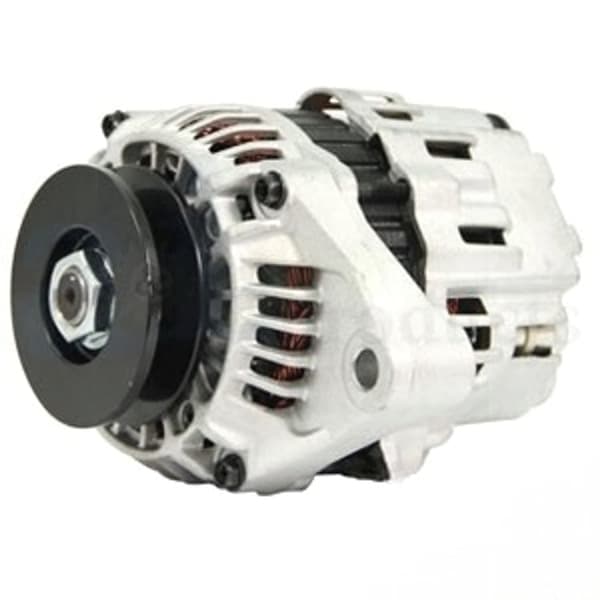
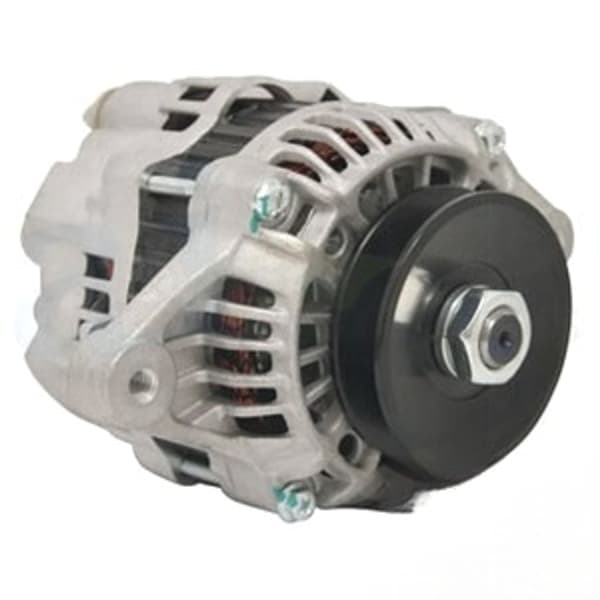
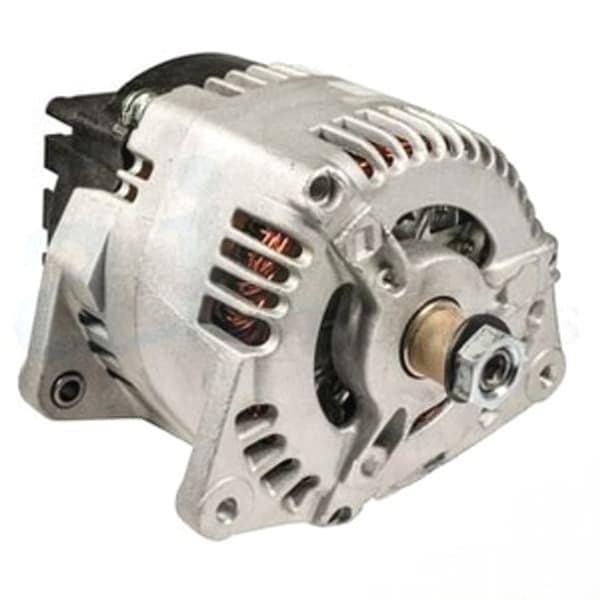
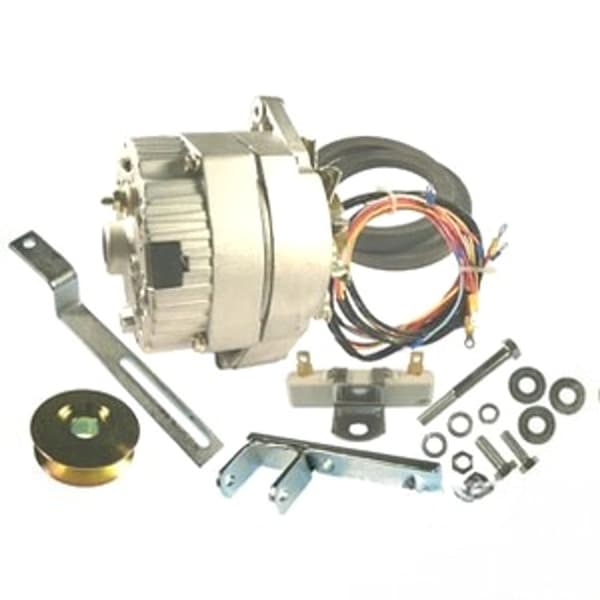
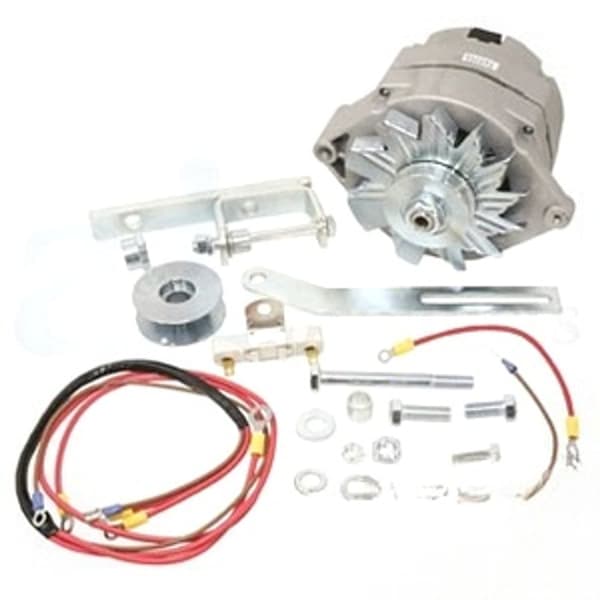
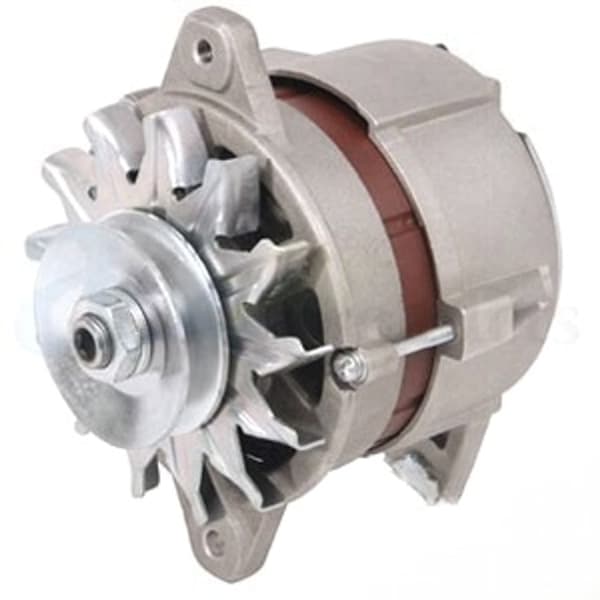
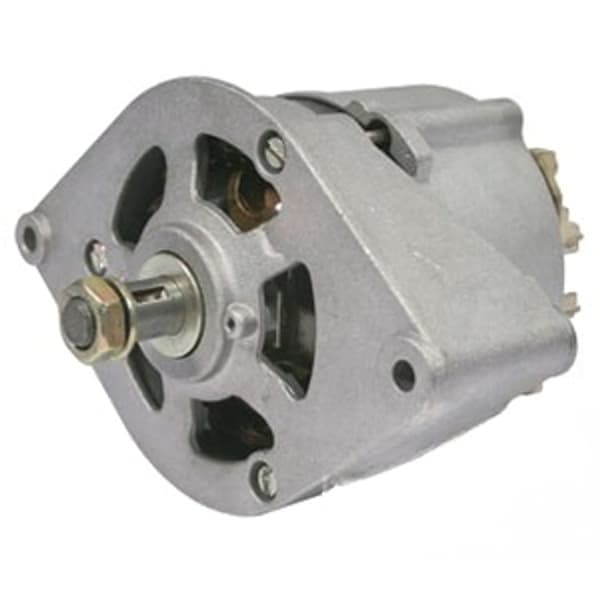
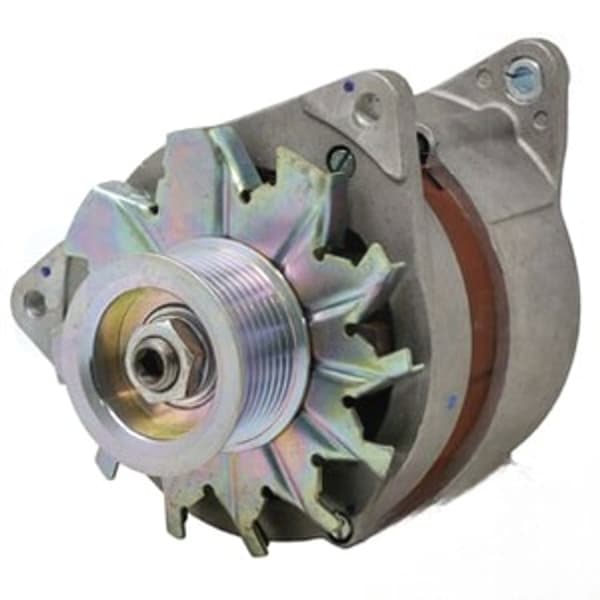
🔍 Looking for a specific part? Try our AI Part Finder — tell it your equipment and what you need, and it will find matching parts instantly.
At Madison Tractor Company, we understand the importance of keeping your farm equipment running smoothly. We stock a wide variety of alternators, starters, radiators, and other tractor parts for all major tractor brands, including John Deere, Case IH, Ford/New Holland, Massey Ferguson, Kubota, Allis Chalmers, Deutz, International Harvester, Oliver, White, Gleaner, Vermeer, Hesston, Mahindra, and Zetor.
Why Convert to an Alternator?
- Increased Output: Alternators, especially modern ones, typically provide significantly more amperage than generators, even at lower engine speeds. This is crucial for running lights, radios, and other electrical accessories, especially in tractors used for tasks like hay baling that require high electrical demands.
- Improved Reliability: Alternators generally have a longer lifespan and require less frequent maintenance than generators. They are also less prone to voltage fluctuations.
- Ease of Installation: While it requires some mechanical aptitude, converting to an alternator is a relatively straightforward process. Conversion kits are often available, simplifying the installation.
- Better Battery Charging: Alternators provide a more stable and efficient charging voltage, leading to improved battery life.
Before starting, consider the existing electrical system. Consult John Deere Tractor Alternator: Amp Ratings & Part Numbers or similar guides to determine the correct alternator size for your tractor and its electrical needs.
Tools and Materials Needed
Before you begin, gather all the necessary tools and materials. This will make the conversion process smoother and more efficient.
- Alternator Conversion Kit (or Individual Components): Many kits are available specifically designed for converting a tractor's generator to an alternator. These kits typically include the alternator, mounting brackets, wiring harness, and instructions. If buying individual components, ensure the alternator is compatible with your tractor's voltage (usually 12V) and amperage requirements. You may also need a different fan belt and pulley. Consider referring to Ford Tractor Alternator Conversion: Generator to Alternator for specific models.
- Basic Hand Tools: Wrenches, sockets, screwdrivers, pliers, wire strippers, wire crimpers, multimeter.
- Electrical Tape or Heat Shrink Tubing: For insulating and protecting wiring connections.
- Wiring Connectors: To ensure secure and reliable electrical connections.
- Voltmeter/Ammeter: To test the electrical system after installation.
- Battery Terminal Cleaner: To clean battery terminals for optimal connection.
- Safety Glasses and Gloves: For personal protection.
Safety Warning: Always disconnect the battery's negative terminal before working on any electrical components. This prevents accidental shorts and potential injury.
Step-by-Step Conversion Process
- Disconnect the Battery: Disconnect the negative (-) terminal of the battery. This is the most crucial step for safety.
- Remove the Generator: Disconnect the wires connected to the generator. Carefully note their positions or take pictures for reference. Remove the generator mounting bolts and remove the generator from the tractor.
- Install the Alternator Mounting Bracket: Install the alternator mounting bracket that came with your conversion kit or that you fabricated yourself. This may require some modification to the existing mounting points on the tractor. Refer to your tractor's service manual for specific instructions.
- Install the Alternator: Mount the alternator onto the bracket. Ensure it is securely fastened and properly aligned with the crankshaft pulley.
- Wiring: This is the most critical step. Most alternators have three wires. 1. Battery wire, 2. Ground, 3. Exciter wire. Most conversion kits come with a diagram.
- Battery Wire: Run a heavy gauge wire (typically 10 or 8 gauge) from the alternator's output terminal to the positive (+) terminal of the battery or to the starter solenoid. This wire carries the charging current to the battery. Consider installing a fuse or circuit breaker in this line for added protection.
- Ground Wire: Connect a wire from the alternator's ground terminal to a clean, solid ground point on the tractor frame. This ensures a good electrical ground.
- Exciter Wire (Voltage Regulator): This wire "excites" the alternator to begin producing power. This is usually connected to the ignition switch so that the alternator only charges when the tractor is running. It often involves using a resistor in the circuit to prevent overcharging. Alternators on Case IH tractors may require a different exciter circuit; see Case IH Tractor Alternator: OEM Replacements by Model for specific models.
- Install the Fan Belt: Install a new fan belt that is the correct length for the alternator and crankshaft pulley. Ensure the belt is properly tensioned.
- Reconnect the Battery: Reconnect the negative (-) terminal of the battery.
- Test the System: Start the tractor and use a voltmeter to check the charging voltage at the battery terminals. It should be between 13.5 and 14.5 volts. If the voltage is outside this range, troubleshoot the wiring and alternator connections.
Specific Tractor Models and Considerations
The specific steps and components required for a generator to alternator conversion may vary depending on the tractor model. Here are some considerations for popular tractor brands:
- John Deere: Conversion kits are readily available for many John Deere models, including the popular 4020, 3020, and 2020 series. Ensure the kit is compatible with your specific model and year. Check the John Deere Tractor Starter: OEM Part Numbers & Cross Reference guide to identify the correct starter for your machine if needed.
- Ford/New Holland: Many older Ford tractors, such as the 8N, 9N, and 2000-7000 series, benefit greatly from an alternator conversion. Kits are available, and the wiring is generally straightforward. Refer to Ford Tractor Starter: 2000-7000 Series & New Holland for information on compatible starters.
- Case IH/International Harvester: Conversion kits are available for many Case IH and International Harvester models, including the Farmall H, M, and Super M. Pay close attention to the wiring instructions, as some models may have unique electrical configurations. See Case IH Tractor Starter Motor: All Models & Farmall for compatible starters.
- Massey Ferguson: Massey Ferguson tractors, such as the MF 35, 135, and 165, can also be converted to alternators. Ensure the kit is compatible with your tractor's engine and electrical system. Consider upgrading the radiator if adding more electrical load.
- Kubota: While some newer Kubota tractors already have alternators, older models may benefit from an upgrade. Consult your tractor's service manual for specific instructions and compatibility information. Ensure proper starter operation by using Kubota Tractor Starter: B, L & M Series Part Numbers to find the right parts.
Troubleshooting
If you encounter problems after the conversion, here are some common troubleshooting steps:
- No Charging: Check the wiring connections, especially the battery and exciter wires. Ensure the alternator is properly grounded. Use a multimeter to test the alternator's output voltage.
- Low Charging Voltage: Check the fan belt tension and the condition of the alternator. The alternator may need to be replaced.
- Overcharging: Check the voltage regulator and the exciter wire connection. The voltage regulator may be faulty.
Maintaining Your New Alternator
Proper maintenance will extend the life of your new alternator. Regularly inspect the wiring connections for corrosion and damage. Keep the alternator clean and free of debris. Check the fan belt tension periodically. Replace the alternator if it shows signs of wear or failure.
Conclusion
Converting your tractor's generator to an alternator is a worthwhile upgrade that can improve its performance, reliability, and overall functionality. By following these steps and taking the necessary precautions, you can successfully convert your tractor and enjoy the benefits of a modern alternator system. Remember to consult your tractor's service manual for specific instructions and compatibility information. With a little effort and the right parts, you can keep your tractor running strong for years to come.
Madison Tractor Company is your one-stop shop for all your tractor parts needs. We offer a wide selection of alternators, starters, radiators, and other tractor parts for all major brands. Browse our extensive catalog today and find the parts you need to keep your equipment running smoothly. Don't hesitate to contact our knowledgeable team if you have any questions or need assistance finding the right parts for your tractor! You can also use our AI-Powered Part Finder to search for parts by your specific make and model.
Part of our comprehensive guide
Tractor Starter & Alternator Guide: Find the Right Parts