








John Deere Alternator Not Charging: Troubleshooting Guide
Having trouble with your John Deere alternator? This guide provides troubleshooting steps to diagnose and fix a charging problem. From checking connections to testing the alternator itself, we'll help you get back up and running.
A dead battery on your John Deere tractor is frustrating, especially when you need to get work done. One of the most common culprits behind a consistently dead battery is a faulty charging system, often stemming from a John Deere alternator not charging. If you're dealing with a dead battery and need to get back to work quickly, a reliable lithium jump starter can be a lifesaver. This guide, brought to you by the experts at Madison Tractor Company, will walk you through a systematic approach to diagnosing and resolving this issue, ensuring your John Deere, or any of your farm machinery, is back in operation as quickly as possible. We carry a wide range of parts, including radiators, water pumps, starters, alternators, hydraulic pumps more for John Deere, Case IH, Ford, New Holland, Massey Ferguson, Kubota, Allis Chalmers, Deutz, International Harvester, Oliver, White, Gleaner, Vermeer, Hesston, Mahindra Zetor tractors.
Recommended Parts for This Guide
6 parts we recommend — in stock, ships fast, one-click add to cart.
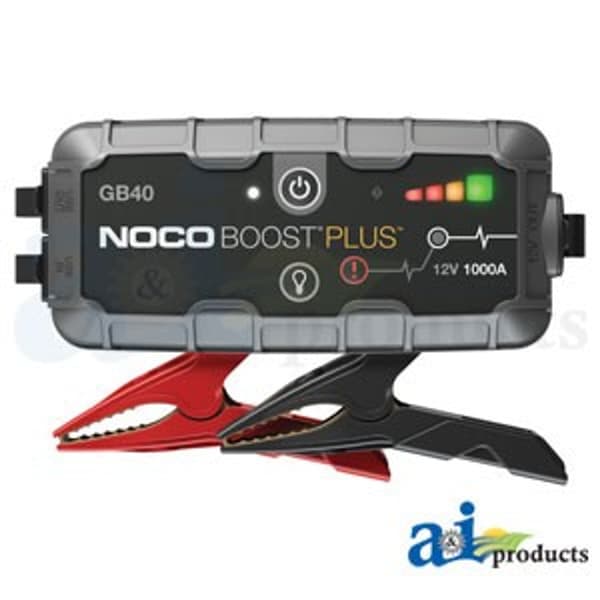
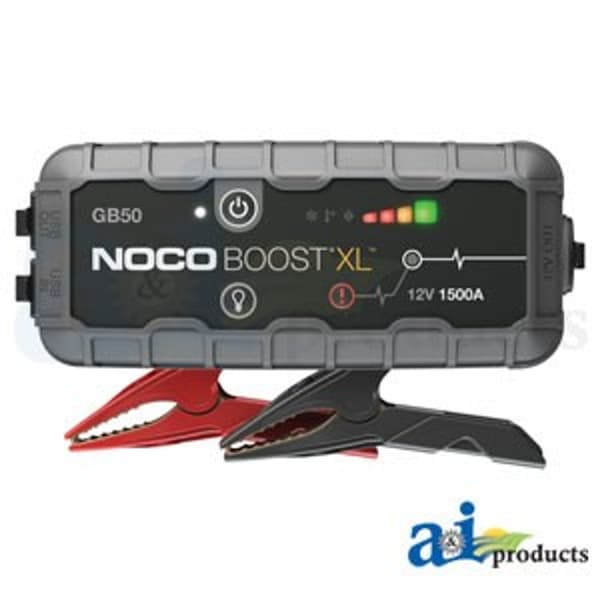
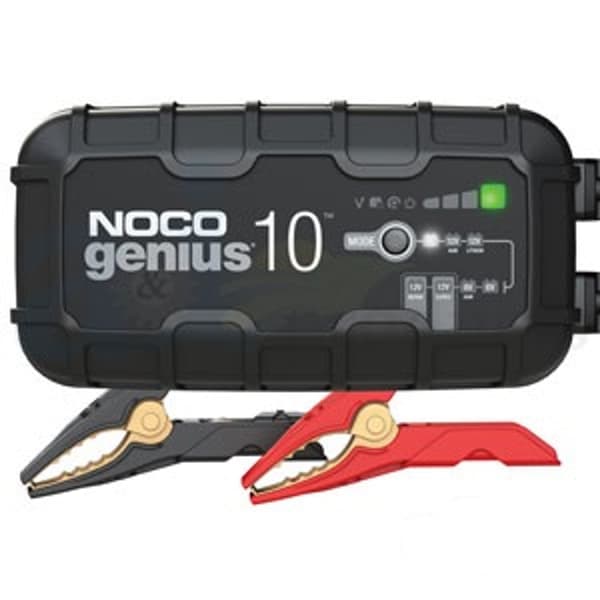
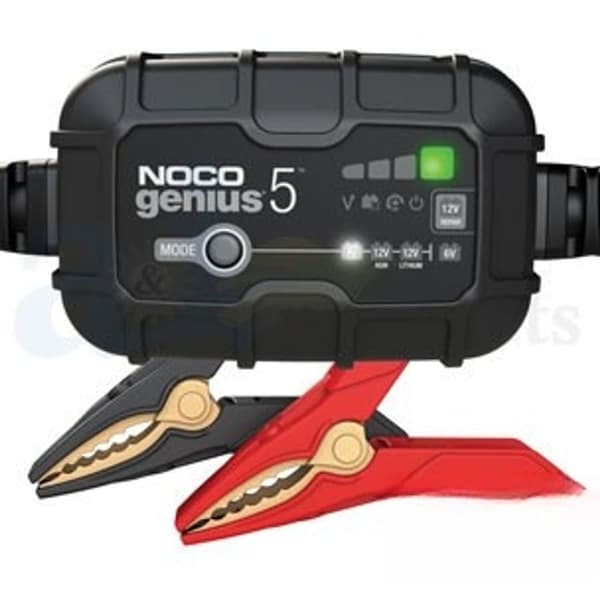
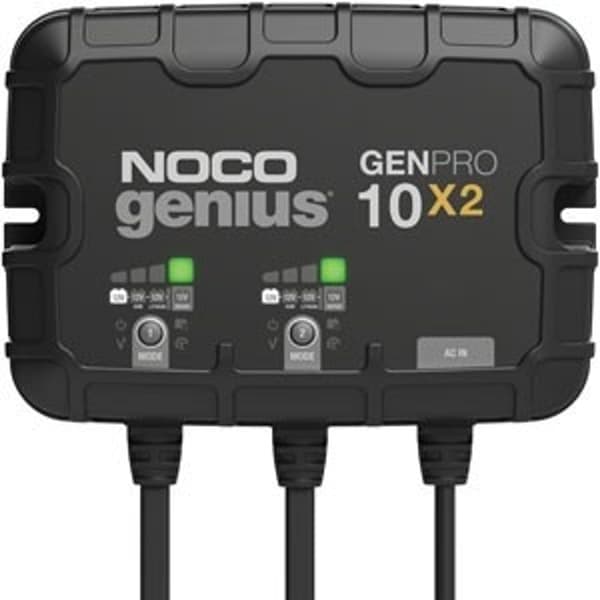
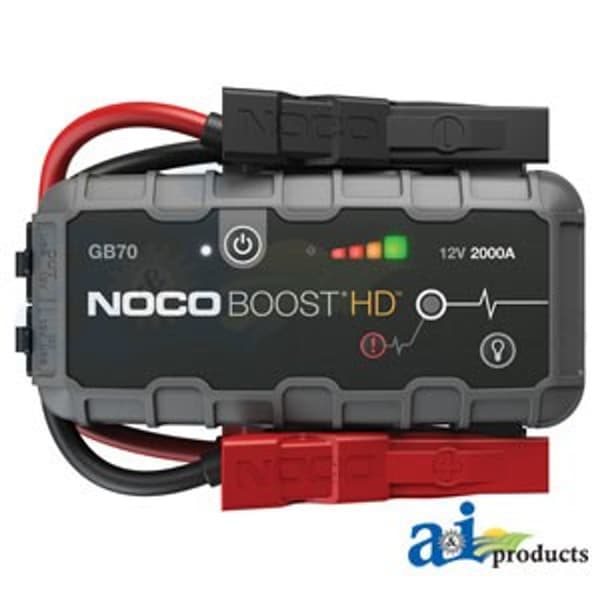
🔍 Looking for a specific part? Try our AI Part Finder — tell it your equipment and what you need, and it will find matching parts instantly.
Safety First!
Before beginning any troubleshooting, always disconnect the negative battery cable. This prevents accidental shorts or electrical shocks. Wear safety glasses to protect your eyes ensure the area is well-ventilated, especially when working with batteries. Be mindful of hot engine components if the engine has recently been running.
Preliminary Checks & Visual Inspection
Before diving into complex electrical tests, perform a thorough visual inspection. This simple step can often reveal the root of the problem.
- Battery Condition Is the battery old, cracked, or showing signs of sulfation? A weak or damaged battery may not accept a charge, even if the alternator is functioning correctly. Consider having the battery load tested. If your battery is simply discharged, a quality battery charger can help restore it.
- Cable Connections Check both the positive and negative battery cables for corrosion, looseness, or damage. Clean corroded terminals with a wire brush and ensure all connections are tight. Even slight corrosion can impede current flow. Follow the battery cable to the starter. For more on starters, check our guide to John Deere Tractor Starters.
- Wiring Harness Inspect the wiring harness leading to the alternator. Look for frayed wires, cracked insulation, or loose connectors. Pay close attention to the connections at the alternator itself.
- Alternator Belt Ensure the alternator belt is properly tensioned and in good condition. A loose or worn belt will slip, preventing the alternator from spinning at the required speed to generate electricity. Check for cracks or fraying along the belt's edges.
- Fusible Links/Fuses Locate and inspect the fusible links or fuses in the charging circuit. A blown fuse can interrupt the flow of current. Consult your John Deere operator's manual for fuse locations and amperage ratings.
Testing the Charging System
If the visual inspection doesn't reveal any obvious issues, it's time to perform some electrical tests using a multimeter.
Battery Voltage Test
- With the engine off, use a multimeter to measure the battery voltage. A fully charged 12-volt battery should read around 12.6 volts. If it's low, you may need a battery charger to bring it back to full charge before testing the charging system.
- Start the engine and let it run at a moderate RPM (around 1500 RPM).
- Measure the battery voltage again. It should now be between 13.5 and 14.5 volts. If the voltage remains the same or drops, the alternator is likely not charging.
Alternator Output Test
- With the engine running at a moderate RPM, connect the positive lead of the multimeter to the alternator's output terminal (usually labeled “BAT” or “B+”).
- Connect the negative lead of the multimeter to a good ground point on the tractor frame.
- The multimeter should read between 13.5 and 14.5 volts. A reading significantly outside this range indicates a problem with the alternator.
Continuity Test (Stator Winding)
Important: Disconnect the alternator from the electrical system before performing this test.
- Set your multimeter to the ohms setting (continuity test).
- Check for continuity between each of the stator winding terminals. There should be low resistance (close to zero ohms).
- Check for continuity between each stator winding terminal and the alternator case. There should be no continuity (infinite resistance). If you find continuity to the case, the stator winding is shorted.
Troubleshooting Specific Issues
Low Voltage (Below 13.5 Volts)
- Loose or corroded connections Re-check all connections in the charging circuit, including battery terminals, ground connections alternator connections.
- Worn brushes Inside the alternator, brushes make contact with the slip rings to transfer current. Over time, these brushes wear down. Replacement brushes are often available, depending on the alternator model.
- Faulty voltage regulator The voltage regulator controls the alternator's output. A faulty regulator can prevent the alternator from charging properly. This is often integrated into the alternator itself.
- Slipping belt Ensure the alternator belt is properly tensioned and in good condition.
High Voltage (Above 14.5 Volts)
- Faulty voltage regulator A voltage regulator that allows the alternator to overcharge can damage the battery and other electrical components.
- Poor ground connection A bad ground can cause the voltage regulator to misread the system voltage, leading to overcharging.
No Voltage
- Blown fuse or fusible link Check all fuses and fusible links in the charging circuit.
- Open circuit in wiring harness Use a multimeter to check for continuity in the wiring harness between the alternator and the battery.
- Faulty alternator If all other tests pass, the alternator itself is likely faulty and needs to be replaced.
Specific John Deere Models & Considerations
The charging system configuration can vary slightly depending on the John Deere tractor model and year. Here are some specific considerations for common models
- John Deere 4020 TY24309, AR62401-N
- John Deere 3020 Similar to the 4020, check the external voltage regulator.
- John Deere 4430 Later models often have an internally regulated alternator. Check the alternator's connections and test its output.
- John Deere Combines (e.g., 7700, 7720) Combine charging systems are similar to tractor systems but often have higher amperage alternators to support the additional electrical loads. Pay close attention to the condition of the wiring harness, as combines operate in dusty environments.
When replacing an alternator, consider upgrading to a higher amperage unit if you frequently use auxiliary electrical equipment. Madison Tractor Company offers a variety of John Deere tractor alternators with different amperage ratings to meet your specific needs. See our guide to John Deere Tractor Alternator: Amp Ratings & Part Numbers for more information.
When to Replace vs. Repair?
In some cases, repairing an alternator may be a viable option. This typically involves replacing worn brushes, bearings, or the voltage regulator. However, rebuilding an alternator requires specialized tools and knowledge. For most individuals, replacing the entire alternator is the more practical and cost-effective solution. When purchasing a new alternator, ensure it's compatible with your John Deere model and meets the required amperage rating. A quality replacement part will provide years of reliable service. We offer OEM quality replacement parts for Ford and New Holland tractors, including options for Ford Tractor Alternator Conversion from generators. We can also help you find the right Case IH or Case IH Alternator for your specific needs. We also carry Massey Ferguson AlternatorsKubota Alternators.
Preventative Maintenance
Regular maintenance can help prevent charging system problems and extend the life of your alternator. Here are some tips
- Inspect the alternator belt regularly Check for wear, cracks proper tension. Replace the belt if necessary.
- Clean battery terminals Keep the battery terminals clean and free of corrosion.
- Check wiring connections Periodically inspect the wiring harness for loose or damaged connections.
- Avoid excessive idling Excessive idling can strain the charging system.
Need a New Alternator or Other Parts?
Don't let a faulty alternator keep you sidelined. At Madison Tractor Company, we offer a wide selection of high-quality alternators, batteries other electrical components for John Deere and other major brands. We carry a variety of parts including alternators, filters, gaskets, pistons, bearings, seals, belts, chains, concaves sickle sections. Browse our online catalog or contact our knowledgeable parts specialists for assistance. We are committed to providing you with the parts you need to keep your farm equipment running smoothly. Visit our website today to find the perfect replacement alternator for your John Deere tractor, combine, or other agricultural machinery. We also stock John Deere Tractor Starters and components. Our experts can help you find the right part for your equipment.
🔍 Can't Find Your Part?
Use our AI-Powered Part Finder to search by your equipment's make, model, and what you need. It's the fastest way to find the exact part for your machine.
Try the Part Finder →Part of our comprehensive guide
Tractor Starter & Alternator Guide: Find the Right Parts