








Tractor LED Light Bar: Mounting & Wiring for Farm Use
Improve visibility on your farm with LED light bars! This guide provides step-by-step instructions for mounting and wiring tractor LED lights on various tractor models, including John Deere, Case IH, and Ford. Learn about safe wiring practices and essential components to ensure a reliable and bright lighting system for your agricultural equipment.
Introduction to Tractor LED Lights
Working on the farm often means long hours, sometimes extending into the night. Poor visibility can lead to accidents and decreased efficiency. Upgrading to tractor LED lights, specifically LED light bars, is a game-changer. These lights offer significantly brighter illumination, lower power consumption, and a longer lifespan compared to traditional halogen or incandescent lights. At Madison Tractor Company, we understand the importance of reliable equipment. That's why we offer a wide selection of tractor LED light bars and kits and related electrical components for your John Deere, Case IH, Ford, New Holland, Massey Ferguson, Kubota, and other tractor models.
Recommended Parts for This Guide
10 parts we recommend — in stock, ships fast, one-click add to cart.
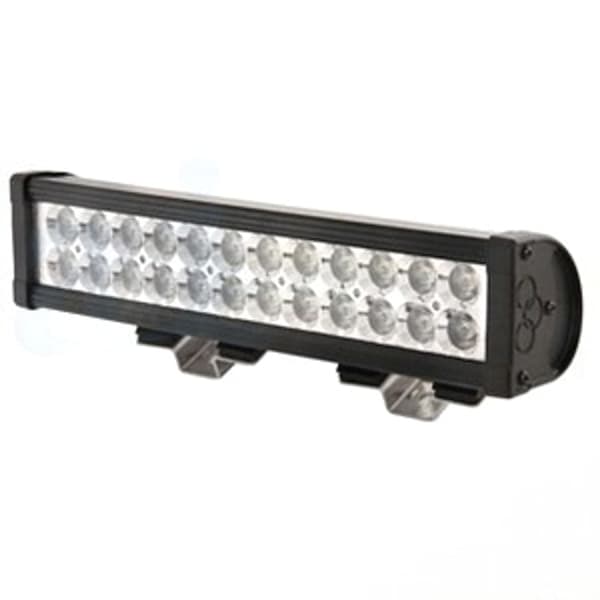
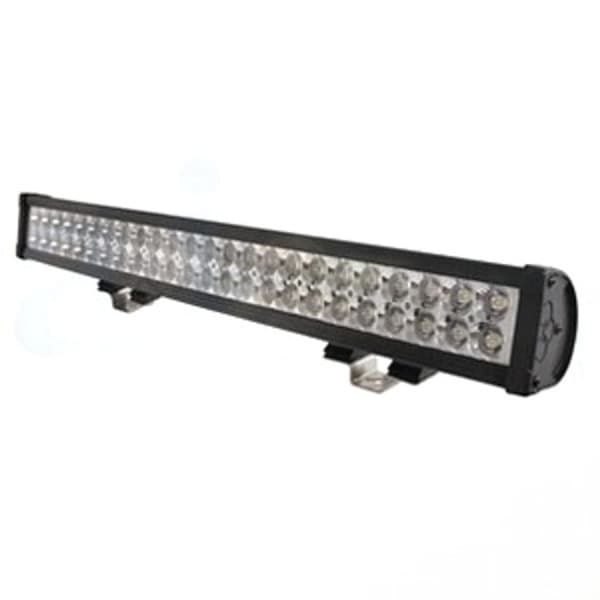
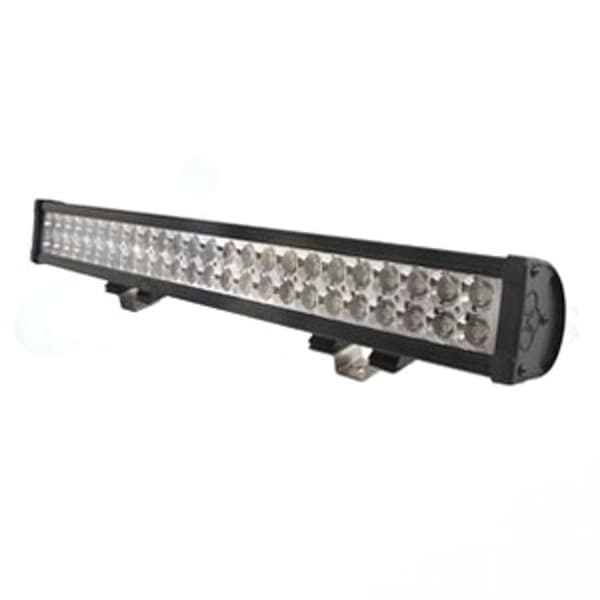
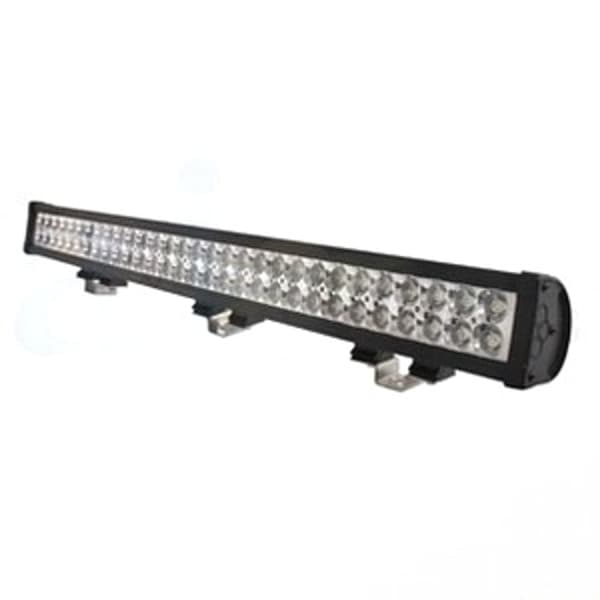
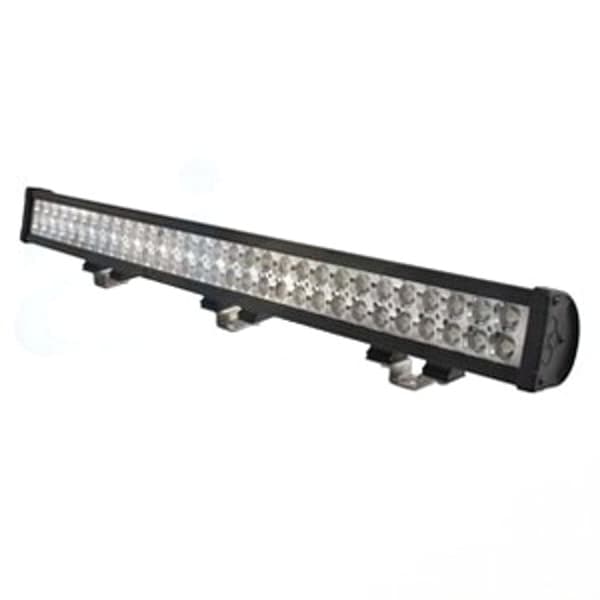
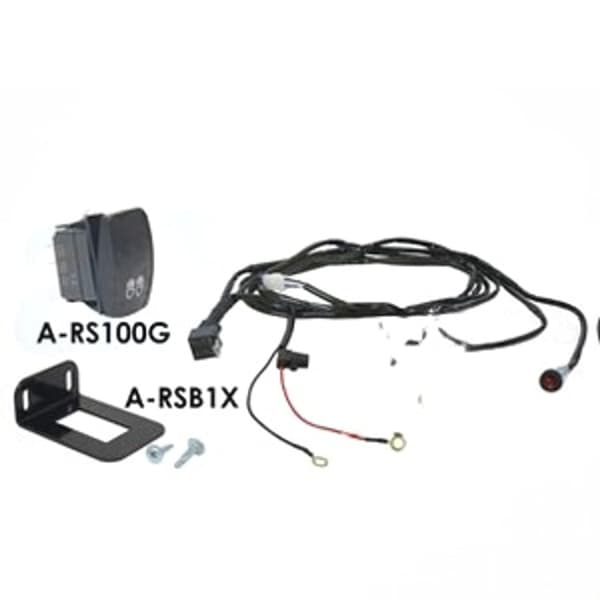
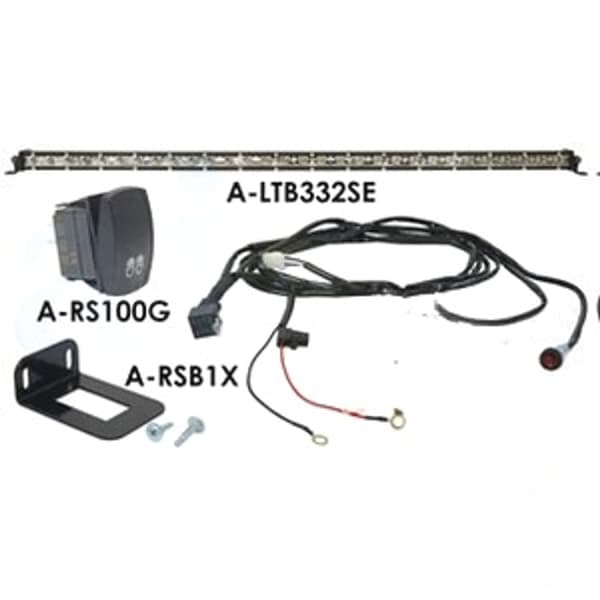
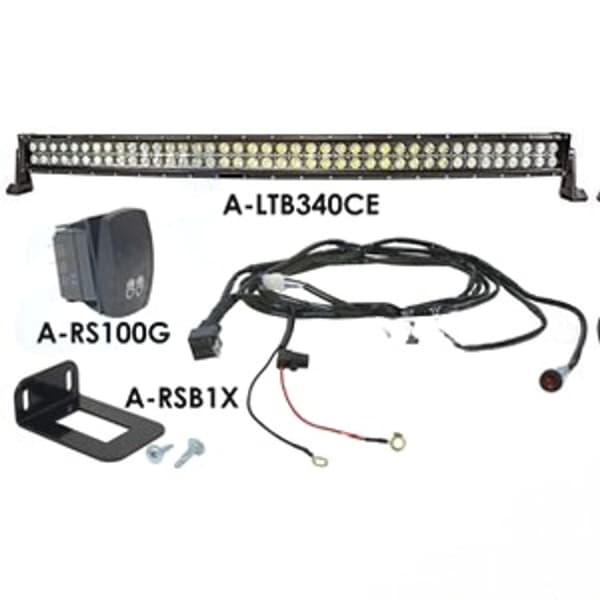
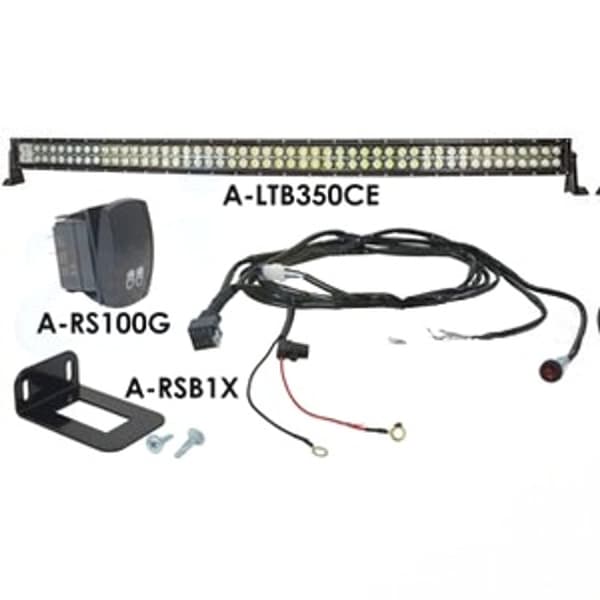
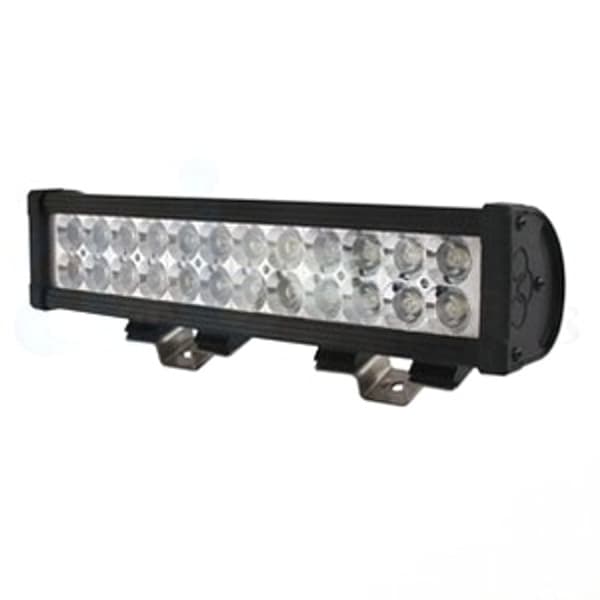
🔍 Looking for a specific part? Try our AI Part Finder — tell it your equipment and what you need, and it will find matching parts instantly.
Planning Your Tractor LED Light Bar Installation
Before you start wrenching, careful planning is essential. Consider the following:
- Lighting Needs: What areas do you need to illuminate? The front for driving, the sides for implements, or the rear for hooking up equipment? Determine the size and brightness (lumens) of the LED light bar you need.
- Mounting Location: Popular locations include the tractor cab roof, front bumper, roll bar, or rear fender. Ensure the mounting location provides a clear, unobstructed view and doesn't interfere with tractor operation.
- Wiring Route: Plan the path for your wiring, avoiding moving parts, sharp edges, and heat sources. Consider using existing wiring harnesses where possible.
- Power Source: Determine where you will tap into the tractor's electrical system. Options include the battery, accessory terminal on the ignition switch, or an existing lighting circuit.
- Safety First: Always disconnect the battery before working on the electrical system to prevent shorts and electrical shock. Wear safety glasses and gloves.
Gathering the Necessary Tools and Materials
Having the right tools and materials on hand will make the installation process smoother. Here's a checklist:
- LED Light Bar: Choose a light bar with appropriate lumens, size, and voltage (typically 12V or 24V).
- Mounting Brackets: Ensure the brackets are compatible with your light bar and the intended mounting location on your tractor.
- Wiring Harness: A pre-wired harness typically includes a relay, fuse, switch, and wiring for easy installation. Consider a harness with a built-in dimmer if desired.
- Wire: Use appropriately sized wire (gauge) for the amperage of the light bar. Consult a wiring chart for proper wire gauge selection.
- Connectors: Use weatherproof connectors (e.g., butt connectors, spade connectors) to ensure a secure and reliable connection.
- Fuse: A fuse protects the circuit from overloads. Use a fuse with the appropriate amperage rating for the light bar.
- Relay: A relay allows you to switch the light bar on and off with a low-current switch, protecting the switch from burning out.
- Switch: Choose a switch that is rated for the voltage and amperage of the circuit.
- Electrical Tape or Heat Shrink Tubing: Insulate and protect your wiring connections.
- Zip Ties: Secure the Wiring Harness to the tractor frame.
- Tools: Wire stripper, crimper, screwdriver, wrench, drill, multimeter.
Mounting the Tractor LED Light Bar
Follow these steps to mount your LED light bar securely:
- Position the Mounting Brackets: Determine the optimal location for the light bar and mark the mounting holes.
- Drill Mounting Holes (If Necessary): If the mounting location doesn't have pre-drilled holes, drill pilot holes and then enlarge them to the appropriate size for the mounting hardware. Be careful not to drill into any existing wiring or hydraulic lines.
- Attach the Mounting Brackets: Secure the mounting brackets to the tractor using bolts, nuts, and washers. Torque the bolts to the manufacturer's specifications (if available).
- Attach the LED Light Bar to the Brackets: Secure the LED light bar to the mounting brackets using the provided hardware. Ensure the light bar is properly aligned and tightened.
Wiring the Tractor LED Light Bar
This is where precision and safety are crucial. Refer to the wiring diagram that came with your light bar or wiring harness. Here's a general guide:
- Connect the Power Wire: Connect the positive (+) wire from the wiring harness to the positive (+) terminal on the tractor's battery or to a fused accessory terminal. For John Deere tractors, you might find a suitable accessory terminal near the instrument panel. For older tractors, consider installing a dedicated fused power source. If working on a John Deere tractor alternator system, ensure you are not overloading the alternator's capacity.
- Connect the Ground Wire: Connect the negative (-) wire from the wiring harness to a clean, unpainted metal surface on the tractor frame. This ensures a good ground connection.
- Connect the Switch: Mount the switch in a convenient location within the cab. Connect the switch to the wiring harness according to the diagram.
- Connect the Relay (If Applicable): If using a relay, connect the relay according to the wiring diagram. The relay will typically have terminals for the power source, ground, switch, and light bar.
- Connect the Light Bar: Connect the positive (+) and negative (-) wires from the wiring harness to the corresponding terminals on the LED light bar.
- Test the Light Bar: Before securing the wiring, test the light bar to ensure it is working properly. Turn on the switch and verify that the light bar illuminates.
- Secure the Wiring: Use zip ties to secure the wiring harness to the tractor frame, keeping it away from moving parts and heat sources. Protect the wiring with electrical tape or heat shrink tubing where necessary.
Specific Tractor Model Considerations
While the general principles remain the same, specific tractor models may require slightly different approaches:
- John Deere: Many John Deere tractors have pre-wired accessory terminals that can be used to power LED light bars. Consult your John Deere tractor's operator's manual for the location and amperage rating of these terminals. When adding electrical accessories, be mindful of the John Deere tractor alternator capacity.
- Case IH and International Harvester: Similar to John Deere, Case IH and International Harvester tractors may have pre-wired accessory terminals. Check your operator's manual. For older models, you may need to run a dedicated power wire from the battery. If you're experiencing electrical issues, it might be related to the Case IH tractor alternator or the Case IH tractor starter motor.
- Ford and New Holland: Ford and New Holland tractors often require a dedicated power wire to be run from the battery, especially older models. If converting from a generator to an alternator, as described in our Ford tractor alternator conversion guide, consider upgrading the wiring to handle the increased amperage. And if you are having trouble getting your older tractor started you may need a Ford tractor starter.
- Massey Ferguson: Massey Ferguson tractors can be wired similarly to Ford and New Holland. Ensure the wiring is properly protected from the elements. For starting issues on older models you may want to look into the Massey Ferguson starter motor.
- Kubota: Kubota tractors typically have a robust electrical system, but it's still important to check the amperage rating of the circuit you are tapping into. Before you assume you have a larger problem with your tractor, check to see if you might just need a new Kubota starter motor.
Troubleshooting Common Issues
If you encounter problems during or after the installation, consider these troubleshooting tips:
- Light Bar Doesn't Turn On: Check the fuse, wiring connections, and switch. Use a multimeter to verify that power is reaching the light bar.
- Light Bar Flickers: This could be due to a loose connection or a weak ground. Check all wiring connections and ensure the ground connection is clean and secure.
- Fuse Blows Repeatedly: This indicates an overload or a short circuit. Check the wiring for damage and ensure the fuse is the correct amperage rating.
- Dim Light: This could be due to low voltage or a poor ground connection. Check the battery voltage and the ground connection.
Remember that issues with lights may stem from other problems in your tractor's electrical system. A failing John Deere tractor starter or other parts can also impact the overall electrical performance.
Maintaining Your Tractor LED Lights
To ensure your tractor LED lights continue to provide reliable illumination, perform regular maintenance:
- Inspect Wiring: Periodically inspect the wiring for damage, corrosion, or loose connections.
- Clean the Light Bar: Clean the lens of the light bar with a soft cloth and mild detergent to remove dirt and debris.
- Check Mounting Brackets: Ensure the mounting brackets are still securely attached and tightened.
Shop Tractor Parts at Madison Tractor Company
Upgrading to tractor LED lights is a worthwhile investment for any farmer or rancher looking to improve visibility and safety. At Madison Tractor Company, we carry a comprehensive selection of tractor LED light bars and kits, starters, alternators, and other electrical components for all major tractor brands, including John Deere, Case IH, Ford, New Holland, Massey Ferguson, Kubota, Allis Chalmers, Deutz, International Harvester, Oliver, White, Gleaner, Vermeer, Hesston, Mahindra, and Zetor. We also stock a wide range of other parts, including radiators, water pumps, hydraulic pumps, cylinders, clutch kits, PTO parts, fuel pumps, carburetors, injectors, filters, gaskets, pistons, bearings, seals, belts, chains, concaves, and sickle sections. Browse our online catalog or contact our knowledgeable parts experts for assistance. We're here to help you keep your farm equipment running smoothly! You can also use our AI-Powered Part Finder to search for parts by your specific make and model.
Part of our comprehensive guide
Tractor Starter & Alternator Guide: Find the Right Parts