








Ford Tractor 12V Conversion: 2N, 8N & 9N Wiring Guide
Converting your Ford 2N, 8N, or 9N tractor to a 12-volt system can improve starting reliability and allow for brighter lights. This guide provides a comprehensive, step-by-step approach to the conversion process, including wiring diagrams and parts recommendations.
Introduction to Ford Tractor 12 Volt Conversion
If you're experiencing hard starts, dim lights, or general electrical unreliability with your Ford 2N, 8N, or 9N tractor, a 12-volt conversion might be the solution. These classic tractors originally came with a 6-volt electrical system, which can struggle in colder weather or with modern attachments. Converting to 12 volts provides more power for starting and running accessories. Here at Madison Tractor Company, we understand the importance of keeping your vintage Ford running smoothly. This guide will walk you through the 12-volt conversion process, ensuring a successful upgrade.
Recommended Parts for This Guide
5 parts we recommend — in stock, ships fast, one-click add to cart.

🔍 Looking for a specific part? Try our AI Part Finder — tell it your equipment and what you need, and it will find matching parts instantly.
Why Convert to 12 Volts?
Several benefits come with converting your Ford tractor to a 12-volt system:
- Improved Starting: 12 volts provides more cranking power, especially in cold conditions.
- Brighter Lights: Modern 12-volt bulbs are significantly brighter than their 6-volt counterparts, improving visibility and safety.
- Accessory Compatibility: Many modern accessories, like radios and auxiliary lights, are designed for 12-volt systems.
- Increased Reliability: A healthy 12-volt system is generally more reliable than an aging 6-volt system.
Parts Needed for the Conversion
Before you begin, gather the necessary parts. Madison Tractor Company carries a wide selection of parts for Ford tractors, including alternators, starters, and electrical components. Here's a list of what you'll need:
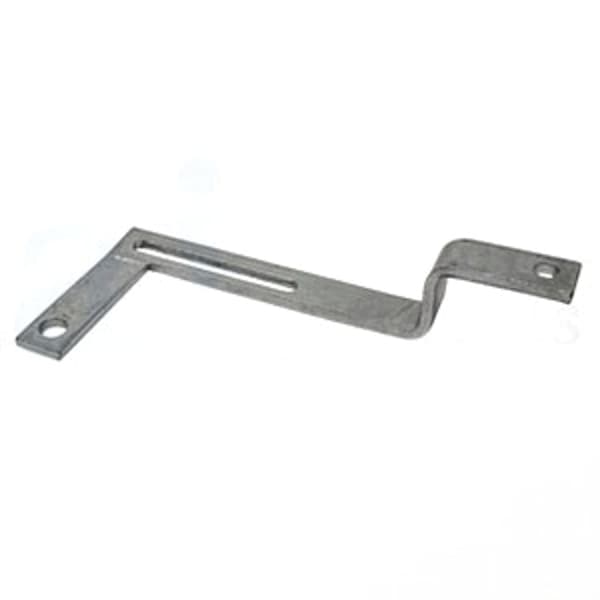
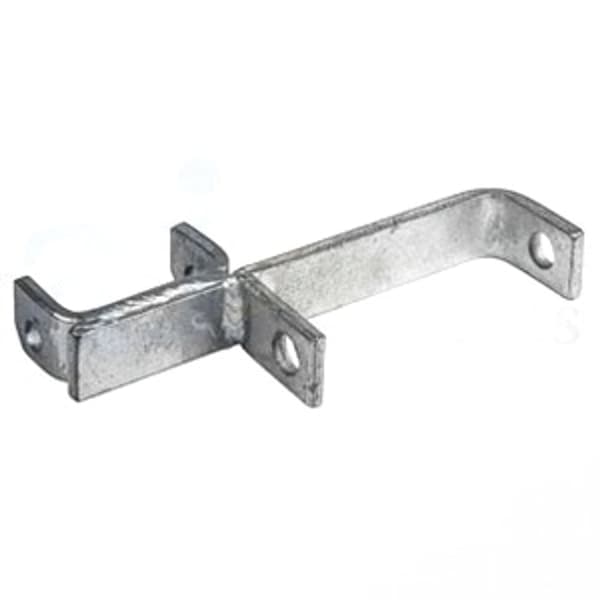
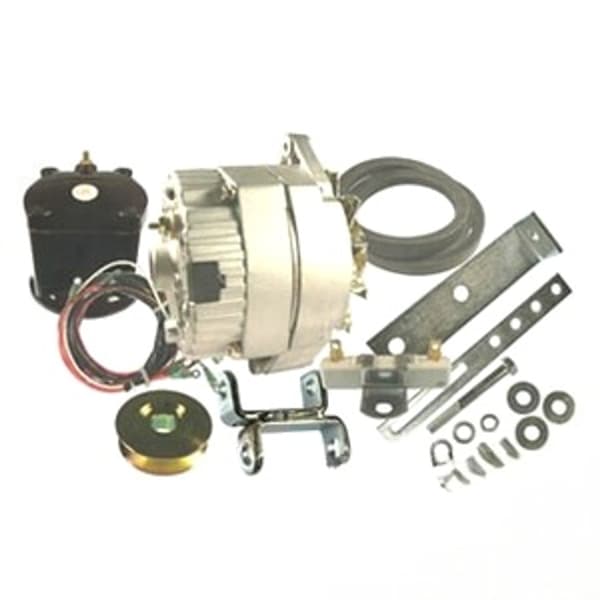
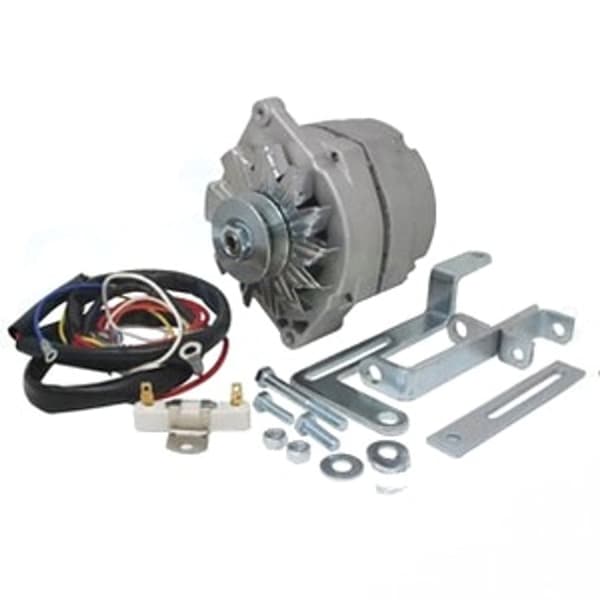
- 12-Volt Alternator or Generator: An alternator is generally preferred for its higher output and reliability. Many conversion kits are available. The common Delco 10SI or 12SI alternator is a popular choice, often requiring mounting brackets, such as an adjusting arm and a top bracket. If your chosen kit doesn't include one, remember to acquire a suitable pulley, ensuring it's compatible with your tractor model (e.g., a 9N variant).
- 12-Volt Battery: Choose a battery with sufficient cold-cranking amps (CCA) for your climate.
- 12-volt coil: A 12-volt coil is essential to match the new voltage. Using the original 6-volt coil will damage it.
- 12-Volt Bulbs: Replace all bulbs with 12-volt versions (headlights, taillights, instrument panel lights).
- Voltage Regulator (if using an alternator with an external regulator): Some alternators have internal regulators; others require an external one.
- Wiring: New wiring is highly recommended to ensure reliable connections and prevent shorts. 12 or 14 gauge wire is generally sufficient for most circuits.
- Ammeter or Voltmeter: An ammeter will show the charging/discharging rate, while a voltmeter displays the battery voltage. Choose one that suits your preference.
- Resistor (optional): Some 12-volt coils require a ballast resistor. Check the coil's specifications.
- Fuse Block: Installing a fuse block will protect your electrical system from overloads.
- Battery Cables: Purchase new, heavier-gauge battery cables.
- Terminal Connectors, Wire Strippers, and Crimping Tool: Essential for making clean and secure connections.
Step-by-Step Conversion Guide
Safety First: Disconnect the battery's negative terminal before starting any electrical work.
- Remove the Existing 6-Volt Components: Disconnect and remove the 6-volt battery, generator, voltage regulator (if applicable), coil, and all 6-volt bulbs.
- Install the 12-Volt Alternator: Mount the alternator using the appropriate bracket. Connect the alternator's wires according to the manufacturer's instructions. Typically, this involves connecting the alternator's output terminal to the battery's positive terminal through the ammeter or voltmeter. If using an internally regulated alternator, you'll need to wire the “sense” wire to a switched 12V source.
- Install the 12-Volt Coil: Replace the 6-volt coil with the 12-volt coil. If the coil requires a ballast resistor, connect it in series with the coil's positive terminal.
- Wiring: This is the most crucial step. Follow this simplified wiring diagram, adapting it to your specific alternator and tractor model.
- Battery Positive (+): Connect the positive battery cable to the starter solenoid. Also, run a wire from the starter solenoid to the ammeter (if used) or directly to the alternator (through a fuse).
- Battery Negative (-): Connect the negative battery cable to the tractor frame for a good ground. Ensure the connection is clean and free of rust.
- Alternator Wiring: Connect the alternator's output terminal to the battery positive (+) through the ammeter (if used). The 'sense' wire (if applicable) needs to be connected to a switched 12V source, often from the ignition switch.
- Ignition Switch: Connect the ignition switch to a 12V power source and then to the coil's positive terminal (through the ballast resistor, if used).
- Starter Solenoid: Connect the ignition switch to the starter solenoid's trigger terminal.
- Lights: Run wires from the fuse block to the headlights, taillights, and instrument panel lights. Ensure each light has a good ground connection.
- Replace Bulbs: Install 12-volt bulbs in all lights.
- Install the 12-Volt Battery: Place the new 12-volt battery in the battery tray and connect the cables, ensuring correct polarity.
- Testing: Before starting the engine, double-check all wiring connections. Then, turn on the ignition switch and check for any shorts or unusual behavior. If everything seems correct, attempt to start the engine.
Important Wiring Considerations
- Grounding: A good ground connection is essential for proper electrical function. Clean the frame area where the negative battery cable connects to ensure a solid ground.
- Polarity: Double-check the polarity of all connections. Reversing the polarity can damage electrical components.
- Fuses: Install fuses to protect the wiring and components from overloads. A fuse block is highly recommended.
- Wiring Diagrams: Refer to a wiring diagram specific to your tractor model and the alternator you are using.
Troubleshooting Common Issues
- No Start: Check the battery voltage, starter solenoid, and ignition switch. Ensure all connections are clean and tight. The Ford Tractor Starter: 2000-7000 Series & New Holland article may be helpful here.
- Dim Lights: Check the battery voltage and the condition of the bulbs and wiring. Ensure the lights have a good ground connection.
- Battery Not Charging: Check the alternator output voltage and the voltage regulator (if applicable). Ensure the alternator is properly grounded.
Specific Model Considerations
- Ford 8N: The Ford 8N is a popular model for 12-volt conversions. Many aftermarket kits are available specifically for this tractor.
- Ford 9N/2N: These models may require more modification to accommodate the alternator. Ensuring correct alternator bracketry is key for a successful conversion.
Beyond Electrical: Maintaining Your Ford Tractor
While this guide focuses on the electrical system, remember that a well-maintained tractor requires attention to all its systems. Madison Tractor Company stocks a comprehensive range of parts for your Ford, including radiators, water pumps, hydraulic pumps, clutch kits, and engine parts. Whether you need filters, gaskets, pistons, or bearings, we have you covered. We also carry parts for other major brands like John Deere (see: John Deere Tractor Alternator: Amp Ratings & Part Numbers), Case IH (see: Case IH Tractor Alternator: OEM Replacements by Model), Massey Ferguson (see: Massey Ferguson Starter Motor: Models 35 to 399), Kubota (see: Kubota Tractor Starter: B, L & M Series Part Numbers), Allis Chalmers, Deutz, International Harvester, Oliver, White, Gleaner, Vermeer, Hesston, Mahindra, and Zetor.
Conclusion
Converting your Ford 2N, 8N, or 9N to a 12-volt system can significantly improve its performance and reliability. By following this guide and using quality parts, you can ensure a successful conversion. Remember to prioritize safety and double-check all connections before starting the engine. And if you run into any issues, don't hesitate to consult a qualified mechanic.
Shop Ford Tractor Parts at Madison Tractor Company
Ready to get started on your 12-volt conversion? Madison Tractor Company is your one-stop shop for all your Ford tractor parts needs. We offer a wide selection of high-quality parts at competitive prices. Browse our online catalog or contact our knowledgeable staff for assistance. We're here to help you keep your Ford tractor running smoothly for years to come! Click here to shop Ford Tractor parts now!
🔍 Can't Find Your Part?
Use our AI-Powered Part Finder to search by your equipment's make, model, and what you need. It's the fastest way to find the exact part for your machine.
Try the Part Finder →Part of our comprehensive guide
Tractor Starter & Alternator Guide: Find the Right Parts