








Farmall H Wiring Diagram: 6V Original & 12V Conversion
Is your Farmall H's wiring giving you trouble? This comprehensive guide covers both the original 6V system and popular 12V conversion options. We'll provide diagrams, troubleshooting tips, and guidance to get your tractor running smoothly.
Understanding Your Farmall H Wiring
The Farmall H, a workhorse of American agriculture, is known for its reliability. However, like any vintage tractor, its electrical system can become a source of frustration. Whether you're dealing with the original 6-volt setup or a 12-volt conversion, understanding the wiring is crucial for proper maintenance and repairs. This guide will provide you with essential information, diagrams, and troubleshooting tips to keep your Farmall H running strong.
Recommended Parts for This Guide
10 parts we recommend — in stock, ships fast, one-click add to cart.
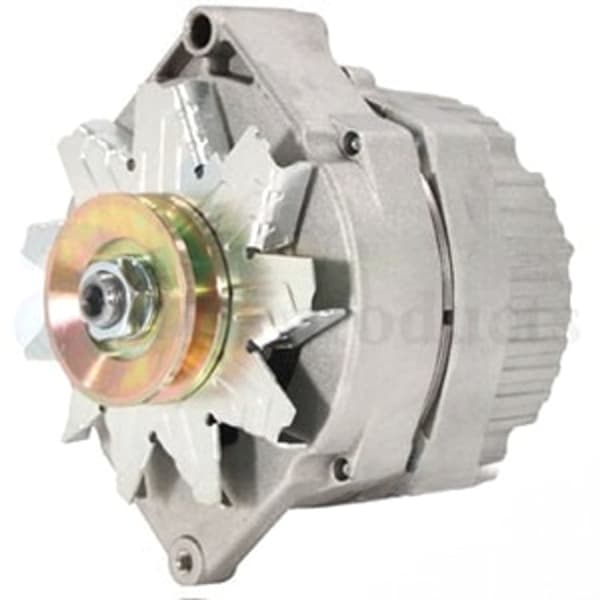
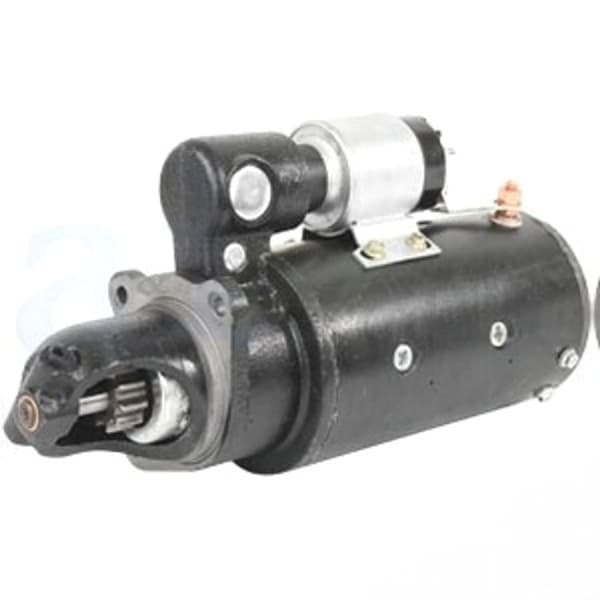
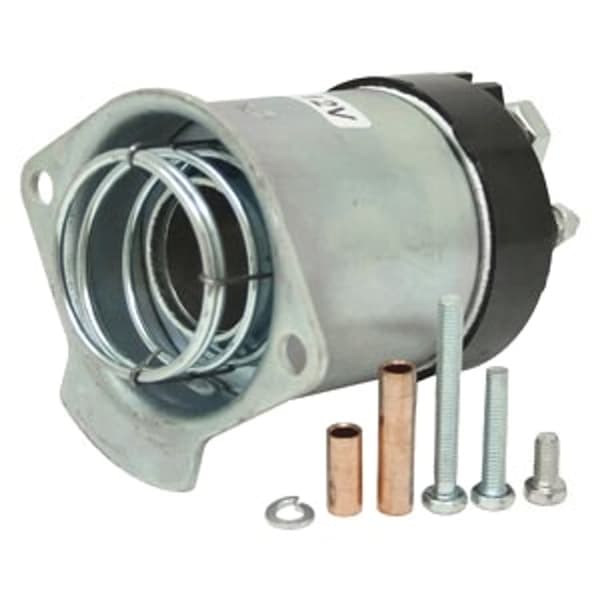
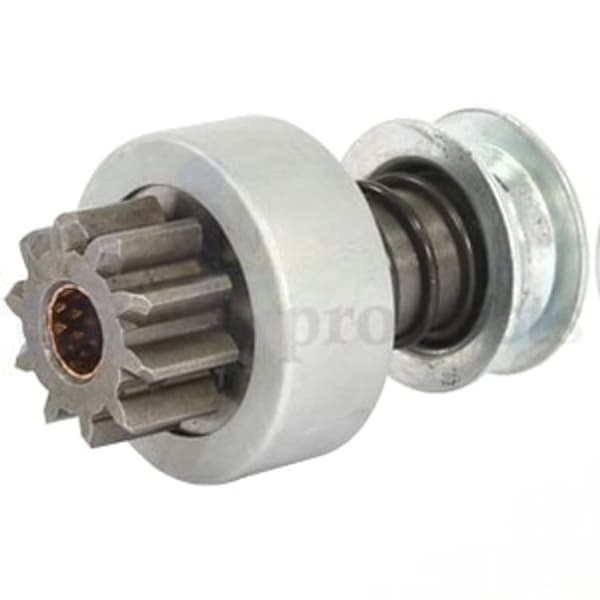
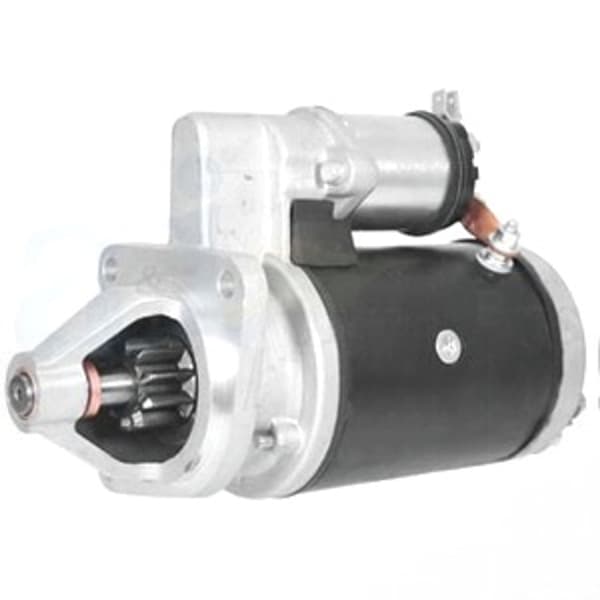
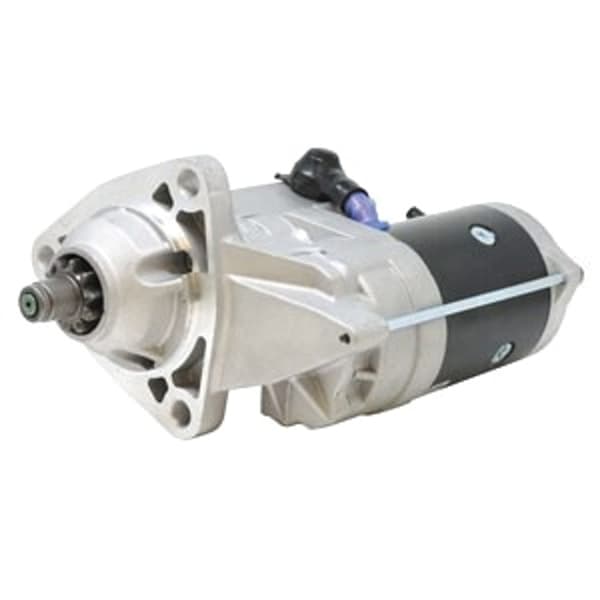
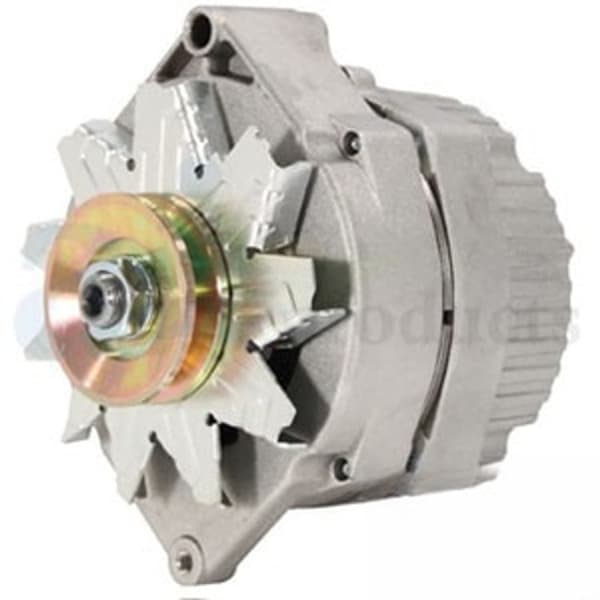
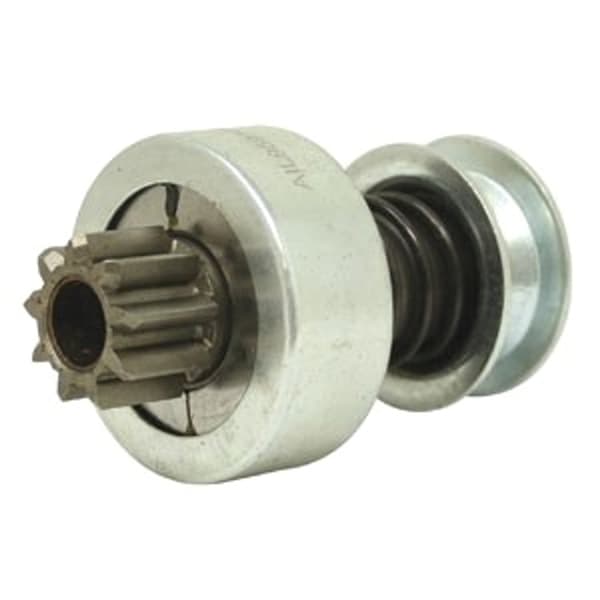
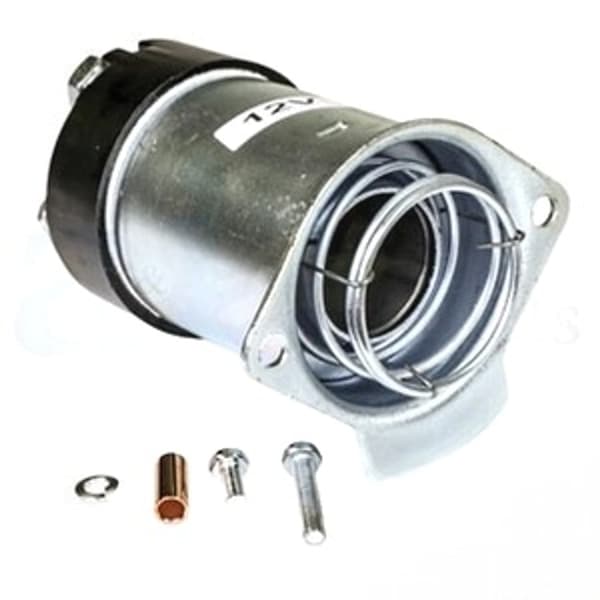
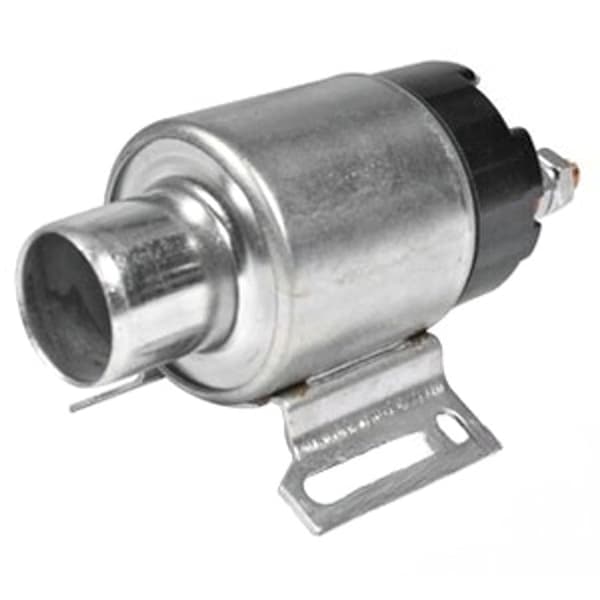
🔍 Looking for a specific part? Try our AI Part Finder — tell it your equipment and what you need, and it will find matching parts instantly.
At Madison Tractor, we understand the importance of keeping your equipment in top condition. We stock a wide variety of parts for Farmall and other major brands like John Deere, Case IH, Ford, New Holland, Massey Ferguson, Kubota, Allis Chalmers, Deutz, International Harvester, Oliver, White, Gleaner, Vermeer, Hesston, Mahindra, and Zetor. Whether you need a new starter, alternator, wiring harness, or other components, we're here to help.
The Original 6-Volt Wiring System
The Farmall H was originally equipped with a 6-volt positive ground electrical system. Here's a breakdown of the key components and their wiring:
- Generator: The generator charges the battery while the engine is running. A typical generator for a Farmall H would output around 15-20 amps.
- Voltage Regulator: The regulator controls the output of the generator to prevent overcharging the battery.
- Battery: Provides power to start the engine and operate electrical accessories when the engine isn't running.
- Starter: The starter motor cranks the engine to initiate combustion.
- Ignition System: Includes the coil, distributor, and spark plugs to ignite the fuel-air mixture.
- Lights: Headlights and taillights for visibility.
- Ammeter: Indicates whether the battery is charging or discharging.
Wiring Diagram (Simplified):
While a full, detailed diagram would be very large here, a simplified representation can be helpful:
- Battery Positive (+): Connects to the frame (ground).
- Battery Negative (-): Connects to the starter switch.
- Starter Switch: Sends power to the starter solenoid.
- Starter Solenoid: Engages the starter motor.
- Generator: Charges the battery.
- Voltage Regulator: Controls generator output.
- Ammeter: Shows charging/discharging status.
- Ignition Switch: Controls power to the ignition coil.
- Lights: Connected through the light switch.
Important Notes for 6V Systems:
- Polarity Matters: 6V systems are typically positive ground. Incorrect polarity can damage electrical components.
- Clean Connections: Ensure all connections are clean and tight to minimize resistance.
- Wire Gauge: Use appropriate wire gauge for each circuit to prevent overheating.
Why Convert to a 12-Volt System?
Many Farmall H owners choose to convert to a 12-volt system. Here's why:
- Improved Starting: 12-volt systems generally provide more reliable starting, especially in cold weather.
- Brighter Lights: 12-volt bulbs are brighter and more readily available.
- Accessory Compatibility: Modern accessories (radios, GPS, etc.) are designed for 12-volt systems.
- Parts Availability: 12-volt components are often easier to find and less expensive. You can find John Deere tractor alternator options as well as parts for other brands like Ford and Case IH at Madison Tractor.
Considerations Before Converting:
- Cost: Conversion requires purchasing new components (alternator, battery, bulbs, etc.).
- Wiring Modifications: Some wiring modifications are necessary.
- Polarity Change: 12-volt systems are typically negative ground, requiring a change in polarity.
12-Volt Conversion Wiring Diagram
Converting your Farmall H to a 12-volt system requires careful attention to wiring. Here's a general wiring diagram:
- Battery Negative (-): Connects to the frame (ground).
- Battery Positive (+): Connects to the starter solenoid and the ignition switch.
- Alternator: Charges the battery (typically a one-wire or three-wire alternator).
- Ignition Switch: Controls power to the ignition coil.
- Lights: Connected through the light switch.
Key Components for a 12-Volt Conversion:
- Alternator: Replace the generator with a 12-volt alternator. A common choice is a Delco 10SI or 12SI. For example, for many ford tractor alternator conversions, a similar unit is used. See the Ford Tractor Alternator Conversion guide for more details on those specific models.
- Battery: Install a 12-volt battery with sufficient cold-cranking amps (CCA).
- Bulbs: Replace all 6-volt bulbs with 12-volt equivalents.
- Voltage Reducer (Optional): If you have any 6-volt accessories you want to keep, use a voltage reducer to step down the voltage.
- Wiring Harness: Consider replacing the existing wiring harness with a new one designed for 12-volt systems. This ensures proper wire gauge and insulation.
Detailed Wiring Instructions:
- Disconnect the Battery: Always disconnect the battery before working on the electrical system.
- Remove the Generator and Regulator: Unbolt the generator and voltage regulator.
- Install the Alternator: Mount the alternator using appropriate brackets. Connect the alternator's output wire to the battery positive (+) terminal. For a three-wire alternator, connect the sensing wire to the battery positive (+) terminal or a point with battery voltage.
- Change Polarity: If your original system was positive ground, you'll need to change the polarity. Connect the battery negative (-) terminal to the frame (ground).
- Replace Bulbs: Replace all 6-volt bulbs with 12-volt bulbs.
- Wire the Ignition: Connect the ignition switch to the battery positive (+) terminal and the ignition coil.
- Connect the Lights: Wire the lights through the light switch.
- Reconnect the Battery: Reconnect the battery and test the system.
Safety Warning: Always wear safety glasses and disconnect the battery before working on the electrical system. Improper wiring can cause electrical fires or damage to components.
Troubleshooting Electrical Issues
Whether you have a 6-volt or 12-volt system, here are some common electrical problems and how to troubleshoot them:
- No Start: Check the battery voltage, starter solenoid, and ignition switch. A faulty starter is a common culprit. Use a multimeter to check for voltage at the starter solenoid when the key is turned.
- Battery Not Charging: Check the generator or alternator, voltage regulator, and wiring connections. If the battery isn't charging properly, it may be time to replace it, especially if it's old.
- Lights Not Working: Check the bulbs, wiring connections, and light switch.
- Short Circuits: Look for frayed wires or loose connections. Use a circuit tester to identify the location of the short.
Tools You'll Need:
- Multimeter
- Circuit Tester
- Wire Strippers
- Wire Crimpers
- Pliers
- Screwdrivers
- Socket Set
- Wrench Set
Essential Parts and Maintenance
Regular maintenance is crucial for preventing electrical problems. Here are some key areas to focus on:
- Battery Maintenance: Keep the battery terminals clean and corrosion-free. Check the electrolyte level (if applicable) and add distilled water as needed.
- Wiring Inspection: Regularly inspect the wiring for damage or wear. Replace any frayed or cracked wires.
- Connection Cleaning: Clean and tighten all electrical connections to ensure good contact.
- Component Testing: Periodically test the generator or alternator, voltage regulator, and starter to ensure they are functioning properly. Madison Tractor carries parts for the entire electrical system as well as radiators, water pumps, and other essential components for your Farmall H.
When replacing parts, be sure to use high-quality replacements. At Madison Tractor, we offer a wide selection of parts for Farmall H and other popular models, including John Deere tractor starter parts, Case IH tractor starter parts, Massey Ferguson starter motor parts and Kubota tractor starter motor parts.
Keep Your Farmall H Running Strong with Madison Tractor Parts
Understanding the wiring of your Farmall H, whether it's the original 6-volt system or a 12-volt conversion, is essential for keeping your tractor running reliably. By following the diagrams and troubleshooting tips in this guide, you can diagnose and repair common electrical problems. Remember to prioritize safety and use high-quality replacement parts.
Madison Tractor Company is your one-stop shop for all your tractor parts needs. We carry a wide selection of tractor parts for Farmall, John Deere, Case IH, Ford, New Holland, Massey Ferguson, and many other brands. From starters and alternators to hydraulic pumps, clutch kits, and PTO parts, we have the parts you need to keep your equipment in top condition. Shop our selection today and experience the Madison Tractor difference!
🔍 Can't Find Your Part?
Use our AI-Powered Part Finder to search by your equipment's make, model, and what you need. It's the fastest way to find the exact part for your machine.
Try the Part Finder →Part of our comprehensive guide
Tractor Starter & Alternator Guide: Find the Right Parts