








Tractor Clutch Replacement Guide: Kits, Adjustment & Installation
Replacing a tractor clutch can seem daunting, but with the right knowledge and tools, it's a manageable task. This comprehensive guide covers everything from choosing the right clutch kit to adjusting the linkage after installation.
Introduction to Tractor Clutches
The clutch is a critical component in your tractor's drivetrain, responsible for engaging and disengaging power from the engine to the transmission. Proper clutch function is essential for smooth operation, shifting gears, and safely operating implements. Over time, clutch components wear down, leading to slippage, difficulty shifting, or even complete failure. This guide will walk you through the process of understanding, diagnosing, and replacing your tractor's clutch.
Recommended Parts for This Guide
6 parts we recommend — in stock, ships fast, one-click add to cart.
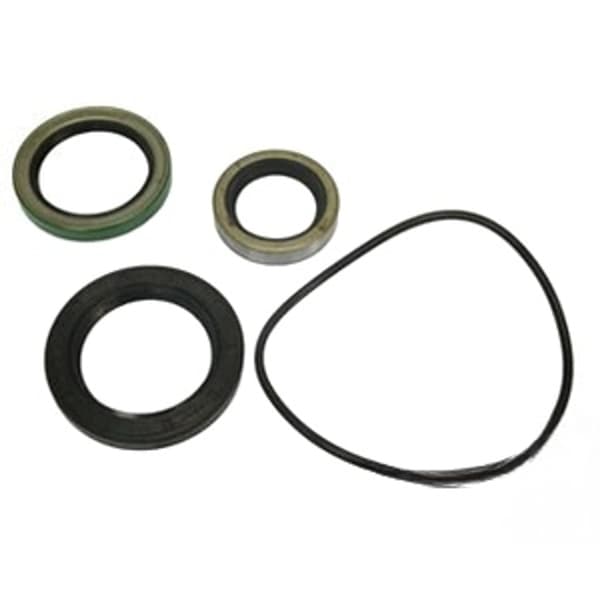
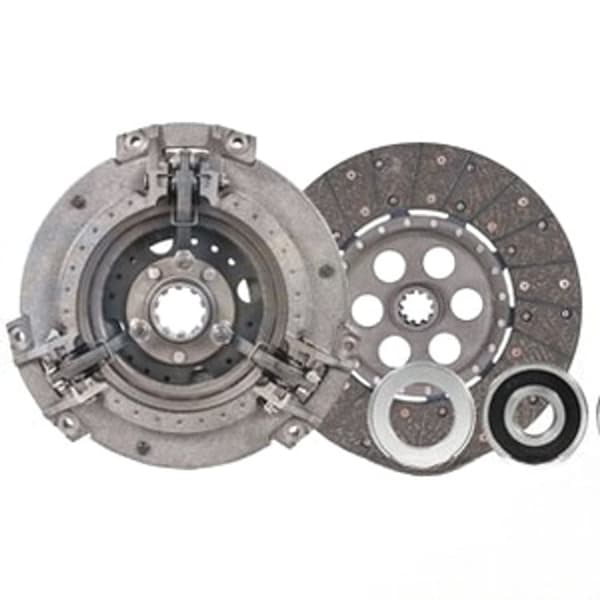
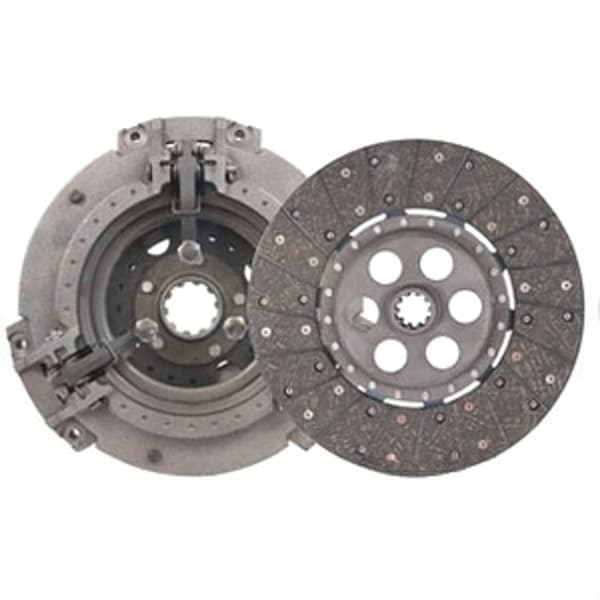
🔍 Looking for a specific part? Try our AI Part Finder — tell it your equipment and what you need, and it will find matching parts instantly.
At Madison Tractor Company, we understand the importance of keeping your equipment running smoothly. We stock a wide range of tractor clutch kits and related parts for all major brands, including John Deere, Case IH, Ford, New Holland, Massey Ferguson, Kubota, Allis Chalmers, Deutz, International Harvester, Oliver, White, Gleaner, Vermeer, Hesston, Mahindra, and Zetor. Whether you need a complete clutch kit, individual clutch discs, pressure plates, or throw-out bearings, we have you covered. We also carry related parts like radiators, water pumps, starters, alternators, hydraulic pumps, cylinders, PTO parts, fuel pumps, carburetors, injectors, filters, gaskets, pistons, bearings, seals, belts, and chains.
Understanding Tractor Clutch Types
Tractor clutches come in several types, each with its own advantages and applications:
- Single-Stage Clutch: This is the simplest type, controlling both the tractor's transmission and the PTO (Power Take-Off). Pressing the clutch pedal disengages both simultaneously.
- Dual-Stage Clutch (Live Clutch): More common in modern tractors, a dual-stage clutch has two distinct stages of engagement. Depressing the pedal halfway disengages the transmission, allowing you to shift gears. Depressing it fully disengages the PTO, allowing you to stop implements independently. This type is often found in John Deere tractor clutch kit applications.
- Independent PTO Clutch: This system utilizes a separate clutch mechanism specifically for the PTO, often hydraulically actuated. This offers the most control over the PTO, allowing for engagement and disengagement regardless of the transmission's status. This type of mechanism is often found in systems compatible with our clutch kits that include PTO components. For more information, see our article on tractor PTO clutch packs.
Diagnosing Clutch Problems
Recognizing the symptoms of a failing clutch early can prevent further damage and costly repairs. Common signs of a failing tractor clutch include:
- Clutch Slippage: The engine revs up without a corresponding increase in tractor speed. This often occurs when pulling heavy loads or going uphill. A common cause is worn clutch discs.
- Difficulty Shifting Gears: Grinding or clashing sounds when shifting gears can indicate a clutch that is not fully disengaging. This could be due to a worn clutch disc, a bent pressure plate, or improper clutch linkage adjustment.
- Clutch Chatter: A shuddering or vibrating sensation when engaging the clutch. This can be caused by a warped clutch disc, a worn pressure plate, or oil contamination on the friction surfaces.
- High Pedal Effort: Excessive force required to depress the clutch pedal may indicate a worn or damaged clutch linkage, a binding throw-out bearing, or a failing pressure plate. See our related article on tractor throw out bearing replacement.
- PTO Problems: Issues with the PTO engaging or disengaging can indicate a problem with the PTO clutch mechanism. This is especially common with independent PTO systems.
Selecting the Right Tractor Clutch Kit
Choosing the correct tractor clutch kit is crucial for a successful repair. Consider the following factors:
- Tractor Make and Model: The most important factor! Make sure the clutch kit is specifically designed for your tractor. Different models within the same brand often use different clutch components. For example, a Ford tractor clutch for a 8N will differ from one for a 8000.
- Clutch Type: Determine whether you need a single-stage, dual-stage, or independent PTO clutch kit.
- Component Quality: Opt for a reputable brand known for quality and durability. At Madison Tractor Company, we offer clutch kits from leading manufacturers.
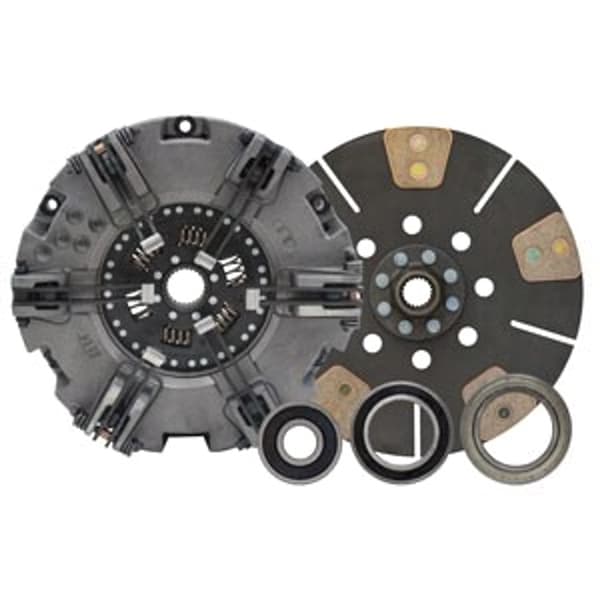
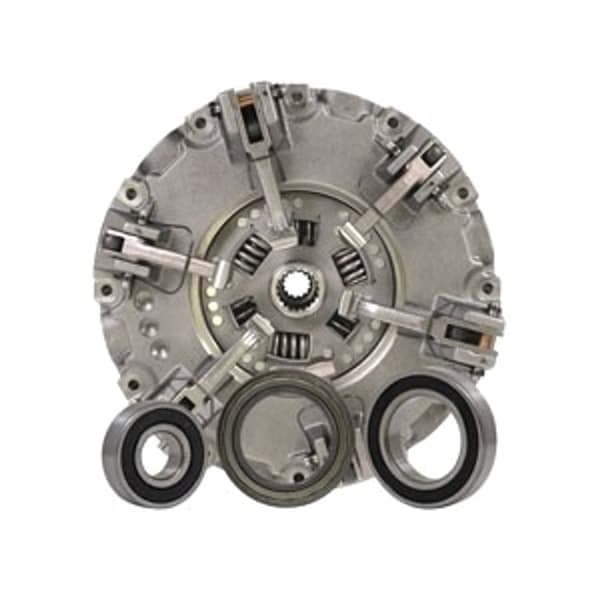
- Kit Contents: A complete clutch kit typically includes the clutch disc, pressure plate, and throw-out bearing. Some kits may also include pilot bearings, alignment tools, and other necessary hardware. At Madison Tractor Company, we offer a variety of sizes and components, such as the 12.25" Clutch Kit, the 11" Clutch Kit, and other complete clutch kits, from leading manufacturers.
When selecting a clutch kit, have your tractor's model and serial number ready. This information will help ensure you get the correct parts. For example, a Case IH clutch kit for a Farmall H might use part number 531139R91, while a kit for a later model may use a different number.
Tools and Equipment Needed
Before starting the clutch replacement, gather the necessary tools and equipment:
- Basic Hand Tools: Wrenches, sockets, screwdrivers, pliers, etc.
- Torque Wrench: Essential for tightening bolts to the correct specifications.
- Clutch Alignment Tool: Used to center the clutch disc during installation.
- Transmission Jack: A hydraulic jack specifically designed for supporting and lowering heavy transmissions.
- Floor Jack and Jack Stands: For safely lifting and supporting the tractor.
- Penetrating Oil: To loosen rusted or corroded bolts.
- Shop Rags and Cleaning Supplies: For cleaning parts and preventing contamination.
- Service Manual: Refer to your tractor's service manual for specific instructions and torque specifications.
- Safety Glasses and Gloves: Protect yourself from injury.
Safety Warning: Always disconnect the battery before working on the electrical system. Ensure the tractor is properly supported on jack stands before working underneath it. Never work under a tractor supported only by a jack.
Tractor Clutch Replacement: Step-by-Step Guide
This is a general guide. Always consult your tractor's service manual for specific instructions and torque specifications.
- Preparation:
- Park the tractor on a level surface and engage the parking brake.
- Disconnect the battery.
- Drain the transmission oil (refer to your service manual for the correct procedure).
- Remove any components that obstruct access to the clutch housing, such as the starter, fuel tank, or hydraulic lines.
- Separating the Tractor:
- Position the transmission jack under the transmission housing.
- Secure the transmission to the jack.
- Remove the bolts that connect the engine and transmission housings.
- Carefully separate the engine and transmission. This may require some maneuvering and patience.
- Removing the Old Clutch Components:
- Inspect the flywheel for wear or damage. If necessary, resurface or replace the flywheel.
- Loosen and remove the pressure plate bolts in a star pattern to evenly relieve pressure.
- Remove the pressure plate and clutch disc.
- Remove the throw-out bearing and inspect the throw-out bearing shaft for wear.
- Inspect the pilot bearing in the end of the crankshaft. If it feels rough or worn, replace it.
- Installing the New Clutch Components:
- Install the new pilot bearing (if applicable).
- Clean the flywheel surface.
- Place the new clutch disc onto the flywheel, using the clutch alignment tool to center it.
- Install the new pressure plate and tighten the bolts in a star pattern to the torque specifications listed in your service manual. For example, a Massey Ferguson clutch for a MF 135 might require 35-40 ft-lbs of torque.
- Install the new throw-out bearing and its return kit components onto the throw-out bearing shaft. Lightly grease the contact surfaces.
- Reassembling the Tractor:
- Carefully align the engine and transmission housings.
- Install the connecting bolts and tighten them to the specified torque.
- Reinstall any components that were removed earlier, such as the starter, fuel tank, or hydraulic lines.
- Refill the transmission with the correct type and amount of oil.
- Reconnect the battery.
- Clutch Adjustment:
- Adjust the clutch linkage according to your service manual. Proper adjustment is crucial for smooth clutch operation.
- Test the clutch engagement and disengagement. Make sure the PTO engages and disengages properly (if applicable).
Clutch Adjustment After Installation
After installing a new clutch kit, proper adjustment is essential. A properly adjusted clutch will ensure smooth shifting, prevent slippage, and extend the life of the clutch components. Here's a general overview of the adjustment process:
- Free Play Adjustment: Free play is the amount of travel the clutch pedal has before the throw-out bearing contacts the pressure plate fingers. Too little free play can cause the clutch to slip, while too much can make shifting difficult. Adjust the linkage to achieve the specified free play, typically around 1-2 inches.
- PTO Adjustment (Dual-Stage Clutches): For tractors with dual-stage clutches, you'll need to adjust the PTO engagement point. This ensures that the PTO disengages fully when the pedal is depressed to the second stage. Refer to your service manual for the specific adjustment procedure.
For example, a Kubota clutch kit installation on a B-series tractor may require adjusting the pedal height and free play according to the Kubota service manual specifications. Improper adjustment can lead to premature wear or clutch failure.
Troubleshooting Common Issues After Replacement
Even after a careful installation, you might encounter some issues. Here are some common problems and their potential solutions:
- Clutch Slipping: Check the clutch linkage adjustment. Make sure there is adequate free play. If the clutch is still slipping, the clutch disc may be contaminated with oil or grease.
- Difficulty Shifting: Ensure the clutch is fully disengaging. Check the clutch linkage adjustment and the throw-out bearing. A worn pilot bearing can also cause shifting problems.
- Clutch Chatter: This can be caused by a warped clutch disc, a worn pressure plate, or oil contamination. In some cases, resurfacing the flywheel can help.
- PTO Problems: If the PTO is not engaging or disengaging properly, check the PTO clutch linkage or hydraulic system (if equipped). A worn PTO clutch pack may need to be replaced. See our article on tractor PTO shaft specifications for more information.
Conclusion
Replacing a tractor clutch can be a challenging but rewarding task. By following this guide and consulting your tractor's service manual, you can successfully restore your tractor's performance. Remember to always prioritize safety and use the correct tools and equipment. If you encounter any difficulties, don't hesitate to consult a qualified mechanic.
Ready to get started? Shop Madison Tractor Company for all your tractor clutch kit needs! We offer a wide selection of high-quality parts at competitive prices. Contact our knowledgeable staff for assistance in selecting the right parts for your tractor. You can also use our AI-Powered Part Finder to search for parts by your specific make and model.
Part of our comprehensive guide
Tractor Clutch Replacement Guide: Kits, Adjustment & Installation