








Tractor Throw Out Bearing (Release Bearing) Replacement
A worn or failing tractor throw out bearing can cause serious clutch problems. This guide walks you through diagnosing the problem and replacing the throw out bearing to keep your tractor running smoothly. Learn the symptoms, steps, and safety precautions.
Introduction: Understanding the Tractor throw out bearing
The throw out bearing, also known as the release bearing, is a critical component in your tractor's clutch system. It's the unsung hero that allows you to disengage the engine from the transmission when you press the clutch pedal. Without a properly functioning throw out bearing, you'll have difficulty shifting gears, experience clutch slippage, or even cause complete clutch failure. Madison Tractor carries a full line of clutch components including throw out bearings for all makes and models, and our experts are here to help you get the job done right.
Recommended Parts for This Guide
2 parts we recommend — in stock, ships fast, one-click add to cart.
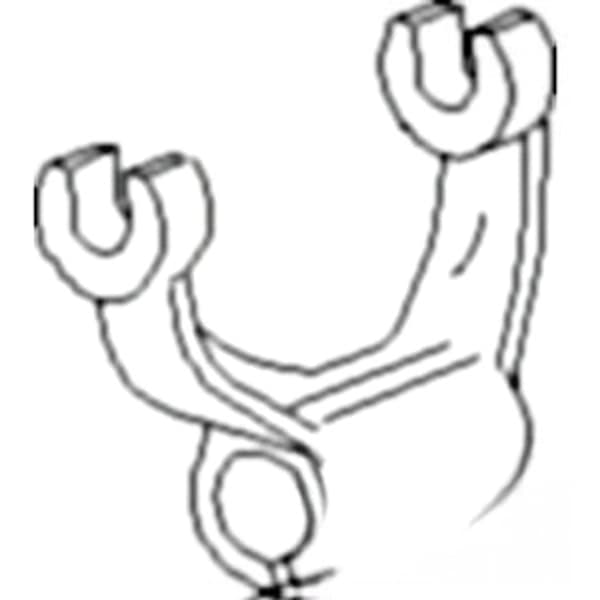
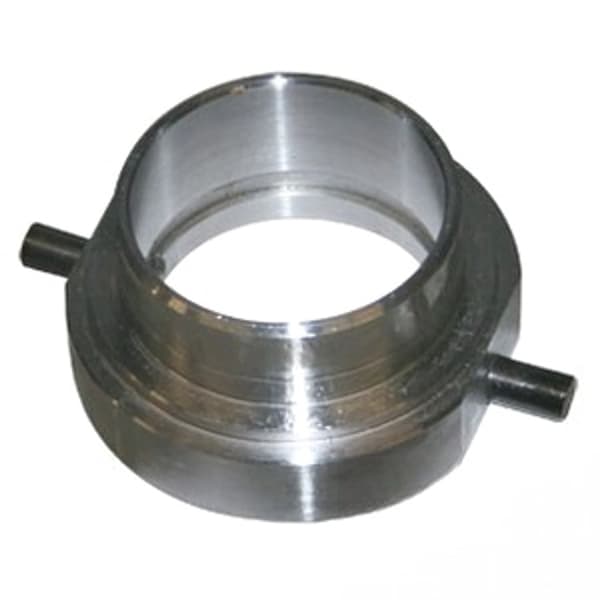
🔍 Looking for a specific part? Try our AI Part Finder — tell it your equipment and what you need, and it will find matching parts instantly.
This guide will walk you through the common symptoms of a failing throw out bearing, the steps involved in replacing it, and essential safety precautions to take along the way. Whether you're working on a John Deere, Case IH, Ford, New Holland, Massey Ferguson, or Kubota, the general principles apply.
Identifying a Failing Tractor Throw Out Bearing: Symptoms
Recognizing the signs of a failing throw out bearing early can save you time, money, and potential damage to other clutch components. Here are some common symptoms:
- Noise When the Clutch Pedal is Depressed: This is the most common symptom. You'll typically hear a grinding, squealing, or chirping noise when you press the clutch pedal. The noise may disappear when you release the pedal.
- Difficulty Shifting Gears: A worn throw out bearing can prevent the clutch from fully disengaging, making it difficult to shift gears, especially into first or reverse.
- Clutch Chatter or Vibration: A failing bearing can cause vibrations that you feel through the clutch pedal or even the entire tractor.
- Clutch Slippage: In severe cases, a worn throw out bearing can prevent the clutch from fully engaging, leading to slippage, especially under heavy load. You might notice the engine revving higher than normal without a corresponding increase in speed.
- Hard Clutch Pedal: Increased resistance when pressing the clutch.
Tools and Materials Needed for Throw Out Bearing Replacement
Before you begin, gather all the necessary tools and materials. This will help you work efficiently and safely. You'll likely need:
- New Throw Out Bearing: A quality replacement, like the AL39541 Greaseable Trans Release Bearing, is essential.
- Basic Hand Tools: Wrenches, sockets, screwdrivers, pliers, and a hammer.
- Torque Wrench: Essential for tightening bolts to the correct specifications. Refer to your tractor's service manual for torque values.
- Clutch Alignment Tool: This tool is crucial for aligning the clutch disc during reassembly. Often included in a John Deere tractor clutch kit or Ford tractor clutch replacement kit.
- Penetrating Oil: To loosen any rusted or seized bolts.
- Grease: For lubricating the new throw out bearing and related components.
- Jack Stands: To safely support the tractor during disassembly.
- Hydraulic Jack: For separating the tractor halves.
- Wheel Chocks: To prevent the tractor from rolling.
- Safety Glasses and Gloves: For personal protection.
- Service Manual: Your tractor's service manual is an invaluable resource for specific instructions and torque specifications.
- Clean Rags: For wiping up spills and cleaning parts.
Step-by-Step Guide to Replacing a Tractor Throw Out Bearing
Safety First! Disconnect the battery, set the parking brake, and use wheel chocks to secure the tractor before beginning any work. Always use jack stands to support the tractor's weight; never rely solely on a jack.
- Separate the Tractor: This is the most involved step. Most tractors require splitting the tractor between the engine and transmission to access the clutch housing. Consult your service manual for specific instructions on how to safely separate your tractor model. This often involves removing the hood, disconnecting wiring, hydraulic lines, and fuel lines, and supporting both halves of the tractor with jacks and stands.
- Access the Clutch Housing: Once the tractor is separated, you'll have access to the clutch housing.
- Remove the Old Throw Out Bearing: The throw out bearing is typically mounted on a carrier or fork. Carefully remove the retaining clips or fasteners that hold the bearing in place. Note the orientation of the bearing and fork for reassembly.
- Inspect the Clutch Components: While you have the tractor split, take the opportunity to inspect the other clutch components, including the clutch disc, pressure plate, pilot bearing, and flywheel. Look for signs of wear, damage, or oil contamination. Now is the time to replace worn components as a preventative measure. Madison Tractor offers complete clutch kits for most tractor models, including Case IH Farmall, Massey Ferguson 35 and 135, and Kubota B, L & M series tractors.
- Clean the Clutch Housing: Remove any dirt, grease, or debris from the clutch housing.
- Lubricate the New Throw Out Bearing: Apply a thin coat of high-temperature grease to the inside of the throw out bearing and the contact surfaces of the carrier or fork.
- Install the New Throw Out Bearing: Carefully install the new throw out bearing onto the carrier or fork, ensuring it's properly seated and secured with the retaining clips or fasteners.
- Reassemble the Tractor: Carefully align the two halves of the tractor and rejoin them. Reconnect all wiring, hydraulic lines, and fuel lines. Ensure that all bolts are tightened to the correct torque specifications.
- Adjust the Clutch Linkage: After reassembly, you'll need to adjust the clutch linkage to ensure proper clutch engagement and disengagement. Refer to your service manual for specific instructions on tractor clutch adjustment. Proper free play is essential.
- Test the Clutch: Start the tractor and test the clutch operation. Shift through all gears to ensure smooth engagement and disengagement. Listen for any unusual noises.
Important Considerations for Specific Tractor Models
While the general steps for replacing a throw out bearing are similar across different tractor models, there can be significant variations in the specific procedures and torque specifications. Always consult your tractor's service manual for detailed instructions. Here are some examples:
- John Deere 4020: Splitting a John Deere 4020 often requires removing the front bolster and supporting the engine and transmission separately. Pay close attention to the hydraulic lines and wiring harnesses.
- Ford 8N: The Ford 8N is a relatively simple tractor to work on, but the clutch linkage can be tricky to adjust. Ensure proper free play to prevent clutch slippage.
- Case IH Farmall H: The Farmall H has a unique clutch design that requires special attention during reassembly. Make sure the clutch disc is properly aligned.
- Kubota L Series: Some Kubota L series tractors have a wet clutch system, which requires draining the hydraulic oil before splitting the tractor.
Preventative Maintenance and Tips
Proper maintenance can significantly extend the life of your throw out bearing and other clutch components. Here are some tips:
- Lubricate Regularly: Some throw out bearings have grease fittings. Lubricate them regularly according to your tractor's service manual.
- Avoid Riding the Clutch: Riding the clutch, even slightly, can cause excessive wear on the throw out bearing.
- Adjust Clutch Linkage Properly: Proper clutch linkage adjustment ensures that the throw out bearing is not constantly engaged.
- Inspect Regularly: Periodically inspect the clutch linkage and throw out bearing for signs of wear or damage.
- Check PTO Operation: A malfunctioning tractor PTO clutch can put extra strain on the main clutch system. Address PTO issues promptly. Proper tractor PTO shaft sizing is also important.
Remember to check your filters (oil, fuel, air, hydraulic), water pumps, radiators, starters, alternators, fuel pumps, injectors and carburetors. We also carry a wide selection of gaskets, bearings, seals, belts, chains, concaves and sickle sections.
Conclusion
Replacing a tractor throw out bearing can be a challenging but rewarding task. By following these steps and taking the necessary safety precautions, you can save money and keep your tractor running smoothly. Always consult your tractor's service manual for specific instructions and torque specifications. If you're unsure about any aspect of the repair, consult with a qualified mechanic.
Shop Tractor Throw Out Bearings at Madison Tractor Company
Madison Tractor Company is your one-stop shop for all your tractor parts needs. We carry a wide selection of throw out bearings, clutch kits, and other clutch components for all major tractor brands, including John Deere, Case IH, Ford, New Holland, Massey Ferguson, and Kubota. Our knowledgeable staff is here to help you find the right parts for your tractor and answer any questions you may have. Shop our online catalog today or contact us for assistance! We have the parts you need to get back in the field. We also offer fast shipping and competitive prices! You can also use our AI-Powered Part Finder to search for parts by your specific make and model.
Part of our comprehensive guide
Tractor Clutch Replacement Guide: Kits, Adjustment & Installation