








John Deere 4020 Clutch: Dual Disc & Alignment Guide
Servicing the John Deere 4020 clutch, particularly the dual-disc setup, requires understanding the components and procedures involved. This guide offers insights into diagnosing clutch issues, replacing components, and ensuring proper alignment for optimal performance. We'll cover best practices and safety precautions to keep you working efficiently.
Introduction to the John Deere 4020 Clutch
The John Deere 4020 is a workhorse of a tractor its clutch is a critical component for transmitting power from the engine to the transmission and PTO. Many 4020s utilize a dual-disc clutch, which allows for independent control of the transmission and the PTO shaft. Understanding the complexities of this system is vital for efficient operation and maintenance. Madison Tractor Company carries a full line of clutch parts and complete John Deere tractor clutch kits to keep your 4020 running smoothly, including replacement discs, pressure plates, bearings alignment tools.
Recommended Parts for This Guide
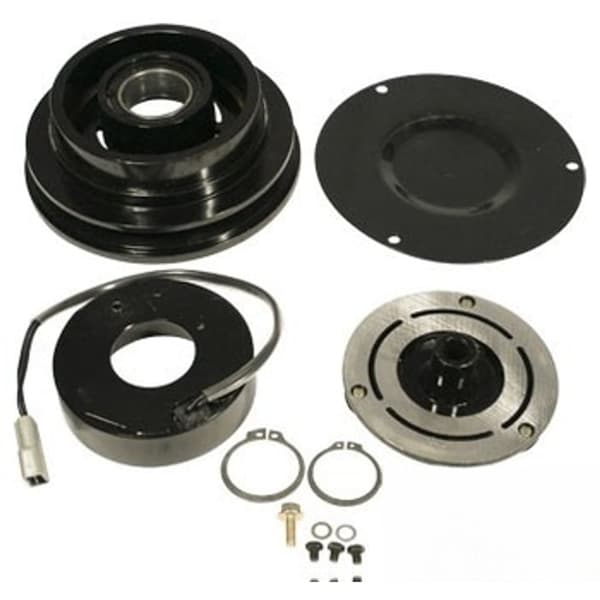
1 part we recommend — in stock, ships fast, one-click add to cart.
🔍 Looking for a specific part? Try our AI Part Finder — tell it your equipment and what you need, and it will find matching parts instantly.
Understanding the John Deere 4020 Dual-Disc Clutch
The dual-disc clutch on the John Deere 4020 consists of two friction discs, a Pressure Plate an intermediate plate. One disc controls the transmission, while the other controls the PTO. This allows the operator to stop the tractor without disengaging the PTO-driven implements. When the clutch pedal is partially depressed, the transmission disc disengages, stopping the tractor. Further depressing the pedal disengages the PTO Disc.
Here's a breakdown of the key components
- Transmission Disc The first disc to disengage when the clutch pedal is depressed.
- PTO Disc The second disc to disengage, controlling the power take-off.
- Pressure Plate Applies pressure to the clutch discs to engage them.
- Intermediate Plate Separates the two clutch discs and allows for independent operation.
- Release Bearing (Throw-Out Bearing) Actuates the pressure plate when the clutch pedal is depressed. Make sure to inspect and replace this bearing when doing any clutch work.
- Pilot Bearing Located in the end of the crankshaft, this bearing supports the transmission input shaft.
We also carry clutch parts for other popular tractor brands like Case IH, Ford, Massey FergusonKubota.
Diagnosing Common John Deere 4020 Clutch Problems
Several symptoms can indicate a problem with your John Deere 4020 clutch. Common issues
- Clutch Slippage The engine revs up, but the tractor doesn't accelerate properly, or the PTO-driven implement slows down under load. This can be caused by worn clutch discs, a weak pressure plate, or oil contamination.
- Clutch Drag The clutch fails to fully disengage, making it difficult to shift gears or stop the PTO. This can be due to a warped disc, insufficient free play in the clutch linkage, or a binding release bearing.
- Clutch Chatter A vibration or jerky engagement during clutch operation. This may indicate worn or damaged clutch components, or contamination on the friction surfaces.
- Noise Unusual noises, such as squealing, grinding, or rattling, can point to problems with the release bearing, pilot bearing, or other clutch components.
John Deere 4020 Clutch Replacement Procedure
Safety First! Before beginning any work on your tractor, ensure it is parked on a level surface, the engine is turned off the parking brake is engaged. Disconnect the battery to prevent accidental starting.
- Split the Tractor This is the most significant step. Consult your John Deere 4020 service manual for the correct procedure. You will need a suitable tractor splitting stand or jacks and stands capable of safely supporting the weight of the tractor.
- Remove the Old Clutch Assembly Once the tractor is split, you'll have access to the clutch assembly. Carefully remove the pressure plate, intermediate plate clutch discs. Pay attention to the orientation of each component for reassembly.
- Inspect the Flywheel Check the flywheel for wear, cracks, or scoring. If necessary, have it resurfaced by a qualified machine shop.
- Replace the Pilot Bearing
- Install the New Clutch Assembly Install the new clutch discs, intermediate plate pressure plate. Use a clutch alignment tool to center the clutch discs. This is crucial for proper clutch operation and preventing drag.
- Adjust the Clutch Linkage Adjust the clutch linkage to provide the correct amount of free play. Refer to your service manual for the specific adjustment procedure and measurements.
- Reassemble the Tractor Carefully align the tractor halves and bolt them together. Torque the bolts to the manufacturer's specifications.
Using a Clutch Alignment Tool for the John Deere 4020
A clutch alignment tool is essential for properly aligning the clutch discs during installation. Without proper alignment, the transmission input shaft will not be able to engage the clutch discs, resulting in clutch drag and difficulty shifting gears. Here's how to use a clutch alignment tool
- Insert the Alignment Tool After installing the clutch discs, intermediate plate pressure plate (loosely), insert the alignment tool through the center of the pressure plate and into the pilot bearing.
- Align the Discs Use the alignment tool to center the clutch discs. The tool should slide smoothly into the pilot bearing without binding.
- Tighten the Pressure Plate Bolts While holding the alignment tool in place, gradually tighten the pressure plate bolts in a star pattern. Torque the bolts to the manufacturer's specifications (typically around 30-40 ft-lbs, but consult your manual).
- Remove the Alignment Tool Once the pressure plate is fully tightened, remove the alignment tool. It should slide out easily.
Important Torque Specifications and Adjustments
Using the correct torque specifications is crucial for ensuring proper clutch operation and preventing damage to the components. Always refer to your John Deere 4020 service manual for the specific torque values for each bolt. Here are some general guidelines
- Pressure Plate Bolts 30-40 ft-lbs (Consult your service manual for exact spec)
- Flywheel Bolts 55-65 ft-lbs (If removed for resurfacing)
Clutch Linkage Adjustment The clutch linkage should be adjusted to provide the correct amount of free play in the clutch pedal. This free play allows the release bearing to retract fully when the clutch is engaged, preventing premature wear. Typical free play is around 1-1.5 inches, measured at the top of the clutch pedal.
Choosing the Right John Deere 4020 Clutch Kit
When replacing your John Deere 4020 clutch, it's important to choose a high-quality clutch kit that is designed for your specific tractor model. Madison Tractor Company offers a variety of John Deere tractor clutch kits that include all the necessary components for a complete clutch replacement. Consider these factors when selecting a clutch kit
- Kit Contents Ensure the kit includes the clutch discs, pressure plate, release bearing pilot bearing. Some kits may also include an alignment tool.
- Material Quality Look for clutch discs made from durable friction materials that can withstand high temperatures and heavy use.
- Brand Reputation Choose a clutch kit from a reputable manufacturer known for producing high-quality parts.
We also offer individual clutch components, such as replacement discs, pressure plates bearings, for other tractor brands like Allis Chalmers, Deutz, International Harvester, Oliver, White, Gleaner, Vermeer, Hesston, Mahindra Zetor. We can help you find radiators, water pumps, starters, alternators, hydraulic pumps, cylinders, PTO parts, fuel pumps, carburetors, injectors, filters, gaskets, pistons, bearings, seals, belts, chains, concaves sickle sections.
Post-Installation Checks and Break-In Period
After installing the new clutch, perform the following checks to ensure proper operation
- Check Clutch Pedal Free Play Verify that the clutch pedal has the correct amount of free play.
- Test Clutch Engagement and Disengagement Start the tractor and test the clutch engagement and disengagement. The clutch should engage smoothly without chatter or slippage it should disengage fully without dragging.
- Inspect for Leaks Check for any oil leaks around the clutch housing.
A new clutch typically requires a break-in period to allow the friction surfaces to properly mate. Avoid heavy loads and prolonged slippage during the first few hours of operation. Vary your driving style and gradually increase the load on the clutch.
Shop John Deere 4020 Clutch Parts at Madison Tractor Company
Replacing the clutch on your John Deere 4020 can be a challenging task, but with the right tools, knowledge parts, it's a manageable project. Madison Tractor Company is your trusted source for high-quality John Deere 4020 clutch parts and accessories. We offer a wide selection of clutch kits, discs, pressure plates, bearings alignment tools to keep your tractor running smoothly. Contact us today to find the parts you need to get the job done right! Our expert staff is ready to assist you in finding the correct parts for your tractor PTO clutch, driveline, or any other repair. We're committed to providing you with the best products and service in the industry. We also carry a wide array of Case IH Clutch Kits, Ford Tractor Clutch Kits, Massey Ferguson Clutch KitsKubota Clutch Kits.
🔍 Can't Find Your Part?
Use our AI-Powered Part Finder to search by your equipment's make, model, and what you need. It's the fastest way to find the exact part for your machine.
Try the Part Finder →Part of our comprehensive guide
Tractor Clutch Replacement Guide: Kits, Adjustment & Installation