








Tractor U-Joint: PTO & Driveline Universal Joint Sizes
Tractor u-joints are critical for transmitting power in PTOs and drivelines. This guide helps you understand u-joint types, identify sizes, troubleshoot problems, and select the right replacement parts for your machine.
Introduction to Tractor U-Joints
Universal joints, or u-joints, are essential components in your tractor's driveline and Power Take-Off (PTO) system. They allow power to be transmitted through angles, accommodating the movement and articulation required for various implements and tasks. A failing tractor u-joint can lead to vibration, noise, and ultimately, complete driveline or PTO failure. Understanding the different types of u-joints, their sizes, and how to identify the correct replacement is crucial for maintaining your tractor's performance and preventing costly downtime.
Recommended Parts for This Guide
6 parts we recommend — in stock, ships fast, one-click add to cart.
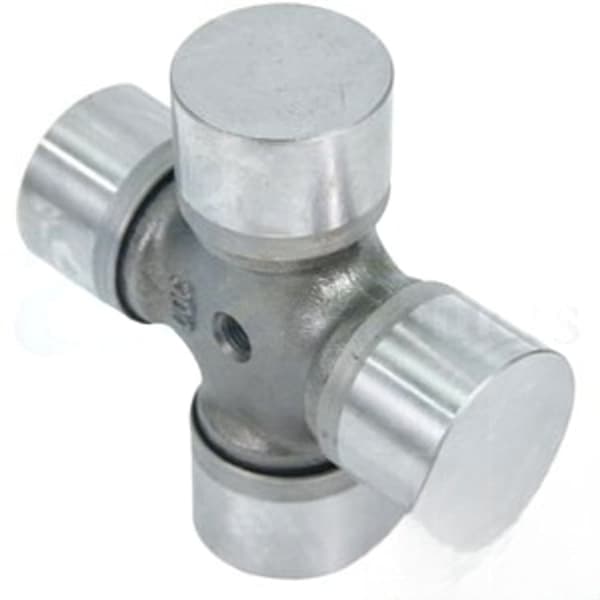
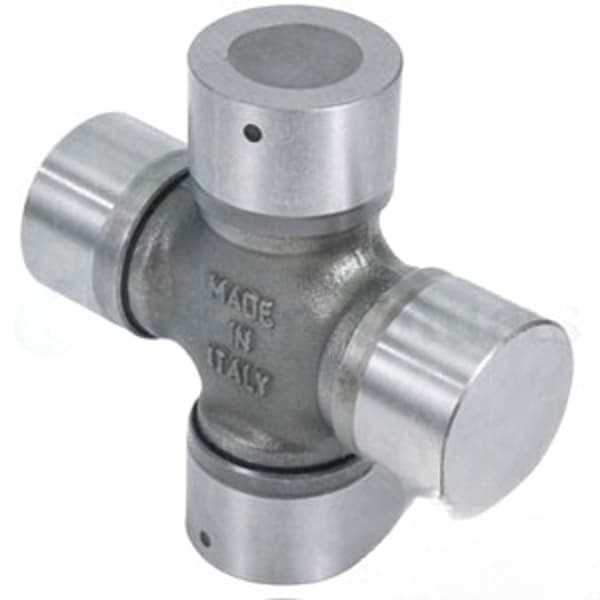
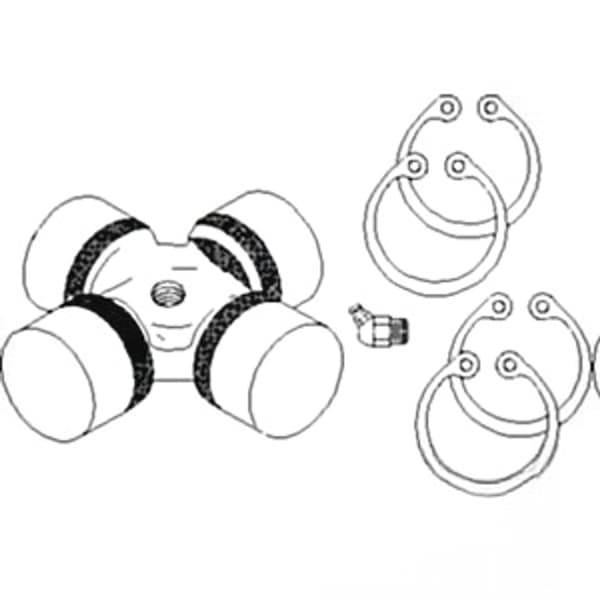
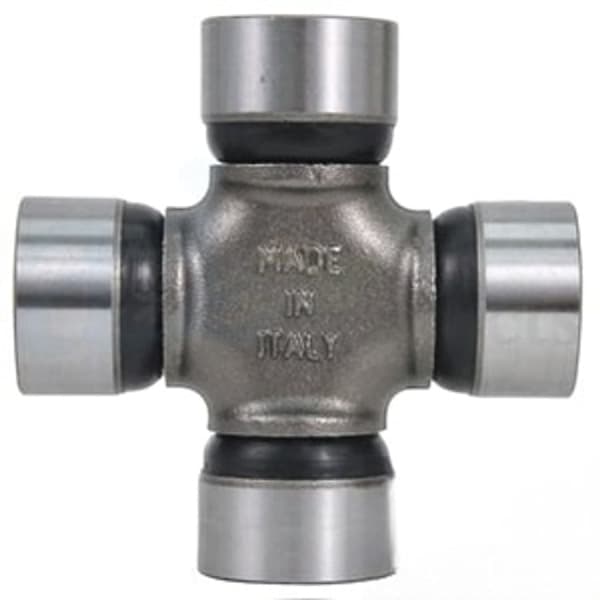
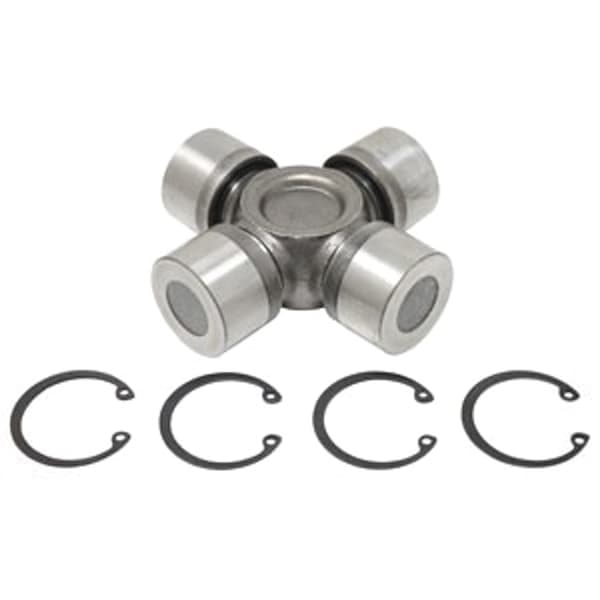
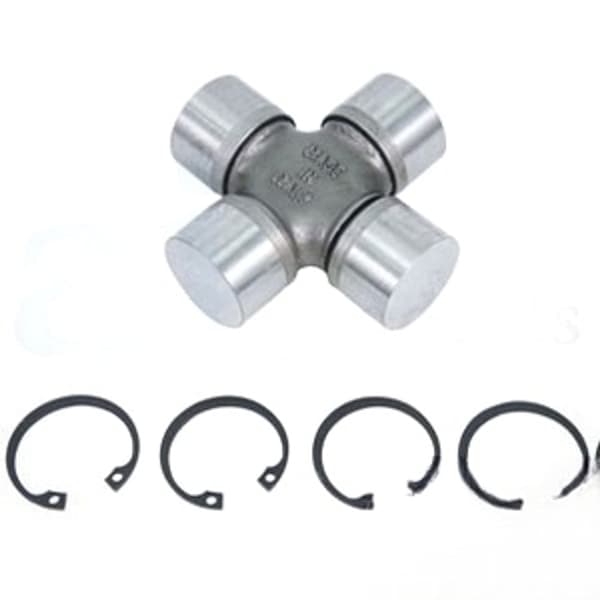
🔍 Looking for a specific part? Try our AI Part Finder — tell it your equipment and what you need, and it will find matching parts instantly.
At Madison Tractor Company, we understand the importance of reliable tractor parts. We stock a wide range of u-joints for all major tractor brands, including John Deere, Case IH, Ford, New Holland, Massey Ferguson, Kubota, Allis Chalmers, Deutz, International Harvester, Oliver, White, Gleaner, Vermeer, Hesston, Mahindra, and Zetor. Whether you need a u-joint for your PTO shaft, driveline, or steering system, we have the parts and expertise to keep you running.
Types of Tractor U-Joints
Several types of u-joints are commonly found on tractors:
- Standard U-Joints: These are the most common type, featuring a cross-shaped journal with needle bearings in each arm. They provide a good balance of strength and flexibility.
- Wing Style U-Joints: These u-joints have a yoke with a "wing" on either side, which provides more bearing surface and increased strength. They are often used in heavy-duty applications.
- CV (Constant Velocity) Joints: While less common on older tractors, CV joints are increasingly used in newer models. They provide smoother power transmission at steeper angles, reducing vibration and wear.
Understanding the type of u-joint you have is the first step in finding the correct replacement. Refer to your tractor's service manual or visually inspect the u-joint to determine its type.
Identifying Tractor U-Joint Sizes
Determining the correct size of your tractor u-joint is crucial for a proper fit and reliable performance. There are two primary dimensions to consider:
- Bearing Cap Diameter: This is the diameter of the bearing cap that houses the needle bearings. Common sizes include 1 inch, 1.0625 inches, 1.125 inches, and 1.188 inches.
- Overall Width: This is the distance between the outside faces of the yokes that connect to the u-joint.
Here's how to measure your u-joint:
- Remove the U-Joint: Carefully remove the u-joint from the driveline or PTO shaft. Support the shaft properly to prevent damage.
- Measure Bearing Cap Diameter: Use a caliper to accurately measure the outside diameter of one of the bearing caps.
- Measure Overall Width: Use a caliper to measure the distance between the outside faces of the yokes.
- Record the Measurements: Note down both measurements accurately.
Important Note: Always measure the u-joint after removing it from the tractor. Attempting to measure it while installed can lead to inaccurate readings.
U-Joints in Tractor PTO Systems
The PTO (Power Take-Off) system relies heavily on u-joints to transmit power from the tractor's engine to implements like mowers, balers, and tillers. The PTO shaft, which connects the tractor to the implement, incorporates one or more u-joints to allow for articulation and movement. Regular maintenance of the PTO shaft and its u-joints is essential for safe and efficient operation. For more in-depth information on this system, read our article on tractor PTO shafts.
When inspecting your PTO u-joints, look for signs of wear, such as:
- Excessive play or looseness
- Rust or corrosion
- Missing or damaged grease fittings
- Cracked or broken yokes
If you notice any of these signs, replace the u-joint immediately. Failure to do so can lead to catastrophic PTO failure and potential damage to the tractor or implement.
Safety Warning: Always disengage the PTO and shut off the tractor before inspecting or servicing the PTO shaft and u-joints. Lock out the tractor to prevent accidental starting.
We also offer comprehensive resources on tractor PTO clutches should the problem lie there.
U-Joints in Tractor Drivelines
The driveline, also known as the driveshaft, transmits power from the transmission to the axles. It typically incorporates one or more u-joints to accommodate the movement of the axles and suspension. Driveline u-joints, such as the RE65620 MFWD Driveshaft U-Joint, are subjected to high torque and stress, especially in four-wheel-drive tractors. Regular inspection and maintenance are crucial for preventing driveline failure.
Common symptoms of a failing driveline u-joint include:
- Vibration, especially at higher speeds
- Clunking or clicking noises when accelerating or decelerating
- Excessive play in the driveline
If you experience any of these symptoms, inspect the driveline u-joints immediately. Replace any worn or damaged u-joints to prevent further damage and ensure safe operation.
Replacing a Tractor U-Joint: A Step-by-Step Guide
Replacing a tractor u-joint is a relatively straightforward task that can be accomplished with basic tools. However, it's important to follow these steps carefully to ensure proper installation and avoid damage.
- Gather Your Tools: You'll need a hammer, punch, sockets, wrenches, pliers, a vise, and a u-joint press (or a suitable substitute).
- Secure the Driveline or PTO Shaft: Place the driveline or PTO shaft in a vise, ensuring it is properly supported.
- Remove the Old U-Joint: Remove any retaining clips or snap rings that hold the u-joint in place. Use a punch and hammer to carefully drive the bearing caps out of the yoke. If the u-joint is heavily corroded, you may need to use a u-joint press.
- Clean the Yokes: Thoroughly clean the yokes with a wire brush to remove any rust or debris.
- Install the New U-Joint: Apply a thin coat of grease to the new u-joint and bearing caps. Carefully insert the u-joint into the yoke, ensuring the bearing caps are properly aligned. Use a u-joint press or hammer and punch to press the bearing caps into place.
- Install Retaining Clips or Snap Rings: Secure the u-joint with new retaining clips or snap rings.
- Grease the U-Joint: Use a grease gun to lubricate the u-joint through the grease fitting.
- Reinstall the Driveline or PTO Shaft: Reinstall the driveline or PTO shaft on the tractor.
Torque Specifications: Refer to your tractor's service manual for the proper torque specifications for the driveline and PTO shaft bolts. Using the correct torque is crucial for preventing loosening and ensuring safe operation.
Important Note: When replacing a u-joint, always use high-quality replacement parts. Inferior u-joints may fail prematurely, leading to further damage and downtime.
For clutch repairs on your John Deere, be sure to reference our John Deere tractor clutch kit resource. Need a Ford tractor clutch or Case IH clutch kit? We have guides for those too.
Troubleshooting Common U-Joint Problems
Here are some common problems associated with tractor u-joints and how to troubleshoot them:
- Vibration: This is often caused by a worn or damaged u-joint. Inspect the u-joints for play or looseness. Replace any u-joints that are worn or damaged. Also check for proper driveline alignment and balance.
- Noise: Clunking or clicking noises are often caused by worn or damaged u-joints. Inspect the u-joints for play or looseness. Replace any u-joints that are worn or damaged.
- Grease Leaks: This can be caused by damaged seals or a clogged grease fitting. Inspect the seals for damage and replace if necessary. Clean the grease fitting and ensure it is properly lubricated.
- Premature Wear: This can be caused by improper lubrication, excessive load, or misalignment. Ensure the u-joints are properly lubricated. Avoid overloading the tractor and ensure the driveline is properly aligned.
Choosing the Right U-Joint for Your Tractor
When selecting a replacement tractor u-joint, consider the following factors:
- Tractor Make and Model: Ensure the u-joint is compatible with your tractor's make and model.
- U-Joint Type: Choose the correct type of u-joint for your application (standard, wing style, or CV joint).
- Size: Ensure the u-joint is the correct size for your driveline or PTO shaft.
- Quality: Choose a high-quality u-joint from a reputable manufacturer.
At Madison Tractor Company, we offer a wide selection of high-quality MFWD Driveshaft U-Joints and other driveline u-joints for all major tractor brands. Our knowledgeable staff can help you choose the right u-joint for your tractor and application. We also offer a comprehensive range of other tractor parts, including radiators, water pumps, starters, hydraulic pumps, and filters.
Conclusion
Maintaining your tractor's u-joints is essential for ensuring reliable performance and preventing costly downtime. By understanding the different types of u-joints, their sizes, and how to troubleshoot common problems, you can keep your tractor running smoothly for years to come. Remember to always use high-quality replacement parts and follow proper installation procedures.
At Madison Tractor Company, we are committed to providing our customers with the best tractor parts and service. Browse our extensive selection of tractor u-joints and other tractor parts today and experience the Madison Tractor difference. Our team is ready to help you find the exact parts you need to keep your equipment running strong. You can also use our AI-Powered Part Finder to search for parts by your specific make and model.
Part of our comprehensive guide
Tractor Clutch Replacement Guide: Kits, Adjustment & Installation