








Small Engine Exhaust Valve & Intake Valve Replacement
Replacing your small engine's exhaust and intake valves can significantly improve performance and extend its life. This guide provides a step-by-step process for valve replacement, covering essential tools, safety precautions, and valuable tips.
Introduction to Small Engine Valves
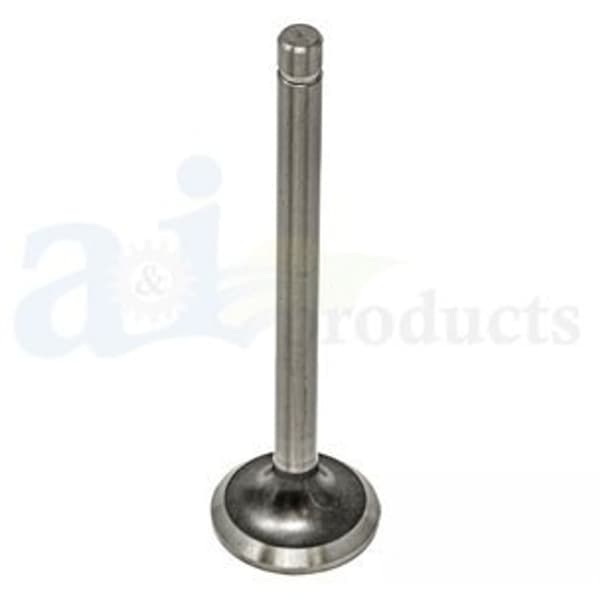
The exhaust valve and intake valve are critical components in any small engine, from those powering lawn mowers (like John Deere, Craftsman, and Cub Cadet models) to snow blowers (such as Ariens and Toro). These valves control the flow of air and fuel into the combustion chamber (intake) and the expulsion of exhaust gases after combustion (exhaust). Over time, valves can wear, become damaged, or develop carbon deposits, leading to reduced engine performance, hard starting, or even complete engine failure.
Recommended Parts for This Guide
9 parts we recommend — in stock, ships fast, one-click add to cart.
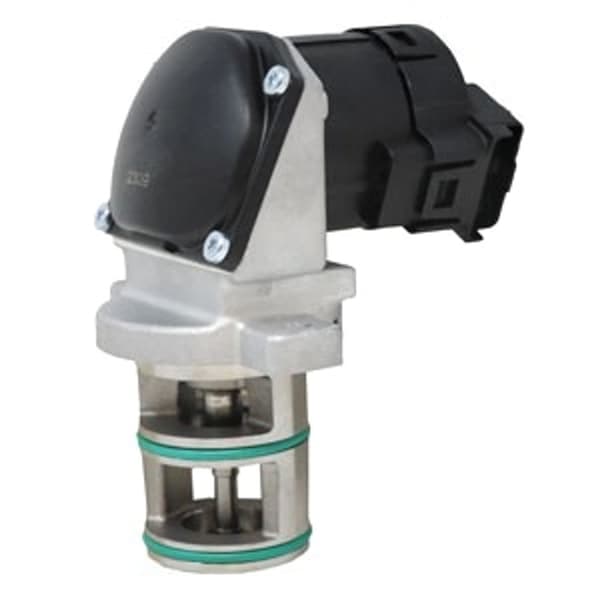
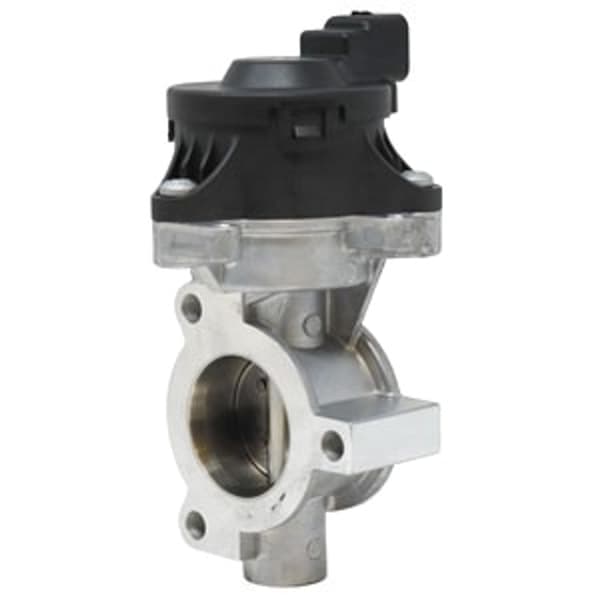
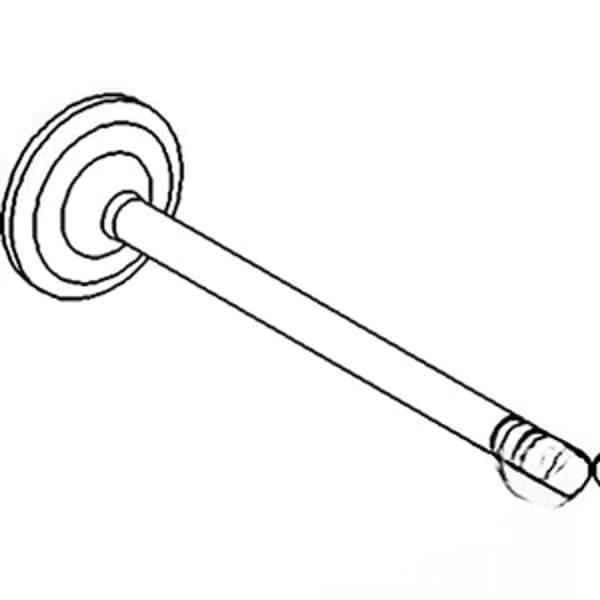
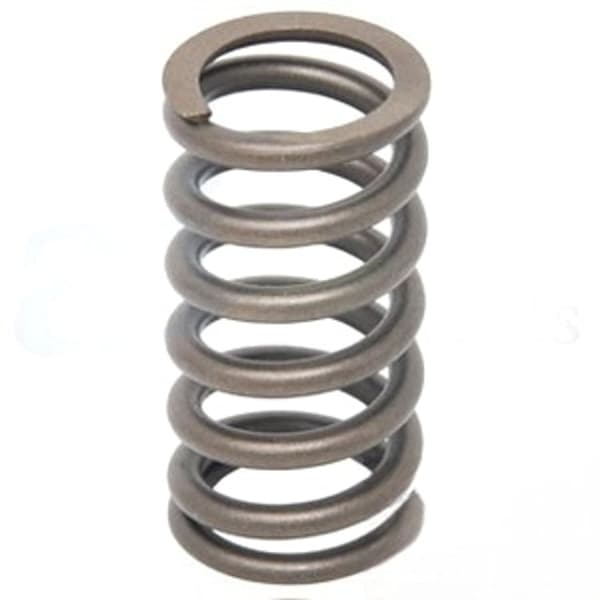
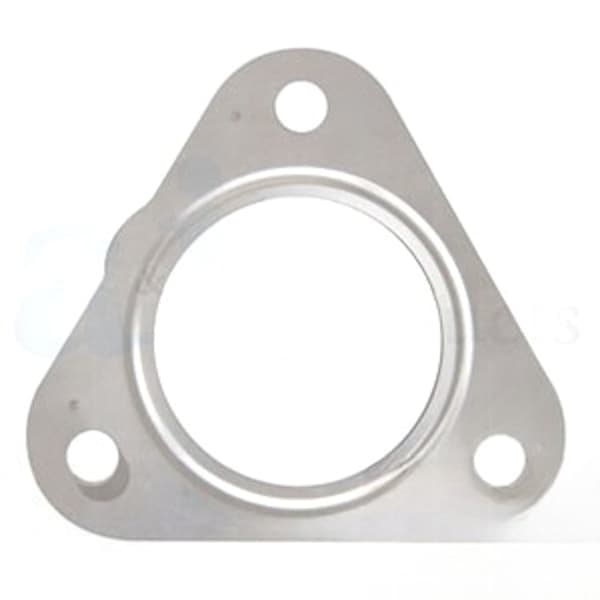
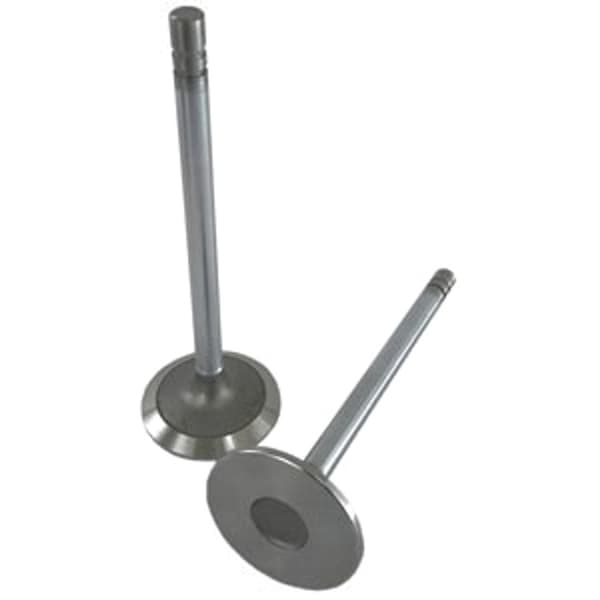
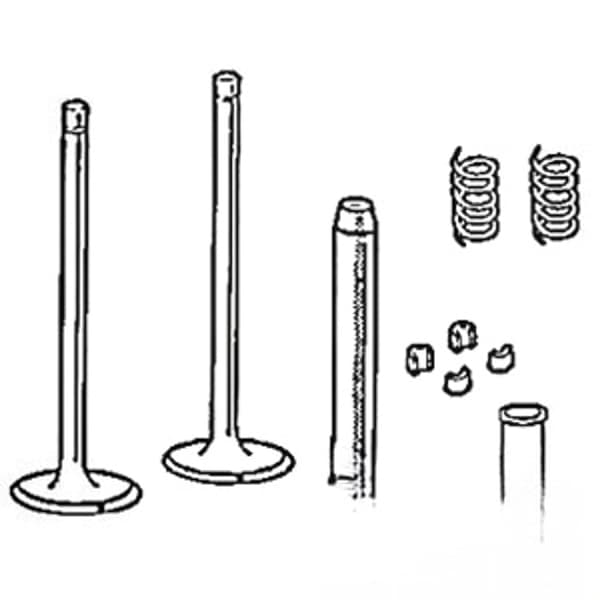
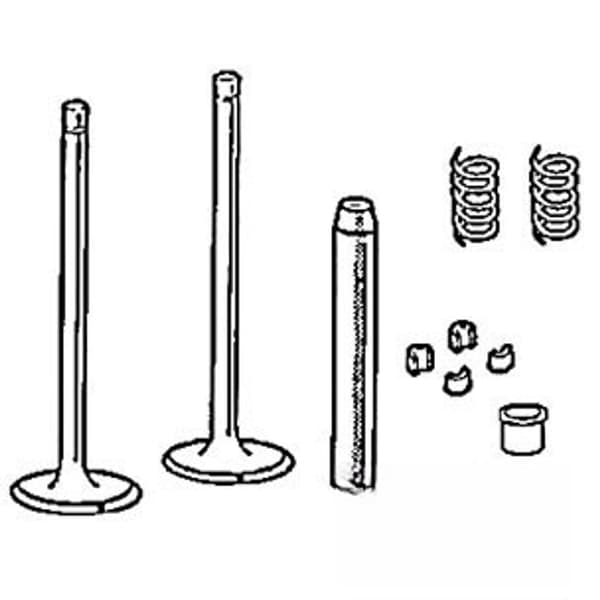
🔍 Looking for a specific part? Try our AI Part Finder — tell it your equipment and what you need, and it will find matching parts instantly.
Replacing the small engine exhaust valve and intake valve can restore lost power and extend the life of your equipment. This guide will walk you through the process, providing the information you need to tackle this repair yourself. We'll cover everything from identifying valve problems to the actual replacement procedure, ensuring you have the confidence to get the job done right. Remember to consult your specific engine's service manual for torque specifications and other critical data.
Recognizing Valve Problems
Several symptoms can indicate worn or damaged valves:
- Loss of Power: A noticeable decrease in engine power, especially under load, can be a sign of leaky or sticking valves.
- Hard Starting: Difficulty starting the engine, especially when cold, can be attributed to poor compression caused by faulty valves.
- Backfiring: Backfiring through the carburetor (see related article Briggs & Stratton Carburetor: Replacement by Model and Kohler Carburetor: Courage & Command Engine Carbs) or exhaust can indicate valve problems.
- Excessive Smoke: Blue or black smoke from the exhaust may indicate oil being burned due to valve guide wear or improper valve seating.
- Ticking Noise: A persistent ticking sound from the engine area could be caused by excessive valve clearance or damaged valve components.
A compression test is a reliable way to diagnose valve issues. Low compression readings indicate potential valve problems.
Tools and Materials Needed
Before you begin, gather the necessary tools and materials:
- New Exhaust and Intake Valves: Ensure you have the correct valves for your engine model (e.g., for Briggs & Stratton, Kohler, Kawasaki).
- Valve Spring Compressor: Essential for removing and installing valve springs.
- Valve Lapping Compound: Used to create a proper seal between the valve and valve seat.
- Valve Grinding Tool: To aid in the lapping process.
- New Valve Seals (if applicable): Replace these whenever you replace valves.
- Gasket Scraper: For removing old head gaskets.
- Torque Wrench: To tighten fasteners to the correct specifications.
- Socket Set and Wrenches: Standard tools for disassembly and reassembly.
- Pliers and Screwdrivers: Various sizes for removing and installing components.
- Safety Glasses and Gloves: Protect your eyes and hands.
- Engine Service Manual: Crucial for torque specs and specific instructions for your engine.
- Penetrating Oil: For loosening rusted or stuck fasteners.
- Clean Rags: For wiping up spills and cleaning parts.
Safety Precautions
Safety is paramount when working on small engines:
- Disconnect the Spark Plug: Prevent accidental starting by disconnecting the spark plug wire. Consider removing the spark plug entirely (see related categories: spark plugs).
- Allow the Engine to Cool: Never work on a hot engine.
- Work in a Well-Ventilated Area: Avoid inhaling fumes from fuel or cleaning solvents.
- Wear Safety Glasses and Gloves: Protect your eyes and hands from debris and chemicals.
- Follow Manufacturer's Instructions: Adhere to the safety guidelines in your engine's service manual.
Step-by-Step Valve Replacement Guide
- Disassemble the Engine:
- Remove the engine cover, air filter, and other components obstructing access to the cylinder head.
- Drain the oil and fuel to prevent spills. You may need to address the small engine fuel pump or Kohler fuel pump to fully drain the fuel system.
- Remove the exhaust system.
- Remove the carburetor (refer to Small Engine Carburetor Rebuild Kit: Gaskets & Needles for assistance if needed).
- Carefully remove the cylinder head. Pay attention to the location of pushrods (if equipped).
- Remove the Valves:
- Use a valve spring compressor to compress the valve spring.
- Remove the valve keepers (also called valve locks). These are small, often split, pieces that hold the valve spring retainer in place.
- Release the valve spring compressor and remove the valve spring retainer and valve spring.
- Remove the valve from the cylinder head.
- Repeat for all valves. Keep track of which valve goes where (intake or exhaust) for reassembly reference.
- Inspect the Valves and Valve Seats:
- Examine the valves for wear, burning, or damage.
- Inspect the valve seats in the cylinder head for pitting or damage. If the seats are severely damaged, you may need to have them professionally re-cut or replaced.
- Lap the Valves:
- Apply a small amount of valve lapping compound to the valve face.
- Insert the valve into the valve seat.
- Attach a valve grinding tool to the valve stem.
- Rotate the valve grinding tool back and forth, applying light pressure. Lift and reposition the valve occasionally to ensure even lapping.
- Continue lapping until a uniform gray band appears on both the valve face and the valve seat.
- Clean the valve and valve seat thoroughly to remove all traces of lapping compound.
- Install the Valves:
- Install new valve seals (if applicable).
- Lightly lubricate the valve stems with clean engine oil.
- Insert the valves into the cylinder head.
- Install the valve springs, valve spring retainers, and valve keepers. Use the valve spring compressor to compress the spring and install the keepers. Ensure the keepers are properly seated.
- Reassemble the Engine:
- Install a new Briggs & Stratton head gasket or equivalent for your engine model.
- Reinstall the cylinder head, torquing the head bolts to the manufacturer's specified torque in the correct sequence.
- Reinstall the pushrods (if equipped), ensuring they are properly seated in the valve lifters and rocker arms.
- Reinstall the carburetor, exhaust system, air filter, and engine cover.
- Refill the engine with oil.
- Test the Engine:
- Reconnect the spark plug wire.
- Start the engine and allow it to warm up.
- Check for leaks and listen for any unusual noises.
- Adjust the carburetor (if necessary) to achieve smooth running.
Valve Clearance Adjustment
After replacing the valves, it's crucial to check and adjust the valve clearance (also known as valve lash). Valve clearance is the small gap between the valve stem and the rocker arm (or tappet) when the valve is closed. Incorrect valve clearance can lead to poor performance, noise, and even engine damage.
Consult your engine's service manual for the correct valve clearance specifications and adjustment procedure. This typically involves using a feeler gauge to measure the clearance and adjusting the rocker arm or tappet accordingly.
Maintaining Your Small Engine
Regular maintenance is essential for keeping your small engine running smoothly and preventing future valve problems. This includes:
- Changing the Oil Regularly: Use the correct type and weight of oil recommended by the manufacturer.
- Cleaning or Replacing the Air Filter: A clean air filter ensures proper airflow and prevents dirt from entering the engine. We carry air filters for brands like Husqvarna, Toro, Ariens, Murray, Hustler, Scag, Exmark, Ferris, Snapper, Simplicity, and Dixie Chopper.
- Using Fresh Fuel: Old or stale fuel can cause starting problems and engine damage. Consider using a fuel stabilizer.
- Checking and Replacing Spark Plugs: A worn spark plug can lead to misfires and poor performance.
Don't forget to inspect other wear items regularly, such as belts, blades, spindles, pulleys, filters, bearings, and shear pins. Replacing these proactively can prevent more significant issues down the road.
Shop small engine parts at Madison Tractor Company
Madison Tractor Company offers a wide selection of high-quality small engine parts for all major brands, including John Deere, Craftsman, Briggs & Stratton, Kohler, Kawasaki, and more. Whether you need a small engine exhaust valve, intake valve, carburetor, fuel pump, or any other component, we have you covered. Shop our extensive inventory today and keep your outdoor power equipment running at its best! Check out our Engine & Fuel System Parts category to get started! You can also use our AI-Powered Part Finder to search for parts by your specific make and model.
Part of our comprehensive guide
Small Engine Parts Guide: Carburetors, Fuel Pumps & Gaskets by Engine