🔍 Looking for a specific part? Try our AI Part Finder — tell it your equipment and what you need, and it will find matching parts instantly.
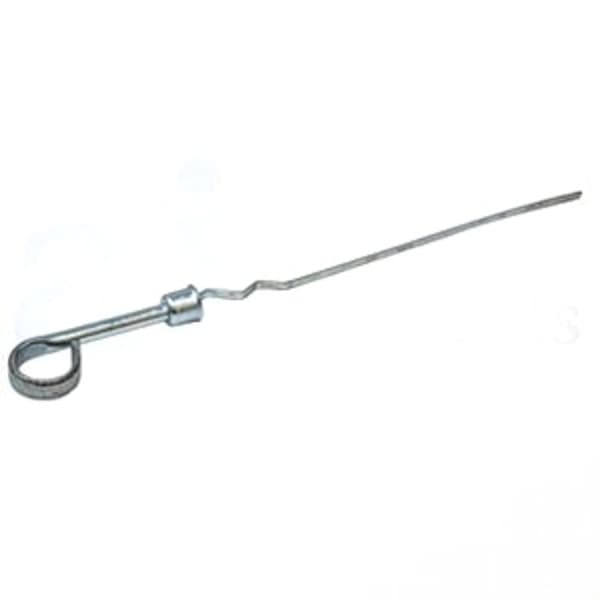
We carry a wide selection of dipsticks for brands like John Deere, Craftsman, Cub Cadet, Husqvarna, Toro, Ariens, Murray, Hustler, Scag, Exmark, Ferris, Snapper, Simplicity, and Dixie Chopper. Maintaining your engine's oil level is as important as ensuring your blades are sharp and your belts are in good condition.
Why is the Dipstick Important?
The dipstick serves several vital functions:
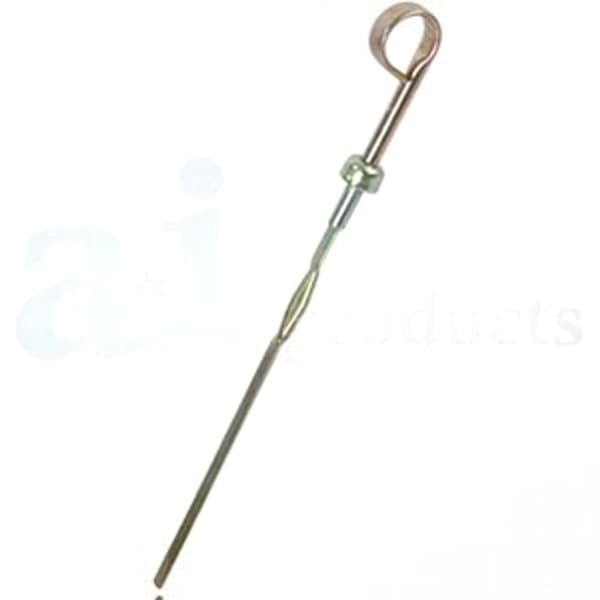
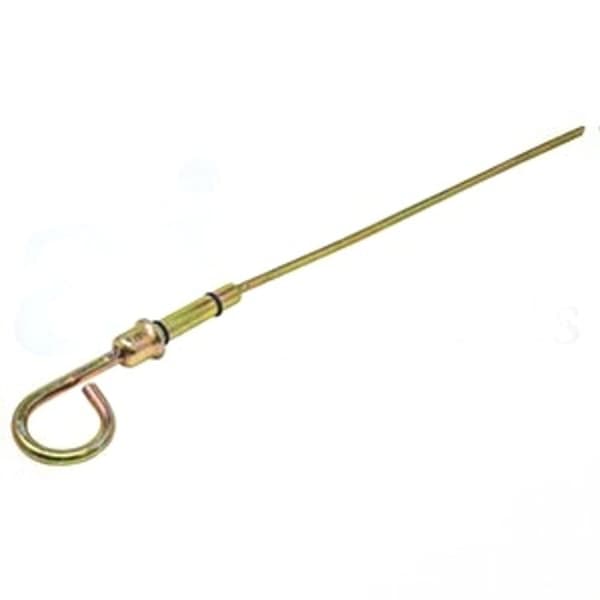
- Oil Level Measurement: It provides a visual indication of the oil level within the engine.
- Oil Condition Check: While not its primary purpose, examining the oil on the dipstick can give you a preliminary indication of oil condition (color, viscosity, presence of contaminants).
- Sealing: The dipstick seals the dipstick tube, preventing oil leaks and keeping contaminants out of the engine.
Running an engine with low oil is a recipe for disaster. It can lead to:
- Engine Seizure: Insufficient lubrication causes friction and overheating, potentially welding internal engine parts together.
- Premature Wear: Critical engine components like pistons, bearings, and crankshafts wear out much faster with inadequate oil.
- Reduced Engine Lifespan: Neglecting oil levels significantly shortens the overall lifespan of your small engine.
Therefore, regularly checking your oil level with a functional dipstick is crucial for engine longevity.
Common Dipstick Problems
Several issues can compromise the functionality of your small engine dipstick:
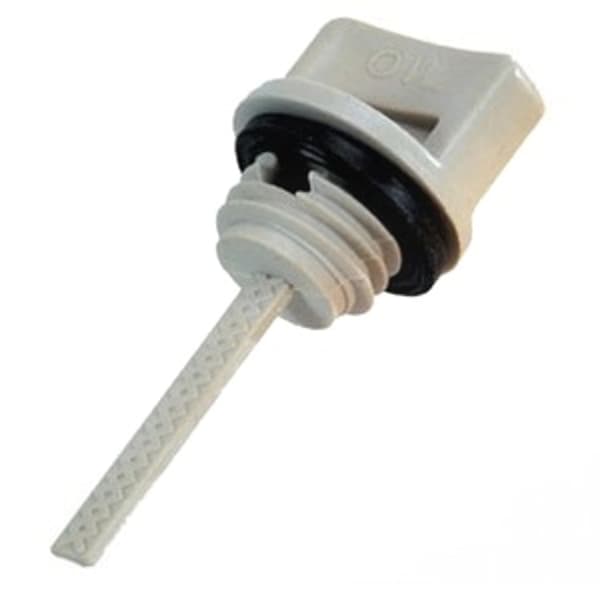
- Broken or Cracked Dipstick: Plastic dipsticks can become brittle with age and exposure to heat, leading to cracks or breakage.
- Damaged Seal/O-Ring: The seal or O-ring on the dipstick can degrade, causing oil leaks.
- Stripped Threads: If the dipstick screws into the engine, the threads can become stripped, preventing a tight seal.
- Missing Dipstick: It happens! The dipstick might simply be lost or misplaced.
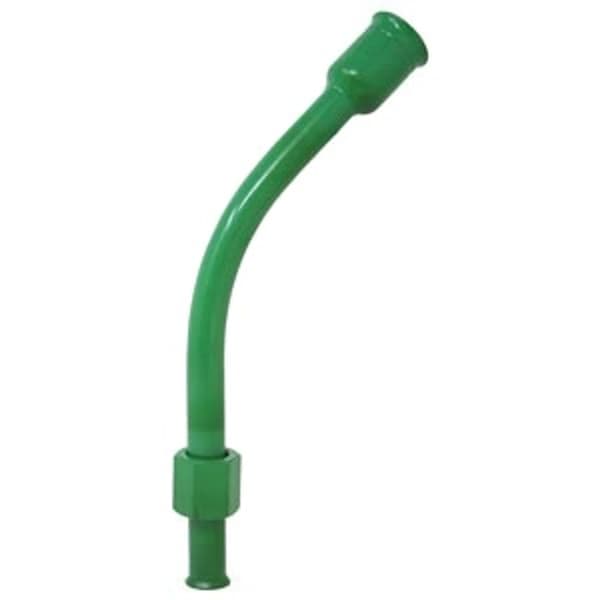
- Damaged Dipstick Tube: The tube itself can be bent, cracked, or broken, making it difficult or impossible to insert the dipstick correctly.
If you experience any of these problems, replacing the dipstick or dipstick tube is essential. Regular maintenance of your engine and fuel system parts, including components like the small engine fuel pump, and the Briggs & Stratton Carburetor, will help to keep your machine running smoothly.
Identifying the Correct Replacement Dipstick
Finding the right replacement dipstick is critical. Here's how to ensure you get the correct one:
- Identify Your Engine: Locate the engine model number, typically found on a sticker or stamped directly onto the engine block. This is crucial for finding compatible parts.
- Consult Your Owner's Manual: Your owner's manual should list the correct part number for the dipstick.
- Use Our Website: At Madison Tractor, you can enter your engine model number in our search bar to find compatible dipsticks.
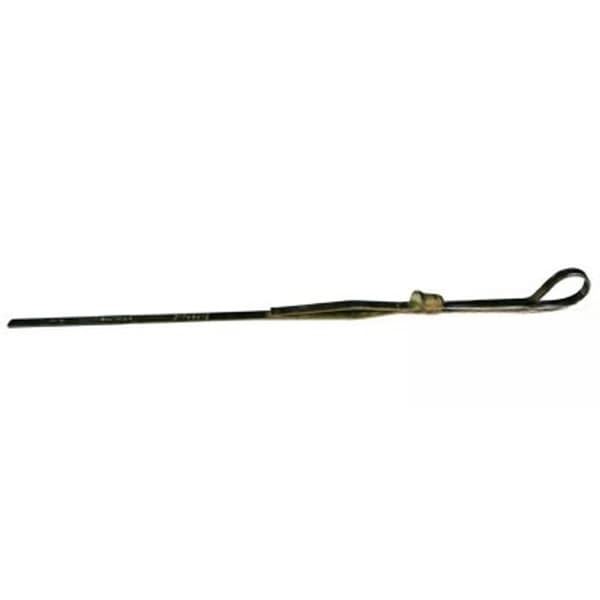
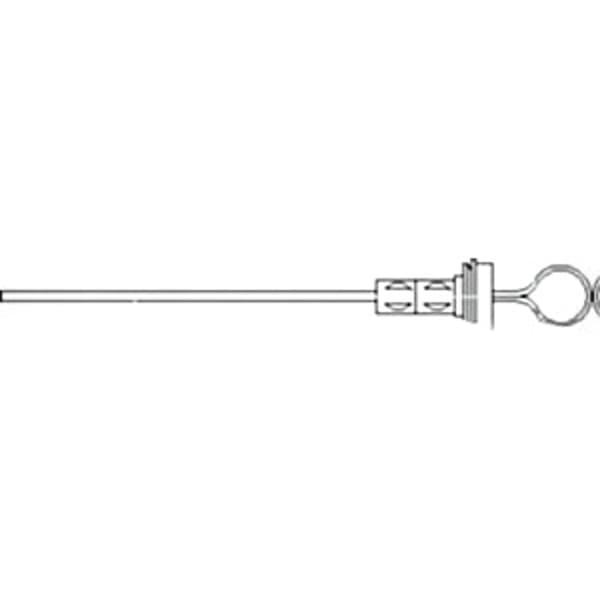
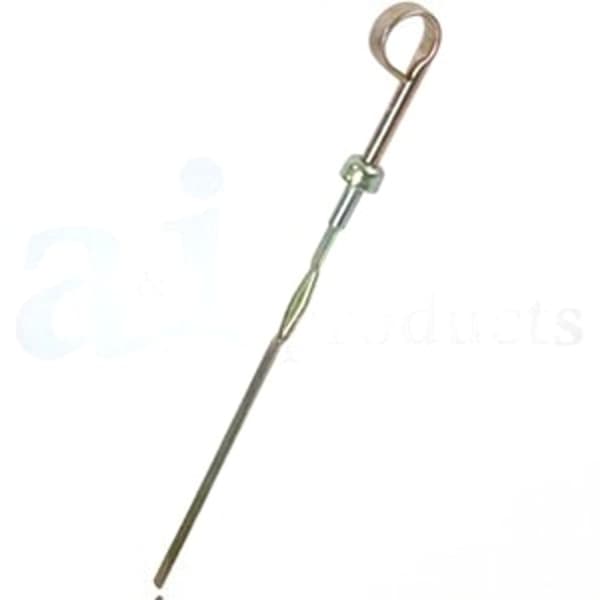
- Match Physical Characteristics: Compare the length, thread type (if applicable), and markings on your old dipstick with the replacement.
Important Note: Using the wrong dipstick can lead to inaccurate oil level readings and potentially damage your engine. Ensure you are using a dipstick designed for your specific engine model. For example, a dipstick for a Kawasaki engine carburetor would not be appropriate for a Kohler engine.
Replacing the Small Engine Dipstick
Replacing the dipstick itself is usually straightforward:
- Safety First: Ensure the engine is cool and turned off. Disconnect the spark plug wire to prevent accidental starting.
- Remove the Old Dipstick: Simply unscrew (if applicable) and pull out the old dipstick.
- Install the new dipstick: Insert the new dipstick into the dipstick tube and screw it in (if applicable) until snug. Do not overtighten.
- Check the Oil Level: Use the new dipstick to check the oil level and add oil as needed to reach the recommended level.
- Reconnect the Spark Plug Wire: Reconnect the spark plug wire.
Tip: Lightly lubricating the O-ring on the new dipstick with fresh engine oil can make installation easier and improve the seal.
Replacing the Dipstick Tube
Replacing the dipstick tube is a bit more involved, but still manageable for most DIYers.
- Safety First: As before, ensure the engine is cool, turned off, and the spark plug wire is disconnected.
- Remove the Old Tube: Depending on the design, the dipstick tube may be pressed in, screwed in, or held in place by a bracket. Carefully examine how it's attached and use the appropriate tools (pliers, wrench, screwdriver) to remove it.
- Clean the Mounting Surface: Thoroughly clean the area where the new dipstick tube will be installed to ensure a good seal.
- Install the New Tube: Install the new dipstick tube, ensuring it is properly seated and secured. If it's a press-fit tube, use a rubber mallet or similar tool to gently tap it into place. Be careful not to damage the tube.
- Secure the Tube: If the tube is held in place by a bracket, tighten the bracket securely.
- Install the Dipstick: Install the new or existing dipstick into the new tube.
- Check the Oil Level: Use the dipstick to check the oil level and add oil as needed.
- Reconnect the Spark Plug Wire: Reconnect the spark plug wire.
Important Considerations:
- Press-Fit Tubes: When installing a press-fit tube, ensure it's driven in straight to avoid bending or cracking it.
- Threaded Tubes: Use thread sealant on threaded tubes to prevent leaks.
- Bracketed Tubes: Ensure the bracket is properly aligned and tightened to prevent vibration and potential damage.
When working on your engine, consider the condition of other components. Is it time to replace your small engine carburetor kit or Briggs & Stratton head gasket?
Troubleshooting Tips
- Oil Leaks: If you still have oil leaks after replacing the dipstick or tube, double-check the seal and ensure the dipstick is properly tightened. Consider using thread sealant on threaded dipsticks.
- Difficult Installation: If you're having trouble installing the dipstick tube, ensure the mounting surface is clean and free of debris. Lightly lubricating the tube can also help.
- Inaccurate Oil Readings: If you suspect the dipstick is giving inaccurate oil readings, double-check that you're using the correct dipstick for your engine model.
Preventative Maintenance
To prolong the life of your small engine dipstick and prevent future problems:
- Regular Oil Checks: Check your oil level regularly, ideally before each use.
- Proper Oil Type: Use the oil type recommended by the engine manufacturer.
- Avoid Overfilling: Overfilling the oil can cause leaks and engine damage.
- Inspect the Dipstick Regularly: Look for signs of cracks, damage, or wear on the dipstick and replace it if necessary.
Proper maintenance, including checking parts like filters, spark plugs, and bearings, is essential for a healthy engine.
Madison Tractor Company is your trusted source for high-quality small engine parts. We offer a wide selection of dipsticks, dipstick tubes, and other engine components for all major brands, including John Deere, Craftsman, Cub Cadet, and more. Browse our online catalog today to find the parts you need to keep your outdoor power equipment running smoothly. We also carry a wide range of belts, blades, spindles, pulleys, filters, spark plugs, bearings, and shear pins.
Shop Small Engine Parts Now!
🔍 Can't Find Your Part?
Use our AI-Powered Part Finder to search by your equipment's make, model, and what you need. It's the fastest way to find the exact part for your machine.
Try the Part Finder →