








Small Engine Carburetor Cleaner: Best Spray & Soak
Is your lawn mower sputtering or refusing to start? A dirty carburetor could be the culprit. This guide explains how to clean your small engine carb using spray and soak methods to restore performance and avoid expensive repairs.
Introduction to Small Engine Carburetor Cleaning
A properly functioning carburetor is crucial for the smooth operation of any small engine, whether it's powering your lawn mower, snow blower, or other outdoor equipment. Over time, however, carburetors can become clogged with deposits from fuel, oil, and environmental debris. This leads to poor engine performance, starting problems, and even engine failure. Fortunately, cleaning a carburetor is a relatively simple task that can often be done at home using readily available tools and a good small engine carb cleaner.
Recommended Parts for This Guide
3 parts we recommend — in stock, ships fast, one-click add to cart.
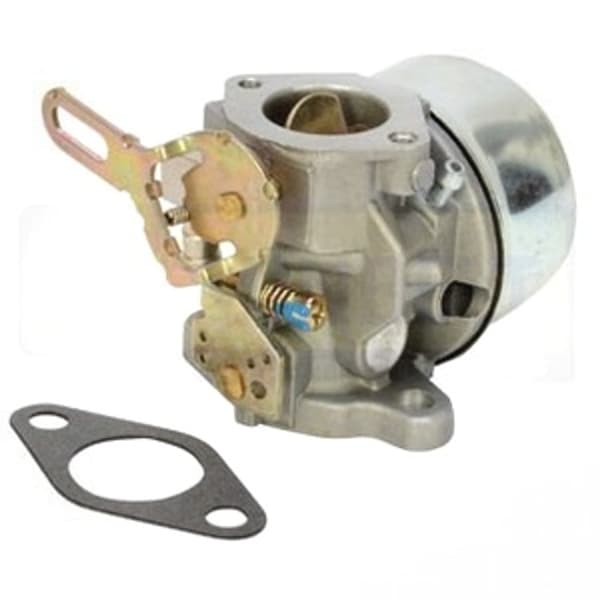
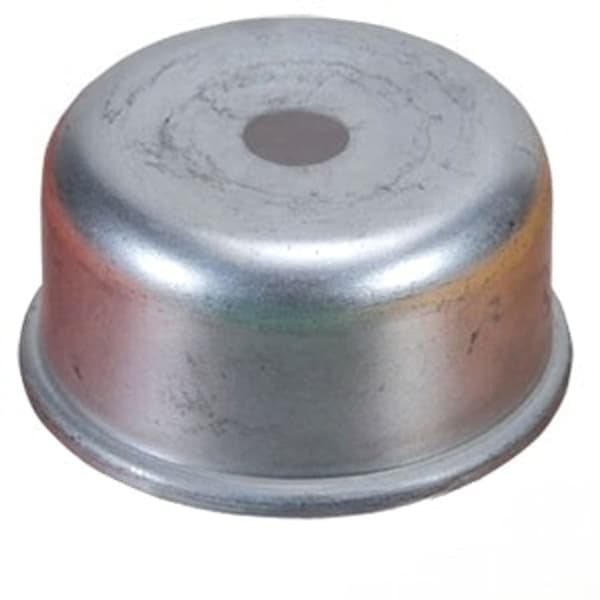
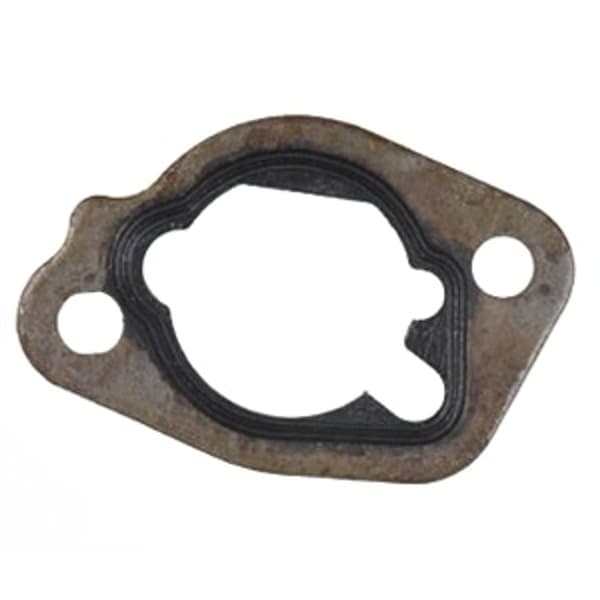
🔍 Looking for a specific part? Try our AI Part Finder — tell it your equipment and what you need, and it will find matching parts instantly.
This guide will walk you through the process of cleaning a small engine carburetor using both spray and soak methods. We'll cover the tools you'll need, the steps involved, and some helpful tips to ensure a successful cleaning. Whether you own a John Deere, Craftsman, Cub Cadet, Husqvarna, Toro, Ariens, Murray, Hustler, Scag, Exmark, Ferris, Snapper, Simplicity, or Dixie Chopper, understanding carburetor cleaning can save you time and money.
Remember that if your carburetor is severely damaged, cleaning might not be enough. In some cases, a small engine carburetor kit or a complete carburetor replacement may be necessary.
Why Clean Your Carburetor?
A dirty carburetor restricts fuel flow, causing a lean fuel mixture. This can lead to several symptoms, including:
- Difficulty starting
- Rough idling
- Sputtering or stalling
- Loss of power
- Poor fuel economy
Addressing carburetor issues promptly can prevent further damage to your engine and extend its lifespan. Regular maintenance, including fuel stabilizer usage during storage, can also help prevent carburetor problems in the first place. Checking related fuel system components like your small engine fuel pump is also advisable when troubleshooting engine issues.
Safety First: Precautions Before You Begin
Working with gasoline and carburetor cleaner involves inherent risks. Always take the following precautions:
- Work in a well-ventilated area: Carburetor cleaner fumes can be harmful.
- Wear safety glasses and gloves: Protect your eyes and skin from cleaner and fuel.
- Disconnect the spark plug: This prevents accidental starting.
- Keep away from open flames: Gasoline and carb cleaner are flammable.
- Dispose of used cleaner properly: Follow local regulations for hazardous waste disposal.
Tools and Materials You'll Need
Before you begin, gather the following tools and materials:
- Small engine carb cleaner spray
- Carburetor cleaning solvent (for soaking)
- Screwdrivers (Phillips and flathead)
- Wrenches (appropriate sizes for your engine)
- Pliers
- Small brushes (e.g., toothbrush, pipe cleaners)
- Compressed air (optional but recommended)
- Clean rags or paper towels
- Safety glasses and gloves
- Carburetor diagram (if available, for reassembly reference)
- Small containers for soaking parts
Spray Cleaning Method
The spray cleaning method is suitable for carburetors with minor deposits. It's less intensive than soaking but can still be effective.
Step 1: Access the Carburetor
Locate the carburetor on your engine. This usually involves removing the air filter assembly. Depending on your equipment (e.g., a John Deere riding mower versus a Toro snowblower), the location and access will vary. Consult your owner's manual for specific instructions. You might also need to disconnect the fuel line or an air cleaner hose. If so, clamp it off first to prevent fuel leakage.
Step 2: Disassemble the Carburetor (Partially)
Carefully remove the fuel bowl and any easily accessible jets. Note their positions for reassembly. For instance, a Briggs & Stratton carburetor may have different jet configurations than a Kohler carburetor. Refer to your engine's service manual if needed.
Step 3: Spray with Carburetor Cleaner
Thoroughly spray all carburetor components, including the bowl, jets, and carburetor body, with Walbro Small Parts Cleaner. Pay particular attention to small passages and orifices. Allow the cleaner to soak for a few minutes to loosen deposits.
Step 4: Clean with Brushes
Use small brushes (like old toothbrushes or pipe cleaners) to scrub away any remaining deposits. Ensure that all passages are clear.
Step 5: Rinse and Dry
Rinse the carburetor components with more carburetor cleaner to remove loosened debris. Use compressed air to dry the parts and clear any remaining obstructions in small passages. This is particularly helpful for the jets.
Step 6: Reassemble the Carburetor
Carefully reassemble the carburetor, ensuring all parts are properly positioned and tightened. Use the carburetor diagram (if you have one) as a reference. Make sure to use a new gasket between the fuel bowl and the carburetor body if the old one is damaged. A small engine carburetor kit often includes these essential gaskets.
Step 7: Reinstall and Test
Reinstall the carburetor on the engine, reconnect the fuel line and spark plug wire, and reattach the air filter assembly. Start the engine and check for proper operation. You may need to adjust the carburetor's idle and mixture screws for optimal performance. A sputtering engine might also indicate a faulty Briggs head gasket, so inspect that area if problems persist.
Soaking Method: For Heavily Clogged Carburetors
For carburetors with significant deposits, the soaking method provides a more thorough cleaning.
Step 1: Disassemble the Carburetor Completely
Disassemble the carburetor completely, removing all jets, needles, floats, and other components. Keep track of the location of each part for reassembly.
Step 2: Soak the Components
Place all metal carburetor components in a container filled with carburetor cleaning solvent. Ensure that all parts are fully submerged. Let the parts soak for several hours or overnight, depending on the severity of the deposits.
Step 3: Scrub and Clean
After soaking, remove the parts from the solvent and scrub them thoroughly with small brushes. Pay close attention to small passages and orifices. The soaking should have loosened most of the deposits, making them easier to remove.
Step 4: Rinse and Dry
Rinse the carburetor components with clean carburetor cleaner to remove any remaining debris. Use compressed air to dry the parts and clear any remaining obstructions.
Step 5: Inspect and Replace Worn Parts
Inspect all carburetor components for wear or damage. Replace any worn needles, seats, or gaskets. Carburetor rebuild kits are readily available for many engines, including Briggs & Stratton carburetors and Kawasaki engine carburetors. Replacing these parts can improve carburetor performance and reliability.
Step 6: Reassemble the Carburetor
Carefully reassemble the carburetor, referring to a diagram or your notes as needed. Ensure that all parts are properly positioned and tightened. Use new gaskets and O-rings where necessary.
Step 7: Reinstall and Test
Reinstall the carburetor on the engine, reconnect the fuel line and spark plug wire, and reattach the air filter assembly. Start the engine and check for proper operation. Adjust the carburetor's idle and mixture screws as needed. If your equipment is older, verify the condition of belts, blades, spindles, pulleys, filters, spark plugs, bearings, and shear pins while you are performing maintenance.
Choosing the Right Carburetor Cleaner
There are many different types of small engine carb cleaner available. Choose a cleaner that is specifically designed for carburetors and is compatible with your engine's fuel system. Some cleaners are more aggressive than others, so consider the severity of the deposits when making your selection. Always follow the manufacturer's instructions for use.
Preventative Maintenance Tips
To prevent carburetor problems, consider the following tips:
- Use fresh fuel: Old fuel can break down and form deposits.
- Add fuel stabilizer: Fuel stabilizer prevents fuel degradation during storage.
- Drain the fuel tank: If you're storing your equipment for an extended period, drain the fuel tank and run the engine until it stalls to empty the carburetor.
- Use a fuel filter: A fuel filter prevents debris from entering the carburetor.
- Regularly inspect and clean the air filter: A dirty air filter can cause a rich fuel mixture, leading to carbon buildup in the carburetor.
Conclusion
Cleaning a small engine carburetor is a straightforward task that can significantly improve engine performance. By following the steps outlined in this guide, you can restore your equipment to its optimal running condition and avoid costly repairs. Remember to always prioritize safety and use the appropriate tools and materials. By using the spray and soak methods along with preventative maintenance, your lawn equipment will be well maintained and ready to work when you are.
Shop small engine parts at Madison Tractor
Need parts for your small engine repair? Madison Tractor Company carries a wide selection of replacement parts for top brands like John Deere, Craftsman, Cub Cadet, Husqvarna, Toro, Ariens, Briggs & Stratton, Kohler, Kawasaki and more. From carburetors and rebuild kits to fuel pumps and filters, we have everything you need to keep your outdoor power equipment running smoothly. Browse our online catalog today and find the parts you need to get the job done! You can also use our AI-Powered Part Finder to search for parts by your specific make and model.
Part of our comprehensive guide
Small Engine Parts Guide: Carburetors, Fuel Pumps & Gaskets by Engine