








Lawn Mower Magneto: Ignition Coil/Magneto Replacement
Is your lawn mower hard to start or not starting at all? A faulty magneto could be the culprit. Learn how to diagnose and replace your lawn mower's magneto with this comprehensive guide.
What is a Lawn Mower Magneto and Why Does it Matter?
The lawn mower magneto, often referred to as the ignition coil, is a critical component of your mower's ignition system. It generates the high-voltage electrical spark needed to ignite the air-fuel mixture in the engine's cylinder, ultimately starting your mower. Without a functioning magneto, your mower won't start, or it might run erratically.
Recommended Parts for This Guide
3 parts we recommend — in stock, ships fast, one-click add to cart.
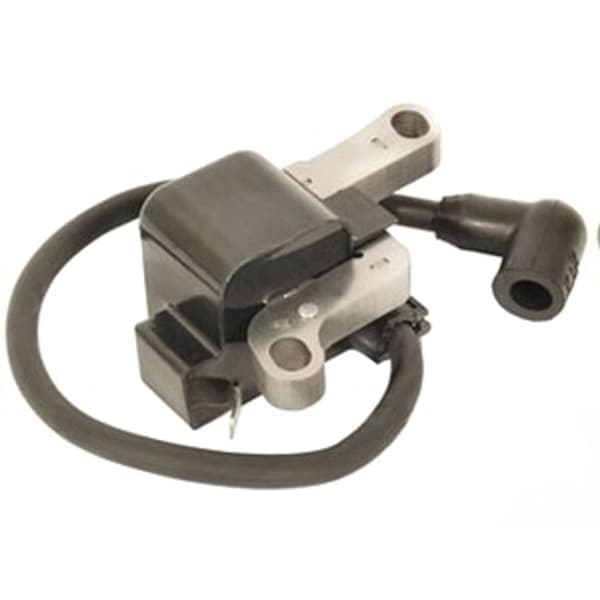
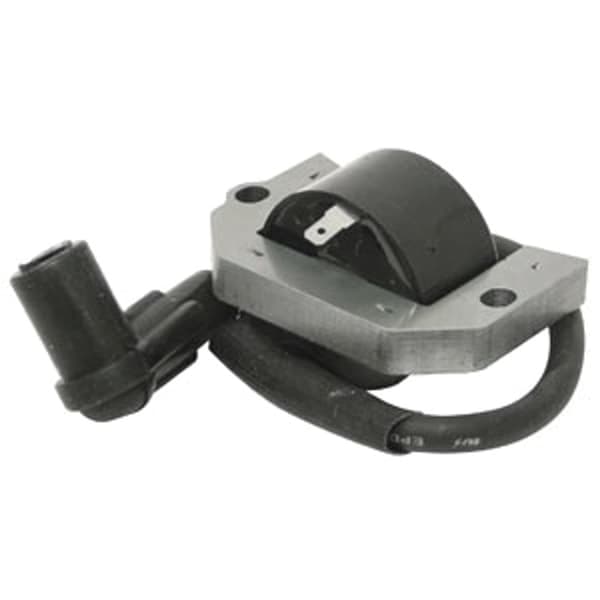
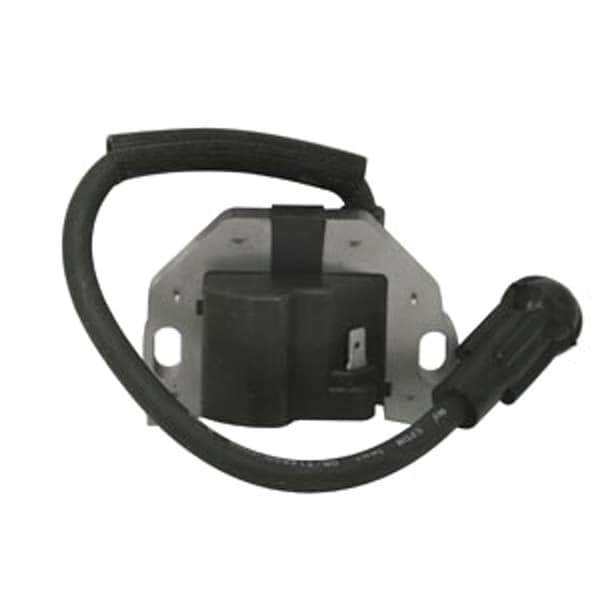
🔍 Looking for a specific part? Try our AI Part Finder — tell it your equipment and what you need, and it will find matching parts instantly.
Many modern mowers utilize an electronic ignition system that integrates the coil and other components. However, the underlying principle remains the same: generate a spark. This guide will cover both the standalone magneto/coil and the more integrated electronic ignition systems.
Common Symptoms of a Failing Lawn Mower Magneto
Recognizing the signs of a failing magneto can save you time and frustration. Here are some common symptoms:
- Hard Starting: This is often the first sign. The engine may crank, but it struggles to start, especially when cold.
- No Start: The engine cranks but doesn't fire at all.
- Intermittent Starting: The mower starts sometimes but not others. This can be due to heat-related failures within the magneto.
- Rough Running: The engine runs unevenly or misfires, especially under load.
- Backfiring: While backfiring can have other causes, a weak spark from a failing magneto can sometimes cause unburnt fuel to ignite in the exhaust system.
Safety First!
Before working on your lawn mower, always disconnect the spark plug wire from the spark plug. This prevents accidental starting. Also, disconnect the negative terminal from the battery if equipped (especially on riding mowers). Wear safety glasses and gloves. Work in a well-ventilated area.
Tools You'll Need
Gather these tools before you begin:
- Socket set and wrenches
- Screwdrivers (Phillips and flathead)
- Spark plug wrench
- Feeler gauge or business card
- Multimeter (optional, but recommended for testing)
- Small engine spark tester (optional, but helpful)
- Pliers
- Wire brush or sandpaper
- Penetrating oil (like WD-40)
- New spark plug (recommended to replace along with the magneto)
- New lawn mower magneto (or a replacement ignition coil for models like Lawnboy)
Diagnosing a Faulty Magneto
Before replacing the magneto, confirm it's the problem. Here's how:
1. Check the Spark Plug
Remove the spark plug and inspect it. Look for cracks, excessive wear, or fouling. Clean the spark plug with a wire brush or replace it with a new one. Reinstall the spark plug and connect the spark plug wire.
2. Test for Spark
There are a few ways to test for spark:
- In-Line Spark Tester: Connect an in-line spark tester between the spark plug and the spark plug wire. Crank the engine. If the tester lights up, you have spark.
- Spark Plug Ground Test: Remove the spark plug, connect it to the spark plug wire, and hold the metal base of the spark plug against a clean, unpainted metal part of the engine (ground). Crank the engine. Watch for a strong, blue spark jumping across the spark plug gap. Important: Hold the spark plug with insulated pliers to avoid getting shocked.
If you don't see a strong, blue spark, proceed to the next step.
3. Check the Kill Switch and Wiring
The kill switch (or engine stop switch) grounds the magneto, preventing it from firing. A faulty kill switch or short in the wiring can prevent spark. Disconnect the wire leading from the kill switch to the magneto. Try starting the engine. If it starts now, the kill switch or wiring is the problem.
Also, inspect the wiring leading to the magneto for any damage, corrosion, or loose connections. Clean and tighten any connections.
4. Test the Magneto with a Multimeter (Advanced)
A multimeter can help you test the primary and secondary resistance of the magneto. Consult your engine's service manual for the correct resistance values. Here's a general guideline:
- Disconnect the spark plug wire from the spark plug and disconnect the kill wire from the magneto.
- Set your multimeter to the ohms setting.
- Primary Resistance: Place one probe on the magneto's metal core (ground) and the other probe on the kill terminal. The resistance should be very low (a few ohms or less).
- Secondary Resistance: Place one probe on the magneto's metal core (ground) and the other probe inside the spark plug boot. The resistance should be much higher (typically in the thousands of ohms).
If the resistance readings are significantly different from the specifications in your engine's service manual, the magneto is likely faulty.
For related information, see our articles on riding mower starter problems and riding mower solenoid testing.
Lawn Mower Magneto Replacement: Step-by-Step Guide
Once you've confirmed the magneto is faulty, here's how to replace it:
1. Remove the Engine Cover and Old Magneto
- Remove the engine cover to access the magneto. This usually involves removing a few screws or bolts.
- Locate the magneto. It's typically mounted near the flywheel.
- Disconnect the spark plug wire and kill wire from the magneto.
- Remove the mounting bolts or screws holding the magneto in place.
- Carefully remove the old magneto.
2. Install the New Magneto
- Install the new magneto in the same location as the old one.
- Tighten the mounting bolts or screws securely.
- Connect the spark plug wire and kill wire to the new magneto.
3. Set the Air Gap
The air gap is the distance between the magneto and the flywheel. This gap is critical for proper ignition. Most manufacturers specify an air gap between 0.010 and 0.014 inches.
- Loosen the magneto mounting bolts slightly.
- Insert a feeler gauge (or a business card, which is approximately 0.010 inches thick) between the magneto and the flywheel.
- Rotate the flywheel so that the magnets are aligned with the magneto. The magnets will pull the magneto towards the flywheel, creating the correct air gap.
- Tighten the magneto mounting bolts securely while holding the magneto in place.
- Remove the feeler gauge or business card.
4. Reinstall the Engine Cover
Reinstall the engine cover and secure it with the screws or bolts you removed earlier.
5. Test the Engine
Reconnect the spark plug wire to the spark plug. Start the engine. If everything is working correctly, the engine should start easily and run smoothly.
Brands and Models
Madison Tractor Company carries magnetos and ignition coils for a wide range of lawn mower brands and engines, including:
- John Deere: Ensure you find the correct magneto for your specific John Deere model, referencing the engine model number. Don't forget to inspect your blades and belts while you're at it!
- Craftsman: Craftsman mowers often use Briggs & Stratton engines, so check the engine model number.
- Cub Cadet: Cub Cadet mowers are known for their robust construction. Ensure your Cub Cadet has the correct filters too!
- Husqvarna: Husqvarna offers a wide variety of mowers. Check the engine model number for the correct magneto.
- Toro: Toro mowers are known for their reliability. Proper magneto function ensures optimal performance.
- Ariens: Replace your shear pins too if you have an Ariens snowblower!
- Murray, Hustler, Scag, Exmark, Ferris, Snapper, Simplicity, Dixie Chopper: We also stock parts for these brands. Use our part lookup tool to find the right magneto for your specific model.
Remember to consult your owner's manual or engine service manual for specific instructions and torque specifications for your mower.
Other components to consider while performing maintenance include the lawn mower ignition coil, riding mower ignition switch, riding mower voltage regulator, lawn mower seat safety switch, and mower pto switch.
Tips and Tricks
- Use Penetrating Oil: If the magneto mounting bolts are rusty, apply penetrating oil a few hours before attempting to remove them.
- Take Pictures: Before disconnecting any wires, take pictures of the wiring connections. This will help you reconnect them correctly.
- Clean the Flywheel: Before installing the new magneto, clean the flywheel magnets with a wire brush or sandpaper. This will improve the magnetic field strength.
- Replace the Spark Plug: It's always a good idea to replace the spark plug when replacing the magneto.
Troubleshooting After Replacement
If your mower still doesn't start after replacing the magneto, recheck all wiring connections and the air gap. Also, ensure that the kill switch is functioning correctly. If the problem persists, consult a qualified mechanic.
Shop Lawn Mower Parts at Madison Tractor Company
Madison Tractor Company is your trusted source for high-quality lawn mower parts. We carry a wide selection of magnetos, ignition coils, such as the B1LB100 for Lawn Boy, the UC11197 Coil, Ignition, and the MIA11064 Coil Assy, Ignition, spark plugs, belts, blades, spindles, pulleys, filters, bearings, and other essential parts for John Deere, Craftsman, Cub Cadet, Husqvarna, Toro, Ariens, and many other brands. Shop with us today and keep your lawn mower running smoothly!
🔍 Can't Find Your Part?
Use our AI-Powered Part Finder to search by your equipment's make, model, and what you need. It's the fastest way to find the exact part for your machine.
Try the Part Finder →Part of our comprehensive guide
Mower Electrical Parts Guide: Starters, Solenoids, Switches & More