








Riding Mower Parking Brake Parts: Cable, Pad & Spring
A properly functioning parking brake is crucial for safety on your riding mower. This guide explains the common components – cables, pads, and springs – and how to identify and replace them.
A functioning parking brake on your riding mower is essential for safety. Whether you're working on a John Deere, Cub Cadet, Craftsman, or any other brand, understanding the components and common issues will help you keep your mower secure. This guide will walk you through the common parts involved in a riding mower parking brake system: cables, pads, and springs, and how to diagnose and address problems.
Recommended Parts for This Guide
7 parts we recommend — in stock, ships fast, one-click add to cart.
🔍 Looking for a specific part? Try our AI Part Finder — tell it your equipment and what you need, and it will find matching parts instantly.
Understanding Riding Mower Parking Brake Systems
Riding mower parking brakes, sometimes called emergency brakes, are typically mechanically operated. Pulling the parking brake lever engages a cable that applies pressure to a brake pad or shoe, creating friction against a disc or drum to prevent the mower from rolling. The system usually includes springs to return the brake to its disengaged position when the lever is released.
Common Riding Mower Parking Brake Parts
Here's a closer look at the key components:
- Parking Brake Cable: This cable transmits the force from the parking brake lever to the brake mechanism.
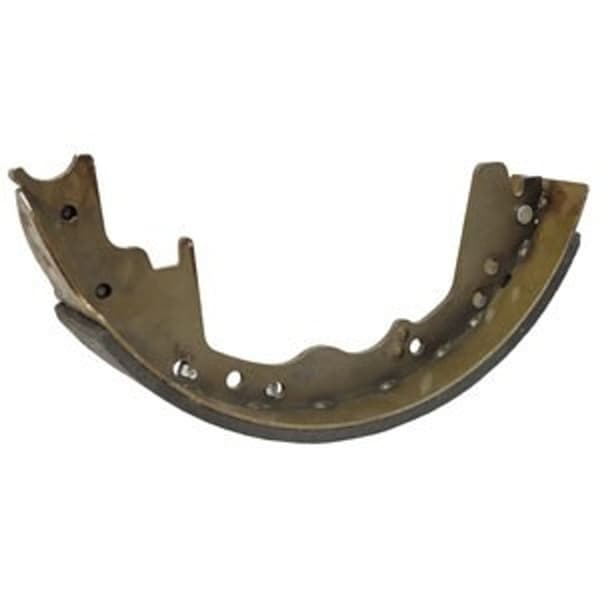
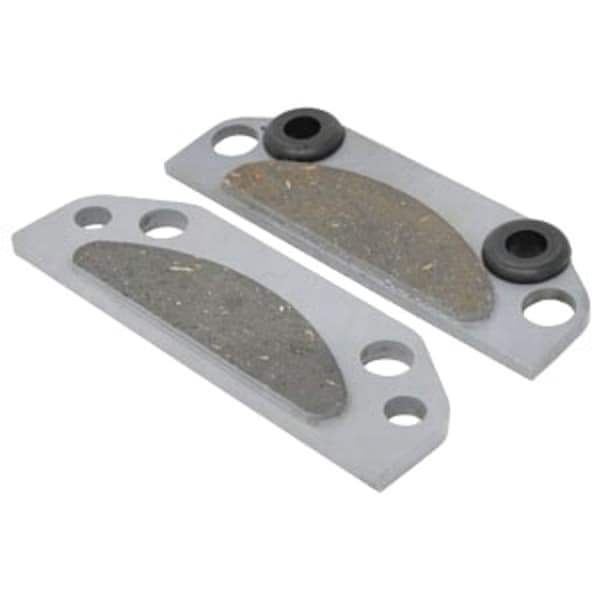
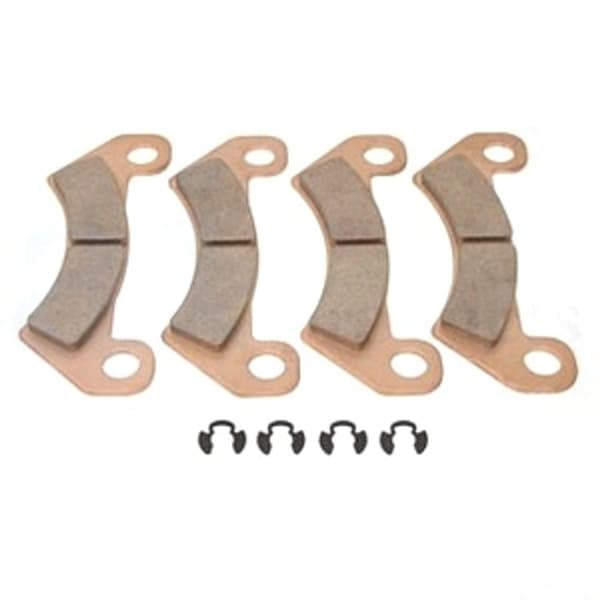
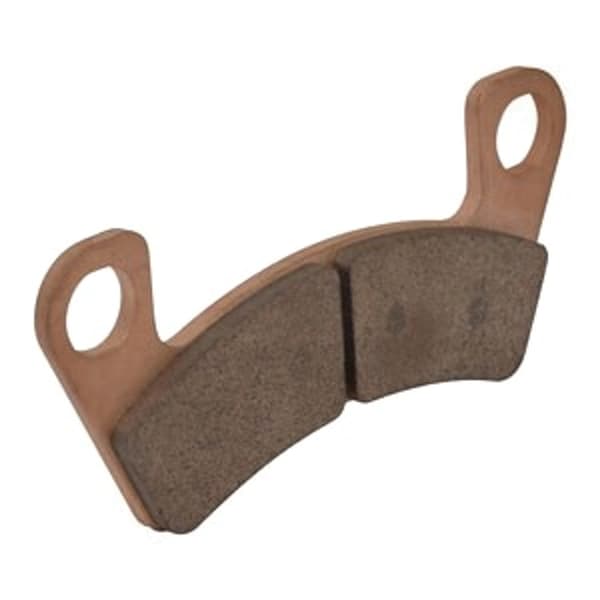
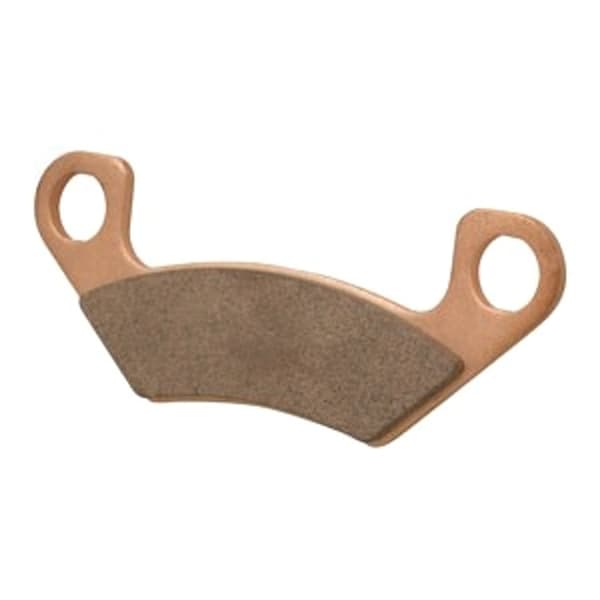
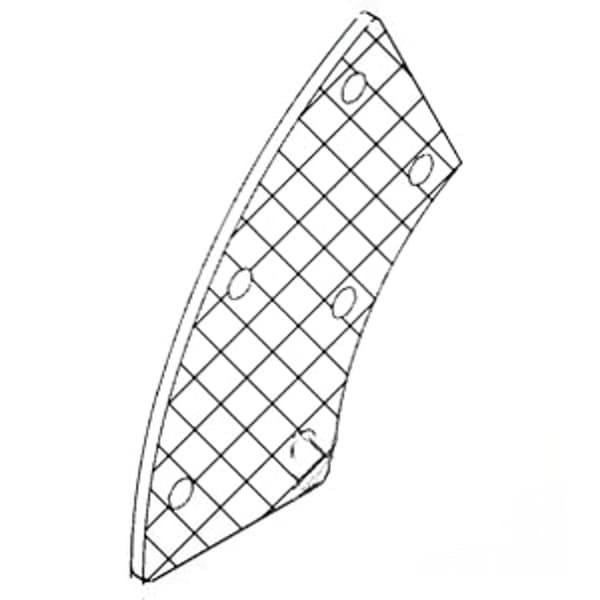
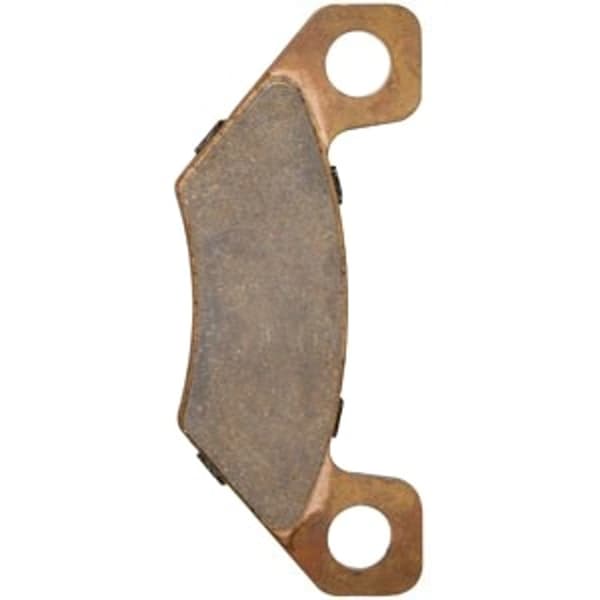
- Brake Pads/Shoes: These friction materials press against the brake disc or drum to stop the mower.
- Brake Springs: These springs return the brake lever and brake mechanism to their disengaged positions. They ensure the brake isn't dragging when released.
Riding Mower Parking Brake Cable Problems and Solutions
The parking brake cable is under constant tension and can wear or stretch over time. Here's what to look for:
Signs of a faulty parking brake cable:
- Loose Parking Brake Lever: The lever feels slack or doesn't engage the brake effectively.
- Stretched or Frayed Cable: Visual inspection reveals damage to the cable.
- Rust or Corrosion: Corrosion can seize the cable, preventing it from moving freely.
Replacing a Riding Mower Parking Brake Cable:
- Safety First: Disconnect the spark plug wire to prevent accidental starting. Engage the parking brake (if possible!) and chock the wheels.
- Remove the Old Cable: Disconnect the cable from both the parking brake lever and the brake mechanism (usually near the transmission or wheels). Note the routing of the old cable; a picture is helpful.
- Install the New Cable: Route the new cable exactly as the old one was. Connect it to the brake lever and brake mechanism. John Deere, Cub Cadet, and Craftsman mowers often have specific cable routing requirements, so consult your owner's manual or a parts diagram.
- Adjust the Cable Tension: Most parking brake systems have an adjustment mechanism (often a nut or screw) to tighten or loosen the cable. Adjust the tension so the brake engages firmly but releases completely.
- Test the Brake: With the engine off, engage and disengage the parking brake several times to ensure it's working correctly.
Riding Mower Parking Brake Pad/Shoe Problems and Solutions
Like brake pads in a car, riding mower brake pads or shoes wear down over time. If your parking brake isn't holding well, worn pads may be the culprit.
Signs of worn brake pads/shoes:
- Weak Holding Power: The parking brake doesn't prevent the mower from rolling on an incline.
- Squealing or Grinding Noises: These noises indicate the pads are worn and rubbing metal-on-metal.
- Visual Inspection: Inspect the pads for excessive wear (they should have a minimum thickness, check your service manual).
Replacing Riding Mower Parking Brake Pads/Shoes:
- Safety First: As above, disconnect the spark plug wire, engage the brake, and chock the wheels.
- Access the Brake Mechanism: This usually involves removing a wheel or a cover to expose the brake disc or drum. Refer to your mower's service manual for specific instructions.
- Remove the Old Pads/Shoes: Note how the pads are installed (orientation, clips, etc.).
- Install the New Pads/Shoes: Install the new pads in the same orientation as the old ones. Ensure they are properly seated.
- Reassemble the Brake Mechanism: Reinstall any covers or wheels that were removed.
- Adjust the Brake (If Necessary): Some brake systems require adjustment after pad replacement.
- Test the Brake: Engage and disengage the parking brake several times to ensure it's working correctly.
Brands like Toro, Husqvarna, Ariens, and Snapper often use similar parking brake systems across their riding mower models. Always check the specific parts diagram for your model to ensure you get the correct replacement pads or shoes.
Riding Mower Parking Brake Spring Problems and Solutions
Brake springs ensure the brake disengages completely when the lever is released. A broken or weak spring can cause the brake to drag, leading to premature wear and reduced performance.
Signs of a faulty brake spring:
- Brake Drag: The mower feels sluggish, or you hear a rubbing noise even when the brake lever is disengaged.
- Weak Return: The brake lever doesn't return fully to its disengaged position.
- Visual Inspection: Look for broken, stretched, or corroded springs.
Replacing Riding Mower Parking Brake Springs:
- Safety First: Disconnect the spark plug wire, engage the brake (if possible!), and chock the wheels.
- Access the Brake Mechanism: This may involve removing a wheel or cover.
- Remove the Old Spring: Note the spring's location and orientation before removing it. A picture can be helpful.
- Install the New Spring: Install the new spring in the same location and orientation as the old one.
- Reassemble the Brake Mechanism: Reinstall any covers or wheels that were removed.
- Test the Brake: Engage and disengage the parking brake several times to ensure it's working correctly.
General Tips and Maintenance
- Regular Inspection: Inspect your parking brake system regularly for signs of wear or damage.
- Lubrication: Lubricate the parking brake cable and mechanism periodically to prevent corrosion and ensure smooth operation. Use a cable lubricant for best results.
- Refer to Your Owner's Manual: Always consult your mower's owner's manual for specific maintenance and repair instructions.
Remember, proper maintenance of your riding mower's transmission and drive system is crucial for its longevity and performance. While focusing on the parking brake, consider other components like the riding mower drive belt, lawn tractor transaxle, and hydrostatic transmission fluid. Don't forget about other maintenance items like blades, filters, and spark plugs.
Specific components can vary greatly between brands like Hustler, Scag, Exmark, Ferris, Snapper, Simplicity, and Dixie Chopper. Always use the correct part number when ordering replacements.
Safety First!
WARNING: Always disconnect the spark plug wire and remove the key before working on your riding mower. Wear appropriate safety gear, including gloves and eye protection.
Shop Riding Mower Parking Brake Parts at Madison Tractor
Madison Tractor Company carries a wide selection of riding mower parts, including parking brake cables, pads, and springs, for all major brands. Find the parts you need to keep your mower safe and reliable. Browse our online catalog today for John Deere, Craftsman, Cub Cadet, and more! Our expert staff is ready to help you find the right parts and provide technical support. You can also use our AI-Powered Part Finder to search for parts by your specific make and model.
Part of our comprehensive guide
Mower Transmission Parts Guide: Transaxle, Drive Belt & Bearings