








Riding Mower Clutch Pedal: Spring, Cable & Linkage
Is your riding mower clutch pedal sticking, loose, or not engaging properly? This guide explains the components of a riding mower clutch system – springs, cables, and linkage – and helps you diagnose and fix common problems.
The clutch pedal on your riding mower is a vital component, controlling the engagement and disengagement of the engine's power to the transmission. A properly functioning clutch allows for smooth starting, stopping, and gear shifting. When the clutch pedal system malfunctions, it can lead to difficulty starting, jerky movements, or even complete immobility. This guide will walk you through the common components of a riding mower clutch pedal system – springs, cables, and linkage – and help you diagnose and address common issues.
Recommended Parts for This Guide
7 parts we recommend — in stock, ships fast, one-click add to cart.
🔍 Looking for a specific part? Try our AI Part Finder — tell it your equipment and what you need, and it will find matching parts instantly.
Understanding the Riding Mower Clutch System
Before diving into troubleshooting, let's break down the key components of a typical riding mower clutch pedal system:
- Clutch Pedal: The foot-operated lever that initiates the clutch engagement/disengagement.
- Clutch Cable (or Linkage): Connects the clutch pedal to the clutch mechanism, transmitting the motion. Some mowers use a direct mechanical linkage instead of a cable.
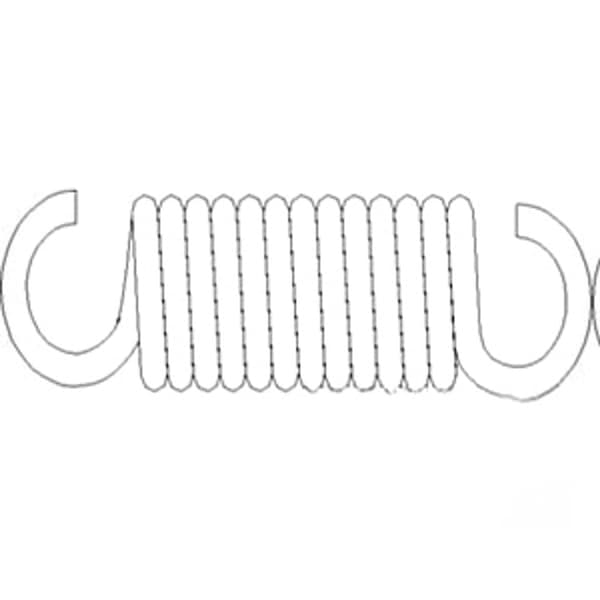
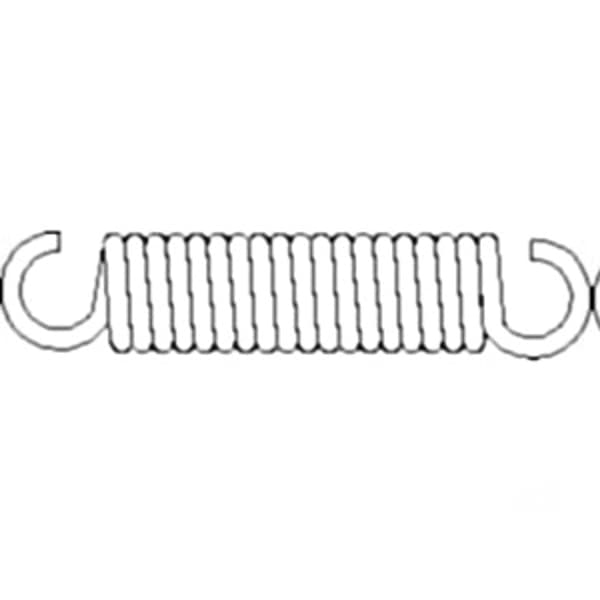
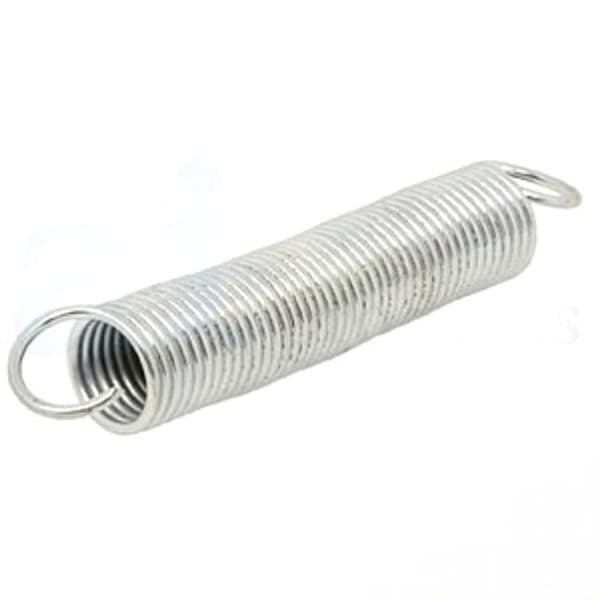
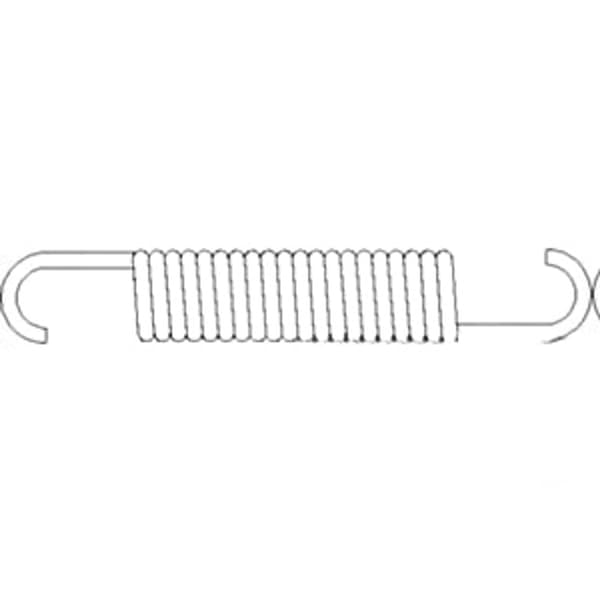
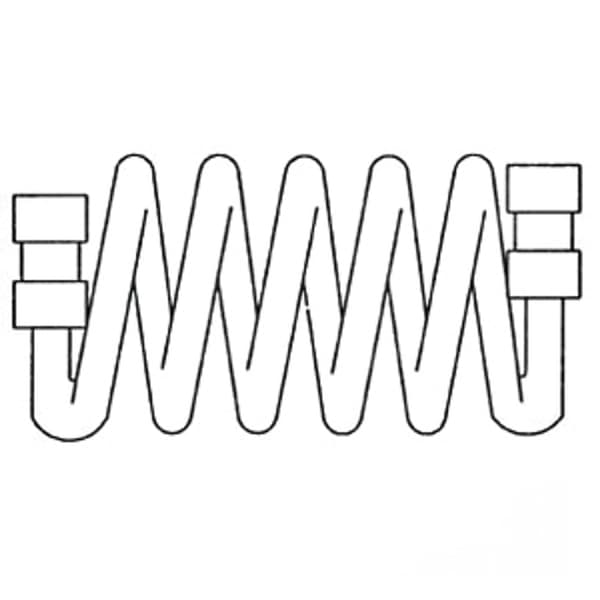
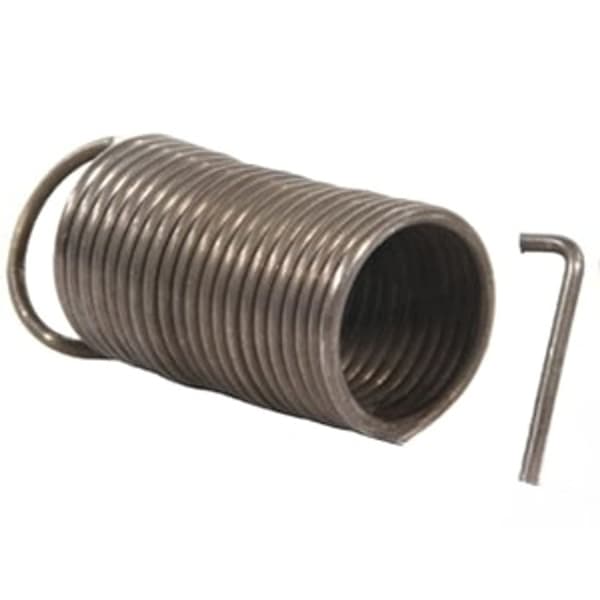
- Clutch Spring: Provides tension to keep the clutch engaged when the pedal is not depressed. It also helps return the pedal to its starting position. We offer various replacement clutch pedal springs, including specific pedal springs, lever assist springs, pedal return springs, extension springs, and general purpose clutch/brake pedal springs and return springs for many models.
- Clutch Release Arm/Fork: Activated by the cable or linkage, this arm presses against the clutch mechanism.
- Clutch Assembly (Internal): The internal clutch mechanism within the transaxle itself. This may include components like the clutch plate/cover inner spring. (Further details on the transaxle can be found on our lawn tractor transaxle guide.)
It's important to note that the specific design can vary depending on the brand and model of your riding mower. Brands like John Deere, Craftsman, Cub Cadet, Husqvarna, Toro, Ariens, Murray, and others may implement slightly different configurations.
Common Issues with Riding Mower Clutch Pedals
Here are some common symptoms indicating potential problems with your riding mower's clutch pedal system:
- Clutch pedal is hard to press: This could indicate a seized cable, binding linkage, or a damaged clutch spring.
- Clutch pedal is loose or has excessive play: This could mean a stretched cable, broken linkage, or a worn clutch spring.
- Clutch doesn't fully disengage: The mower creeps forward even with the pedal depressed. This often suggests a stretched cable, improperly adjusted linkage, or internal clutch problems within the transaxle.
- Clutch chatters or slips: This could indicate a worn clutch, contaminated clutch plates (if accessible), or issues with the riding mower drive belt.
- Clutch pedal sticks or doesn't return: This usually points to a corroded cable, binding linkage, or a weak or broken clutch spring.
Troubleshooting the Clutch System
Follow these steps to diagnose the issue:
- Visual Inspection:
- Check the Clutch Cable (or Linkage): Look for signs of wear, fraying, kinks, or corrosion on the cable. If your mower uses a linkage, inspect the rods and joints for damage, bending, or looseness. If you find significant cable damage, you can find replacement clutch cables here.
- Inspect the Clutch Spring: Look for breaks, excessive rust, or stretching. A weak or broken clutch spring will affect pedal return and clutch engagement.
- Examine the Pedal and Linkage Points: Check for wear, looseness, or damage at the points where the pedal connects to the cable/linkage and where the cable/linkage connects to the clutch release arm. This includes inspecting the clutch pedal pivot pin, the pivot shaft, and any bushings or spacers.
- Cable/Linkage Adjustment:
- Many riding mowers have an adjustment mechanism on the clutch cable or linkage. Refer to your owner's manual for specific instructions on adjusting the clutch. Proper adjustment ensures the clutch fully engages and disengages.
- Cable/Linkage Lubrication:
- If the cable is stiff or sticking, try lubricating it with a cable lubricant. Disconnect the cable at both ends, spray lubricant into the cable housing, and work the cable back and forth to distribute the lubricant. For linkages, apply grease or oil to the joints and pivot points.
- Spring Test:
- With the engine OFF and the mower in neutral, manually check the tension of the clutch spring. If it feels significantly weaker than it should, it likely needs replacement.
- Internal Clutch Diagnosis (Advanced):
- If the above steps don't resolve the issue, the problem might lie within the internal clutch assembly in the lawn tractor transaxle. This requires more advanced mechanical knowledge and may involve disassembling the transaxle. If you are not comfortable with this, it is best to consult a qualified mechanic.
Replacing Riding Mower Clutch Pedal Parts
Once you've identified the faulty component, you'll need to replace it. Here's a general guide:
- Clutch Cable Replacement:
- Disconnect the old clutch cable from the pedal and the clutch release arm.
- Route the new cable through the same path as the old one.
- Connect the new cable to the pedal and the clutch release arm.
- Adjust the cable tension according to your owner's manual.
- Clutch Spring Replacement:
- Disconnect the old clutch spring. Note its orientation for proper installation of the new spring.
- Install the new spring in the correct position.
- Ensure the spring is securely attached.
- Linkage Replacement:
- Remove the damaged or worn linkage parts.
- Install the new linkage parts, ensuring proper alignment and secure connections.
- Lubricate the joints and pivot points.
Safety Warning: Always disconnect the spark plug wire before working on your riding mower to prevent accidental starting.
Tip: When replacing parts, consider replacing related components that may be worn, such as pulleys or the drive belt. This can save you time and effort in the long run.
Remember to consult your riding mower's owner's manual for specific instructions and torque specifications.
Preventative Maintenance
Regular maintenance can help prevent clutch pedal problems and extend the life of your riding mower:
- Lubricate Cables and Linkages: Apply lubricant regularly to prevent corrosion and binding.
- Inspect Cables and Linkages: Check for wear and damage periodically.
- Adjust Clutch Tension: Maintain proper clutch adjustment to ensure smooth engagement and disengagement.
- Keep the Area Clean: Remove debris and grass clippings that can accumulate around the clutch pedal and linkage.
By following these tips, you can keep your riding mower's clutch pedal system in good working order and enjoy years of reliable performance. Don't forget to check other essential components as well, like the wheel bearings, rear axle seals, and even routine maintenance items like spark plugs, blades, and filters.
Shop Riding Mower Clutch Pedal Parts at Madison Tractor
If you need to replace any riding mower clutch pedal parts, Madison Tractor Company has you covered! We carry a wide selection of high-quality replacement parts for popular brands like John Deere, Craftsman, Cub Cadet, Husqvarna, Toro, and more. Browse our online catalog or contact our knowledgeable team for assistance in finding the right parts for your machine. We're here to help you keep your outdoor power equipment running smoothly! You can also use our AI-Powered Part Finder to search for parts by your specific make and model.
Part of our comprehensive guide
Mower Transmission Parts Guide: Transaxle, Drive Belt & Bearings