








Tractor Fuel Gauge Not Working: Sender & Wiring Fix
A faulty fuel gauge can leave you stranded. This guide helps you diagnose common problems with the fuel sender and wiring in your tractor's fuel system, ensuring accurate fuel level readings and preventing unexpected downtime.
Introduction: Fuel Gauge Frustrations
There's nothing worse than running out of fuel in the middle of a field. A properly functioning fuel gauge is crucial for managing your time and resources, preventing costly downtime. If your tractor's fuel gauge isn't working correctly, you're essentially flying blind. This guide will walk you through the process of diagnosing and fixing common issues with your tractor's fuel sender and wiring.
Recommended Parts for This Guide
10 parts we recommend — in stock, ships fast, one-click add to cart.
🔍 Looking for a specific part? Try our AI Part Finder — tell it your equipment and what you need, and it will find matching parts instantly.
Whether you're working on a classic Farmall, a reliable John Deere, or a modern Kubota, the basic principles of fuel gauge operation remain the same. We'll cover the common culprits behind inaccurate or non-existent fuel level readings, and provide practical steps to get your gauge working accurately again.
Remember, when dealing with fuel systems, safety is paramount. Disconnect the battery's negative terminal before working on any electrical components and ensure proper ventilation.
Understanding the Tractor Fuel Gauge System
A typical tractor fuel gauge system consists of three main components:
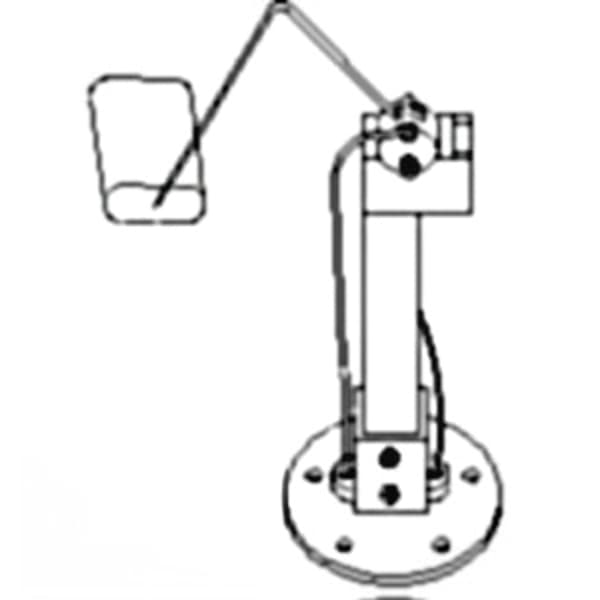
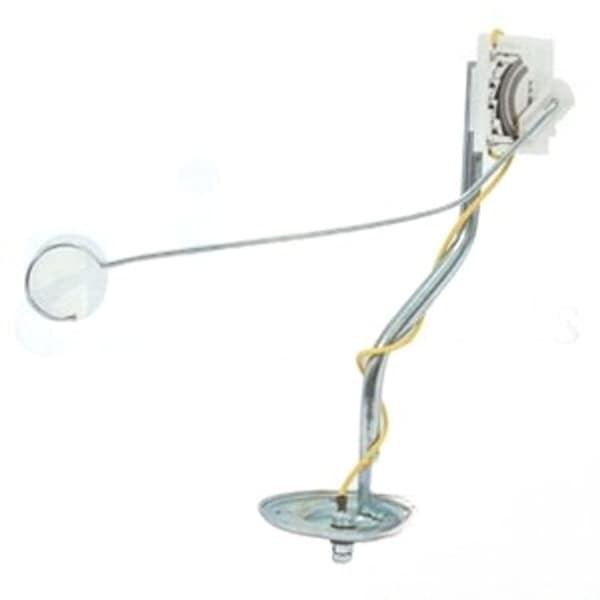
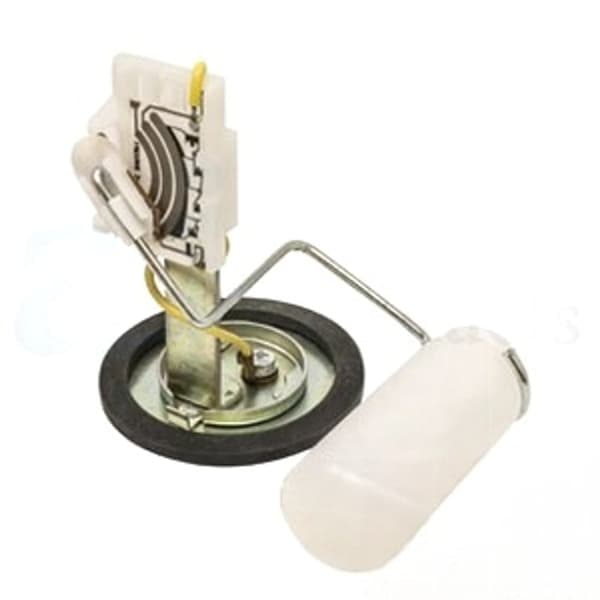
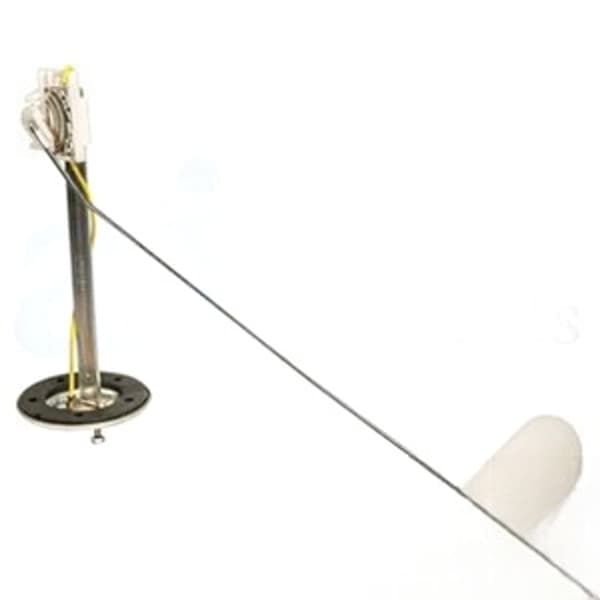
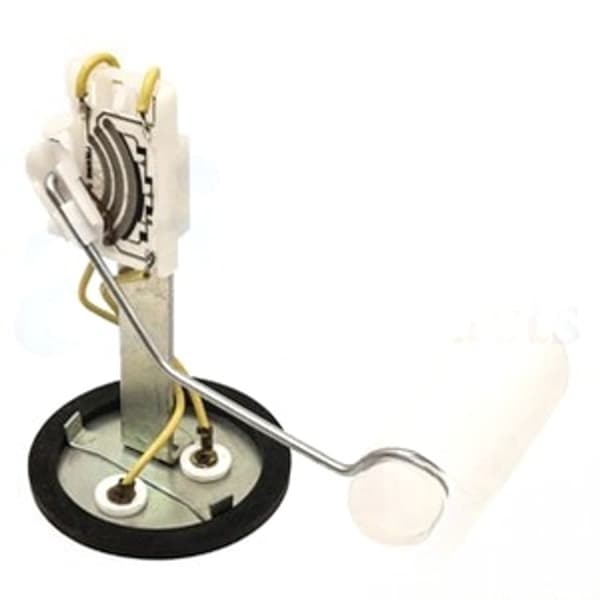
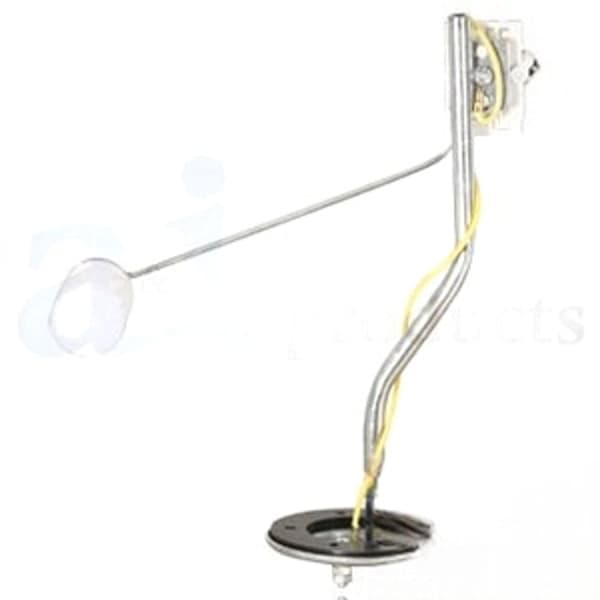
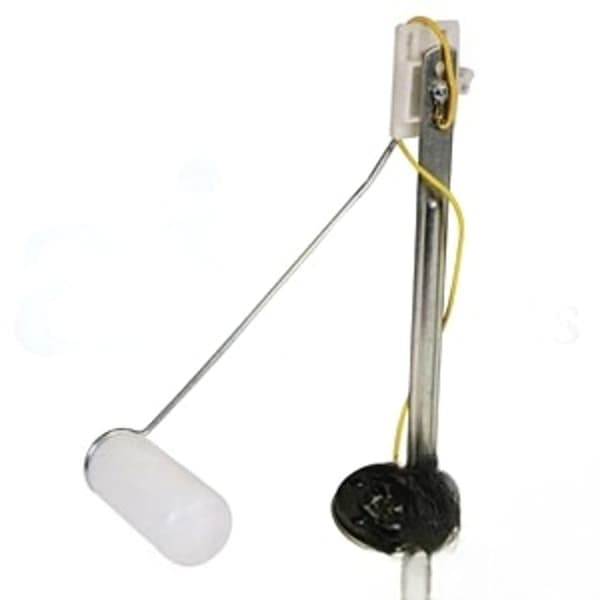
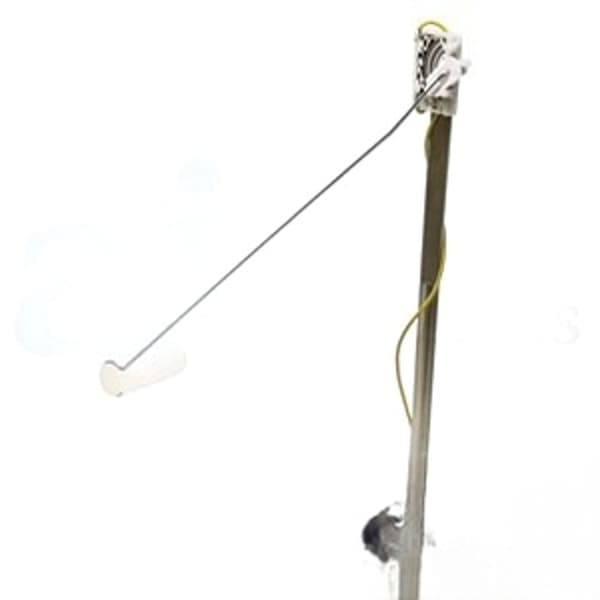
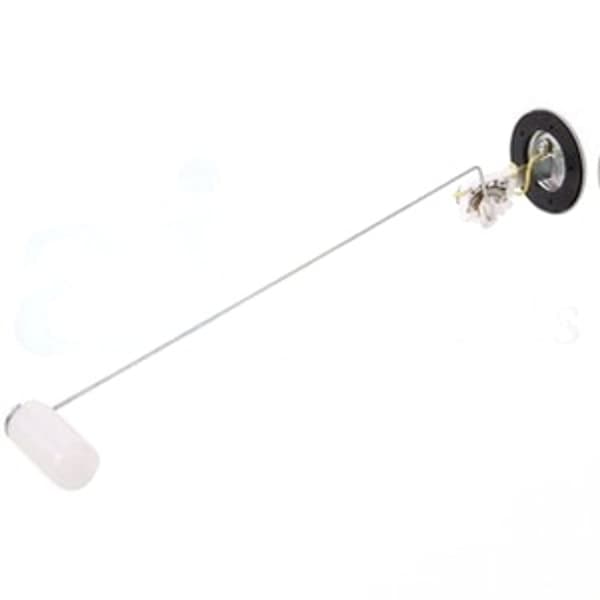
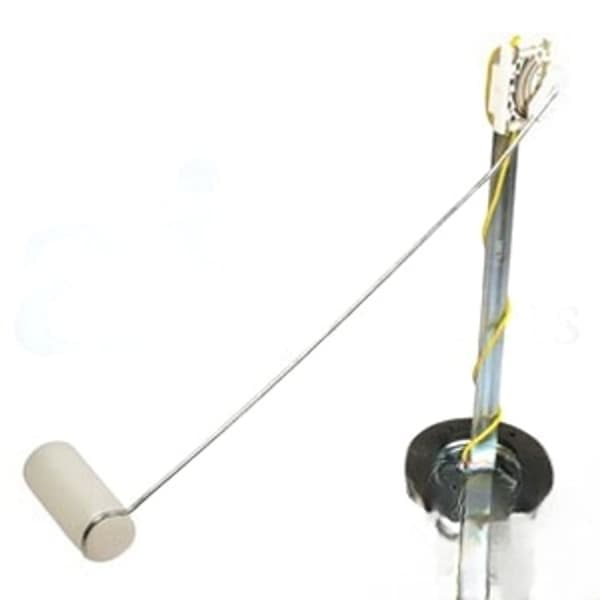
- The Fuel Sender (Sending Unit): Located inside the fuel tank, the sender uses a float arm and a variable resistor to measure the fuel level. As the fuel level changes, the float moves, changing the resistance.
- The Fuel Gauge: Mounted on the instrument panel, the gauge displays the fuel level based on the resistance signal it receives from the sender.
- The Wiring: Wires connect the sender to the gauge and provide a ground connection. Proper wiring is essential for accurate readings.
Problems in any of these components can cause the fuel gauge to malfunction.
Diagnosing the Problem: Step-by-Step
Before tearing everything apart, a systematic approach to diagnosis is key. Here's a recommended troubleshooting process:
1. Visual Inspection
Start with a visual inspection:
- Check the Gauge: Is the needle stuck, or does it move erratically? A gauge that consistently reads empty or full, even after refueling, suggests a sender or wiring problem.
- Inspect the Wiring: Look for damaged, corroded, or loose wires connected to the fuel sender and the gauge. Pay close attention to ground connections, as a poor ground is a common cause of fuel gauge problems.
- Inspect the Fuel Tank Area: Check for any signs of fuel leaks around the fuel tank and sender unit.
2. Testing the Fuel Gauge
You can quickly test the fuel gauge itself using a multimeter. Disconnect the wire from the fuel sender and connect the multimeter to the wire. Set the multimeter to measure resistance (Ohms). With the wire disconnected, the gauge should read empty or beyond empty. Ground the wire directly to the tractor chassis. The gauge should now read full or beyond full. If the gauge responds appropriately, the problem likely lies with the sender unit or the wiring to the sender.
If the gauge doesn't respond correctly to this test, the gauge itself is likely faulty. Replacement gauges are available for most tractor models. We also carry the 894844M1 Fuel Gauge, ideal for models with positive ground. Check John Deere tractor parts, Ford tractor parts, and other brands at Madison Tractor.
3. Testing the Fuel Sender
The fuel sender is often the culprit when a fuel gauge malfunctions. Here's how to test it:
- Access the Sender: This usually involves removing an access panel or the entire fuel tank (depending on the tractor model). Safety Warning: Disconnect the battery before removing the fuel sender. Be prepared for some fuel spillage and have appropriate containers ready.
- Visual Inspection: Examine the sender for physical damage, corrosion, or a stuck float arm.
- Resistance Check: Use a multimeter to measure the resistance between the sender terminal and ground. The resistance should vary smoothly as you manually move the float arm from the empty to full position. Consult your tractor's service manual for the correct resistance range.
If the resistance doesn't change smoothly or is outside the specified range, the sender unit is likely faulty and needs to be replaced. New fuel senders are available for many tractor models including Massey Ferguson, Kubota, Case IH, and New Holland. Consider options like the 3762579M1 or 310938 Fuel Sending Unit. When replacing the sender, consider replacing the fuel tank gasket or seal to prevent leaks. For example, many older Ford tractors use a cork gasket. These can dry out and crack over time, leading to fuel leaks.
4. Checking the Wiring
Even if the gauge and sender test okay, faulty wiring can still cause problems:
- Continuity Test: Use a multimeter to check for continuity between the fuel gauge and the sender wire. If there's no continuity, there's a break in the wire.
- Voltage Test: Check for proper voltage at the fuel gauge power wire. Consult your tractor's service manual for the correct voltage.
- Ground Connection: Ensure the sender and gauge have a good ground connection. Clean any corrosion from the ground terminals. Many tractors ground the sender to the frame near the fuel tank. Make sure this connection is clean and tight.
Repairing the Problem: Solutions and Tips
Once you've identified the problem, you can take steps to repair it:
Replacing a Faulty Fuel Sender
- Drain the Fuel Tank: Drain as much fuel as possible to minimize spillage.
- Remove the Old Sender: Carefully disconnect the wiring and remove the old sender unit.
- Install the New Sender: Install the new sender, ensuring the float arm moves freely. Use a new gasket or sealant to prevent leaks.
- Reconnect the Wiring: Connect the wiring according to the wiring diagram.
- Test the Gauge: Refuel the tank and test the gauge to ensure it's working correctly.
Repairing Wiring Issues
- Replace Damaged Wires: Use properly sized automotive wiring to replace any damaged or corroded wires. Use heat shrink tubing to protect the connections.
- Clean Connections: Clean any corroded terminals with a wire brush or electrical contact cleaner. Apply dielectric grease to prevent future corrosion.
- Secure Connections: Ensure all connections are tight and secure. Use zip ties to secure the wiring harness and prevent chafing.
Common Issues & Solutions by Tractor Brand
- John Deere: On older John Deere models like the 3020 and 4020, the fuel sender can corrode due to moisture. Cleaning the contacts or replacing the sender is often necessary. Consider replacing the fuel filter at the same time. John Deere tractor parts are readily available.
- Ford: Ford 8N, 9N, and 2N tractors are notorious for fuel gauge problems. A common issue is a faulty ground connection. Ensure the sender is properly grounded to the chassis. The fuel tank can also rust internally, affecting the float.
- Massey Ferguson: On Massey Ferguson tractors like the TO20 and TO30, the fuel sender can become clogged with debris. Cleaning the sender or replacing the fuel filter can resolve this issue.
- Farmall: Early Farmall tractors used a different style of gauge, but the principle is the same. Ensure the wiring is correct and the sender is functioning.
Preventative Maintenance
Regular maintenance can prevent fuel gauge problems. Here are some tips:
- Keep the Fuel Clean: Use a fuel stabilizer to prevent fuel degradation and sediment buildup. Replace the fuel filter regularly.
- Inspect Wiring Regularly: Check the wiring for damage and corrosion during routine maintenance.
- Check Ground Connections: Ensure all ground connections are clean and tight.
When working on your tractor's fuel system, you may also need to inspect other components. Madison Tractor Company carries a wide selection of parts, including fuel pumps, carburetors, fuel filters, radiators, water pumps, starters, alternators, hydraulic pumps, cylinders, clutch kits, PTO parts, injectors, gaskets, pistons, bearings, seals, belts, chains, concaves, and sickle sections.
Conclusion
Troubleshooting a tractor fuel gauge can seem daunting, but with a systematic approach and a little patience, you can diagnose and repair the problem. By following the steps outlined in this guide, you'll be able to keep your tractor running smoothly and avoid those frustrating moments of running out of fuel in the field. Don't forget to consult your tractor's service manual for specific information about your model. If you are working on the fuel system you should check the tractor fuel pump as part of the diagnostic process.
Shop Tractor Parts at Madison Tractor Company
Madison Tractor Company is your trusted source for high-quality tractor parts. We carry a wide selection of parts for all major brands, including John Deere, Case IH, Ford, New Holland, Massey Ferguson, Kubota, Allis Chalmers, Deutz, International Harvester, Oliver, White, Gleaner, Vermeer, Hesston, Mahindra, and Zetor. Browse our extensive inventory online or contact our knowledgeable staff for assistance. We're here to help you keep your tractor running at its best! You can also use our AI-Powered Part Finder to search for parts by your specific make and model.
Part of our comprehensive guide
Tractor Fuel System Guide: Carburetor, Injection & Fuel Pump Parts