








Tractor Camshaft Replacement: Timing & Installation
Replacing a tractor camshaft requires precision and attention to detail. This guide walks you through the process, ensuring proper timing and installation for optimal engine performance in your John Deere, Case IH, or Ford tractor.
Introduction to Tractor Camshaft Replacement
The camshaft is a vital component in your tractor's engine, responsible for controlling the opening and closing of the intake and exhaust valves. Over time, the camshaft can wear down, leading to reduced engine performance, rough idling, and decreased fuel efficiency. Recognizing the signs of a worn camshaft and knowing how to properly replace it are crucial for maintaining your tractor's reliability and productivity.
Recommended Parts for This Guide
6 parts we recommend — in stock, ships fast, one-click add to cart.
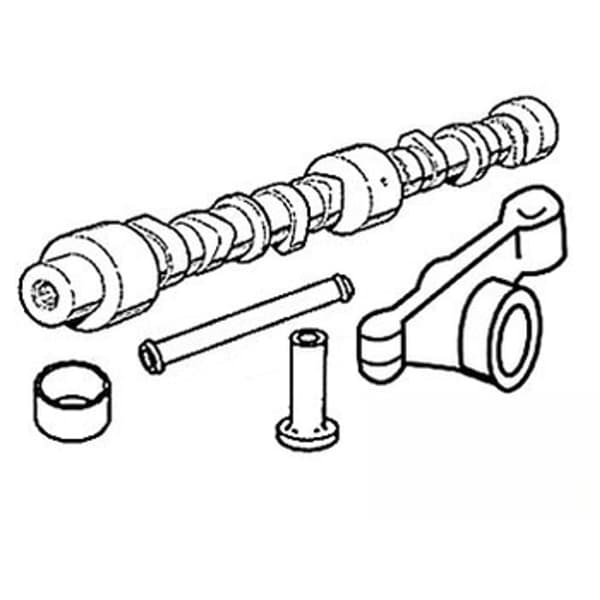
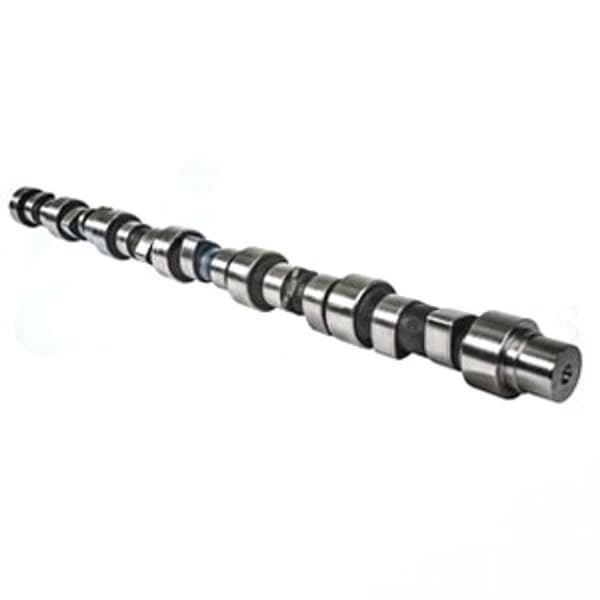
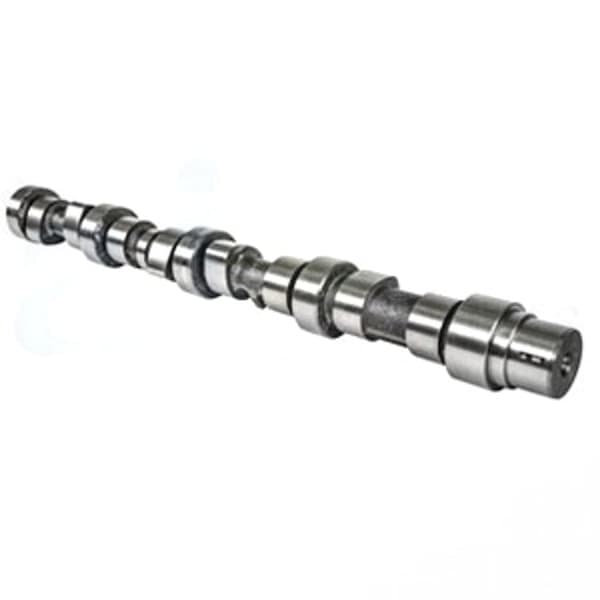
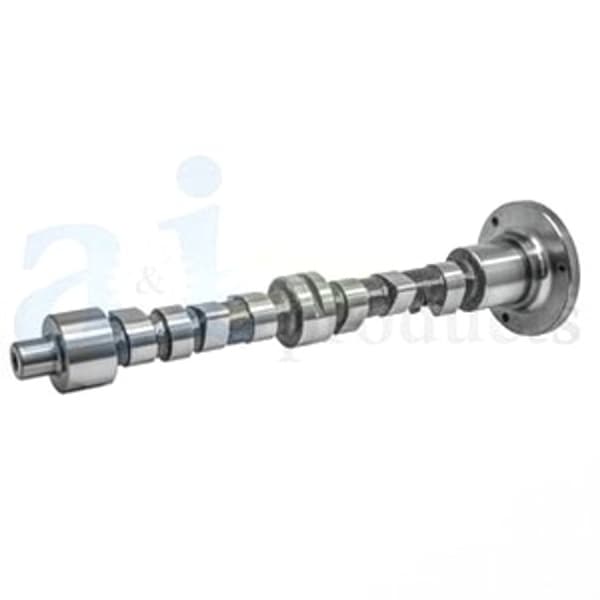
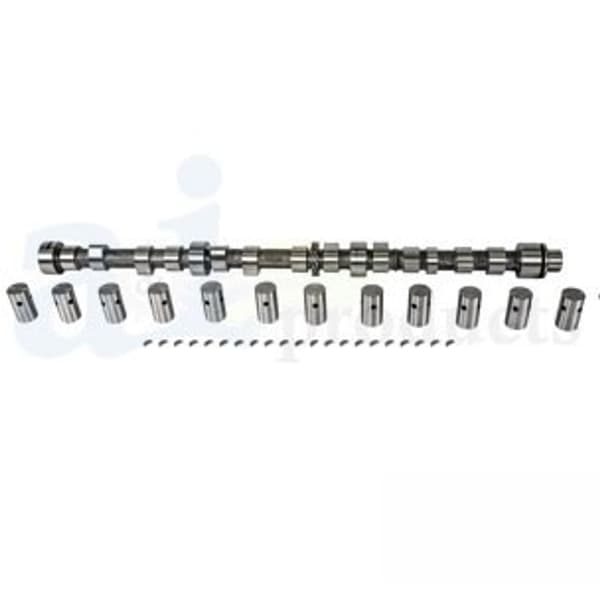
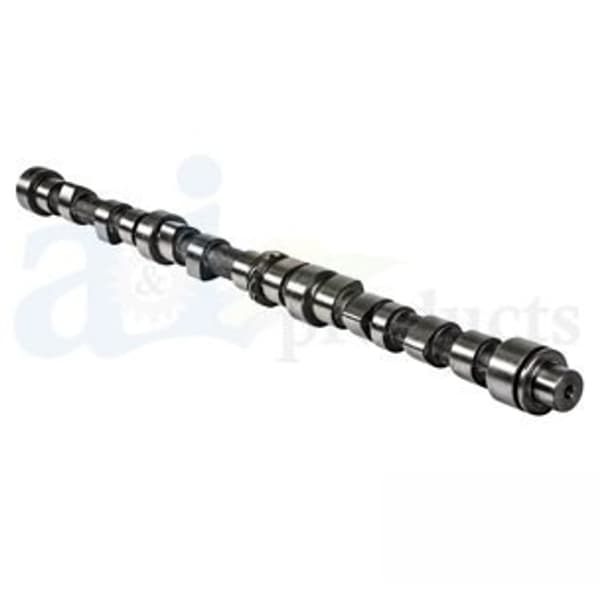
🔍 Looking for a specific part? Try our AI Part Finder — tell it your equipment and what you need, and it will find matching parts instantly.
This guide will provide a comprehensive overview of tractor camshaft replacement, covering essential steps, timing procedures, and brand-specific considerations. Whether you're working on a John Deere, Case IH, Ford, New Holland, Massey Ferguson, Kubota, Allis Chalmers, Deutz, International Harvester, Oliver, White, Gleaner, Vermeer, Hesston, Mahindra, or Zetor tractor, the fundamental principles remain the same. Remember to always consult your tractor's service manual for specific instructions and torque specifications.
Before beginning any engine work, always disconnect the battery and allow the engine to cool completely. Safety is paramount!
Identifying Camshaft Problems
Several symptoms can indicate a worn or damaged tractor camshaft:
- Reduced Engine Power: A worn camshaft can cause valves to open and close improperly, leading to a decrease in engine power, especially at higher RPMs.
- Rough Idling: Irregular valve timing can result in a rough or unstable idle.
- Increased Fuel Consumption: Inefficient valve operation can lead to higher fuel consumption.
- Engine Misfires: A damaged camshaft lobe can cause a cylinder to misfire.
- Valve Train Noise: Excessive wear can cause noticeable noise from the valve train.
If you experience any of these symptoms, it's essential to inspect the camshaft and related components to determine if replacement is necessary.
Tools and Materials Needed
Before starting the replacement, gather the necessary tools and materials:
- New tractor camshaft (correct for your engine model)
- Engine gasket set (including valve cover gasket, timing cover gasket, and front seal)
- Torque wrench
- Socket set and wrenches
- Pliers
- Screwdrivers
- Timing light (if applicable)
- Valve spring compressor
- Feeler gauges
- Assembly lubricant
- Engine oil
- Coolant
- Clean rags
- Service manual for your specific tractor model
Step-by-Step Camshaft Replacement Procedure
This is a general guide. Always refer to your tractor's service manual for specific instructions and torque specifications. If you are unsure about any step, consult a qualified mechanic.
- Preparation: Disconnect the battery, drain the coolant and engine oil, and remove any components obstructing access to the timing cover, such as the radiator, radiator, fan, and belts.
- Remove the Timing Cover: Carefully remove the timing cover, taking note of the location of any shims or gaskets. Inspect the timing cover for wear or damage and replace if necessary.
- Set the Engine to Top Dead Center (TDC): Rotate the engine until the timing marks on the crankshaft pulley and camshaft gear align with the TDC mark. This ensures proper valve timing during reassembly. For many John Deere tractors, you'll be looking for alignment marks specific to your 3-Cyl, 4-Cyl or 6-Cyl engine.
- Remove Valve Train Components: Remove the rocker arms, pushrods, and valve lifters (tappets). Keep these components organized so they can be reinstalled in their original positions.
- Remove the Camshaft: Carefully remove the camshaft, being mindful of the camshaft bearings. Inspect the bearings for wear or damage and replace if necessary. Some camshafts may require removing the fuel pump first.
- Inspect the Camshaft: Examine the old camshaft for wear, damage, or abnormal patterns. Compare it to the new camshaft to ensure they are identical.
- Install the New Camshaft: Lubricate the new camshaft lobes and journals with assembly lubricant. Carefully slide the camshaft into place, ensuring it is properly seated in the bearings.
- Reinstall Valve Train Components: Reinstall the valve lifters, pushrods, and rocker arms. Adjust the valve lash according to your tractor's specifications. Refer to your service manual for the correct procedure and feeler gauge size.
- Timing Alignment: Align the timing marks on the crankshaft pulley and camshaft gear. This is a critical step to ensure proper valve timing. Incorrect timing can lead to poor engine performance or even engine damage. Double-check the alignment and refer to your service manual for the correct procedure. For example, on a Ford tractor, you'll need to ensure the timing marks on the crankshaft and camshaft gears are properly aligned, especially if you've recently installed a Ford tractor engine rebuild kit.
- Reinstall the Timing Cover: Install a new timing cover gasket and carefully reinstall the timing cover. Tighten the bolts to the specified torque.
- Reinstall Remaining Components: Reinstall the radiator, fan, belts, and any other components that were removed.
- Refill Fluids: Refill the engine with fresh engine oil and coolant.
- Start the Engine: Start the engine and check for leaks. Let the engine run for a few minutes and then shut it off. Check the oil and coolant levels again and add more if necessary.
- Valve Adjustment: Recheck and readjust the valve lash after the engine has warmed up. This is important to ensure proper valve operation.
Camshaft Timing: Ensuring Proper Engine Function
Proper camshaft timing is absolutely critical for engine performance and longevity. Incorrect timing can lead to:
- Loss of power
- Increased fuel consumption
- Engine damage
- Difficult starting
Always double-check the timing marks and refer to your service manual. Some engines require specific tools or procedures to ensure accurate timing. If you're working on a Perkins engine, for example, consult your Perkins engine rebuild kit documentation for detailed timing instructions. The 3.152 and 4.236 series engines have specific timing mark locations.
Brand-Specific Considerations
While the general principles of camshaft replacement are the same, some brands and models may have unique features or procedures:
- John Deere: John Deere engines often have specific timing marks and procedures that must be followed precisely. Using a John Deere head gasket set requires matching part numbers by engine.
- Case IH: Case IH engines may require special tools for removing and installing the camshaft. Consider a Case IH engine rebuild kit for comprehensive component replacement.
- Ford: Ford engines may have different valve lash adjustment procedures. Be sure to consult your service manual.
- Massey Ferguson: Massey Ferguson engines may have unique timing gear configurations.
- Kubota: Kubota engines often require precise valve adjustment due to their compact design.
Related Engine Components
When replacing a camshaft, it's wise to inspect and potentially replace related engine components:
- Valve Lifters (Tappets): Worn valve lifters can damage the new camshaft.
- Timing Chain/Belt: A worn timing chain or belt can cause timing inaccuracies.
- Camshaft Bearings: Worn camshaft bearings can cause excessive camshaft wear.
- Camshaft Bushings: Worn camshaft bushings can cause excessive camshaft wear or improper camshaft rotation.
- Tractor Piston Rings: If you're already deep into the engine, consider replacing the piston rings for optimal compression.
- Tractor Main Bearings: Check the main bearings for wear and replace as needed.
If the engine is severely worn, consider a complete engine rebuild using an appropriate engine rebuild kit.
Safety Precautions
- Always disconnect the battery before working on the engine.
- Allow the engine to cool completely before starting any work.
- Wear safety glasses and gloves to protect yourself from injury.
- Use caution when handling sharp or heavy objects.
- Dispose of used oil and coolant properly.
- Consult your service manual for specific safety precautions for your tractor model.
Conclusion
Replacing a tractor camshaft is a complex but manageable task for experienced mechanics or those with a good understanding of engine repair. By following these steps and consulting your tractor's service manual, you can ensure a successful replacement and restore your tractor's engine to optimal performance. Remember to pay close attention to timing procedures and always use high-quality replacement parts.
Madison Tractor Company is your trusted source for all your tractor parts needs. We offer a wide selection of camshafts, gaskets, pistons, engine parts, filters, water pumps, fuel pumps and more for all major brands, including John Deere, Case IH, Ford, and many others. Shop with confidence knowing you're getting quality parts at competitive prices. We also carry a huge selection of tractor head gaskets should you need to replace yours during this process. Contact our knowledgeable team today for assistance in finding the right parts for your tractor! You can also use our AI-Powered Part Finder to search for parts by your specific make and model.
Part of our comprehensive guide
Tractor Engine Rebuild Guide: Kits, Parts & When to Overhaul