








Snow Blower Impeller Kit: Improve Throwing Distance
Is your snow blower leaving you wanting more throwing power? A snow blower impeller kit, also known as an impeller modification or 'snow blower accelerator', can dramatically improve your machine's performance. Learn how it works and if it's right for you.
Understanding Snow Blower Impeller Kits
If you're finding that your snow blower isn't throwing snow as far as it used to, or as far as you'd like, an impeller kit might be the solution. These kits, sometimes called 'snow blower accelerators' or 'impeller modifications,' address a common issue: the gap between the impeller blades and the impeller housing. This gap allows snow to recirculate, reducing throwing efficiency. By minimizing this gap, an impeller kit significantly improves the amount of snow ejected and the distance it travels.
Recommended Parts for This Guide
8 parts we recommend — in stock, ships fast, one-click add to cart.
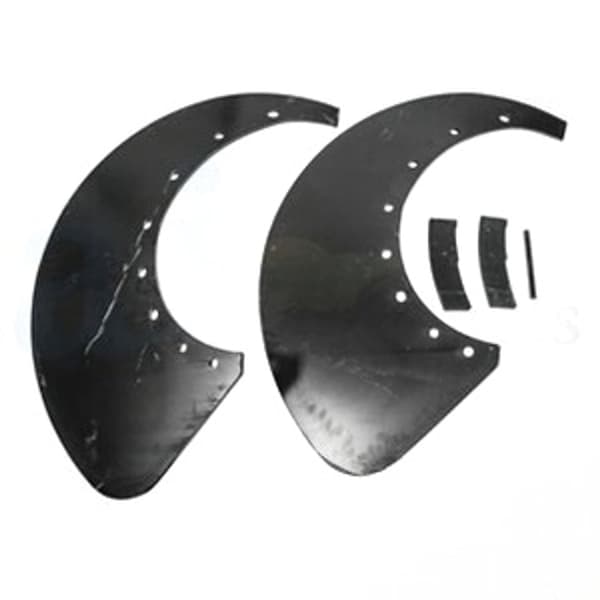
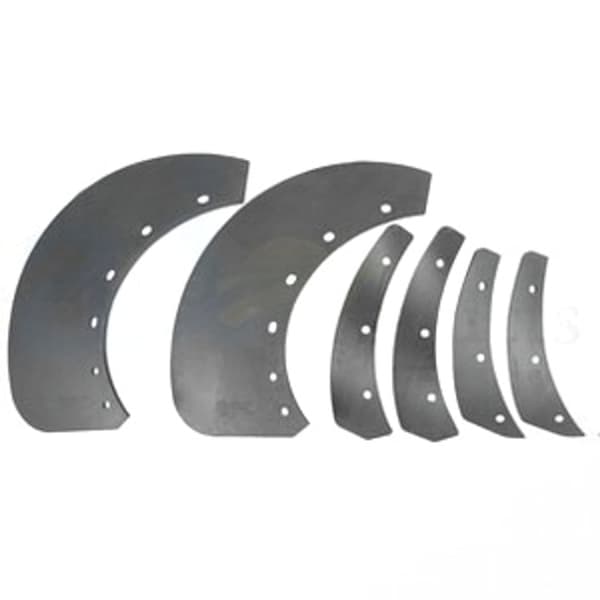
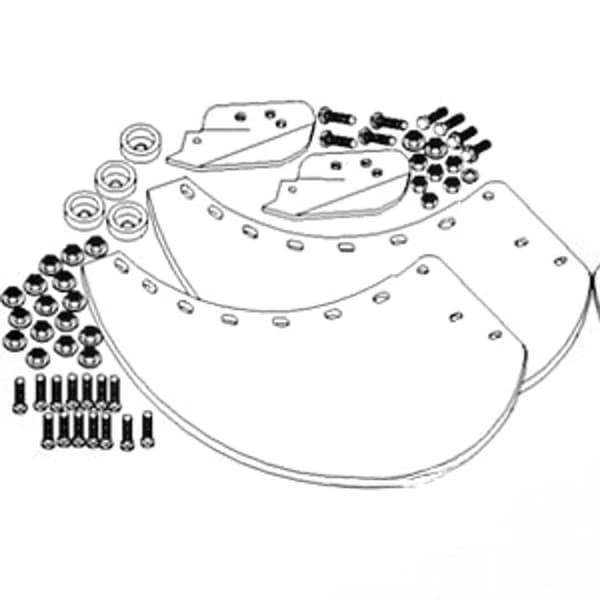
🔍 Looking for a specific part? Try our AI Part Finder — tell it your equipment and what you need, and it will find matching parts instantly.
The impeller is the rotating fan inside the snow blower housing that catches the snow churned up by the auger and throws it out the discharge chute. Over time, or even from the factory, a significant gap can exist between the impeller blades and the metal housing. This allows snow to slip by and reduces the overall efficiency of the machine.
How Impeller Kits Work
Impeller kits typically consist of durable rubber or polyurethane paddles that attach to the existing impeller blades. These paddles extend the blade's reach, effectively closing the gap between the blade and the housing. As the impeller rotates, the paddles create a tighter seal, forcing more snow into the discharge chute with greater velocity. This results in a noticeable increase in throwing distance – often doubling or tripling the original distance.
Think of it like this: if you're trying to scoop water with a leaky bucket, much of the water will spill out before you can dump it. An impeller kit "seals" the bucket, allowing you to move more water, faster and further.
Benefits of Installing an Impeller Kit
- Increased Throwing Distance: The most obvious benefit is a significant improvement in how far your snow blower throws snow.
- Reduced Clogging: By forcing more snow through the discharge chute at a higher velocity, impeller kits help prevent clogging, especially in wet, heavy snow.
- Improved Efficiency: Your snow blower will clear snow more effectively, saving you time and effort.
- Better Performance in Wet Snow: Wet, heavy snow is notorious for clogging snow blowers. An impeller kit helps overcome this challenge.
- Reduced Snow Blowback: A tighter seal minimizes snow blowback around the housing, keeping you drier and more comfortable.
Is an Impeller Kit Right for You?
Consider an impeller kit if you experience any of the following:
- Your snow blower struggles to throw snow a reasonable distance.
- You frequently experience clogging, especially in wet or heavy snow.
- You notice significant snow blowback while operating your snow blower.
- You want to improve the overall efficiency and performance of your machine.
Impeller kits are a relatively inexpensive and easy way to upgrade your snow blower's capabilities. They are particularly beneficial for older machines or models known for having large impeller gaps. Even newer models can benefit, optimizing their performance to handle challenging snow conditions.
Installation: A Step-by-Step Guide
While specific instructions may vary depending on the kit and your snow blower model, here's a general overview of the installation process. Always consult your snow blower's owner's manual and the impeller kit's instructions before beginning.
- Safety First! Disconnect the spark plug wire to prevent accidental starting. Allow the engine to cool completely.
- Drain the Fuel: Tip the snowblower to drain the fuel tank completely. This prevents fuel spillage during the impeller removal.
- Remove the Discharge Chute: Detach the discharge chute to access the impeller housing.
- Remove the Belt Cover and Belts: Remove the belt cover from the front of the snowblower. You will need to detach the snow blower belt that drives the auger and impeller. Note the belt routing for reassembly.
- Remove the Auger Housing: Typically, this involves removing bolts or screws that secure the auger housing to the snow blower's frame. You may need assistance due to the weight of the housing.
- Access the Impeller: With the auger housing removed, you'll have access to the impeller.
- Clean the Impeller and Housing: Thoroughly clean the impeller blades and the inside of the impeller housing with a wire brush and solvent to remove any rust, debris, or old grease.
- Attach the Impeller Kit Paddles: Follow the kit's instructions for attaching the paddles to the impeller blades. This usually involves drilling holes in the blades and securing the paddles with bolts and washers. Ensure the paddles are evenly spaced and securely fastened.
- Reassemble: Carefully reassemble the snow blower, reversing the disassembly steps. Ensure all belts are properly routed, all bolts are tightened, and the spark plug wire is reconnected.
- Test: Start the snow blower and test its performance. Observe the throwing distance and check for any unusual noises or vibrations.
Safety Warning: Always wear safety glasses and gloves during installation. If you're uncomfortable performing this procedure yourself, consult a qualified mechanic.
Choosing the Right Impeller Kit
Select an impeller kit specifically designed for your snow blower's make and model. Universal kits may exist, but a model-specific kit will ensure a proper fit and optimal performance. When researching, consider the kit's material (rubber or polyurethane) and the quality of the hardware included.
At Madison Tractor, we carry a wide selection of snow blower parts, including impeller kits, for various brands, including Ariens, Toro, Craftsman, Cub Cadet, Husqvarna, John Deere, and Murray. Be sure to also check your snow blower shear pins before starting your winter routine.
Maintenance Tips for Optimal Performance
- Inspect Regularly: Periodically inspect the impeller kit paddles for wear or damage. Replace them if necessary.
- Keep the Housing Clean: Regularly clean the impeller housing to prevent snow buildup and ensure smooth operation.
- Lubricate Moving Parts: Lubricate the impeller shaft and other moving parts according to your snow blower's owner's manual.
- Check Belts: Inspect the snow blower belt for wear and tear. Replace if needed to ensure proper power transmission.
- Maintain Skid Shoes: Ensure proper adjustment and condition of the snow blower skid shoes.
Other Important Snow Blower Parts
Besides impeller kits, maintaining your snow blower involves keeping other parts in good condition. These include:
- Shear Pins: These protect the auger and gearbox from damage. Always have spare snow blower shear pins on hand.
- Belts: Drive and auger belts transfer power from the engine.
- Spark Plugs: Ensure reliable starting and performance.
- Filters: Keep the engine running smoothly by replacing air and fuel filters regularly.
Shop Snow Blower Parts at Madison Tractor
Ready to boost your snow blower's performance with an impeller kit or other essential parts? At Madison Tractor Company, we offer a comprehensive selection of high-quality snow blower parts for all major brands, including Ariens, Toro, Craftsman, Cub Cadet, Husqvarna, and more. Browse our online catalog today and get your snow blower ready for winter! You can also use our AI-Powered Part Finder to search for parts by your specific make and model.
Part of our comprehensive guide
Snow Blower Parts Guide: Find Replacement Parts by Brand & Model