








Kawasaki Engine Oil Filter: FR, FS & FX Series
Maintaining your Kawasaki FR, FS, or FX series engine's oil filter is crucial for long life. This guide provides essential information on selecting the right filter and performing routine maintenance.
Introduction to Kawasaki Engine Oil Filters
Your Kawasaki FR, FS, or FX series engine is the heart of your lawn care equipment, whether it's a zero-turn mower from Hustler, a lawn tractor from John Deere, or a commercial mower from Exmark. A clean and properly functioning oil filter is vital to its longevity. This guide will walk you through everything you need to know about Kawasaki engine oil filters for these popular engine series, including why they're important, how to choose the right one, and how to replace it.
Recommended Parts for This Guide
8 parts we recommend — in stock, ships fast, one-click add to cart.
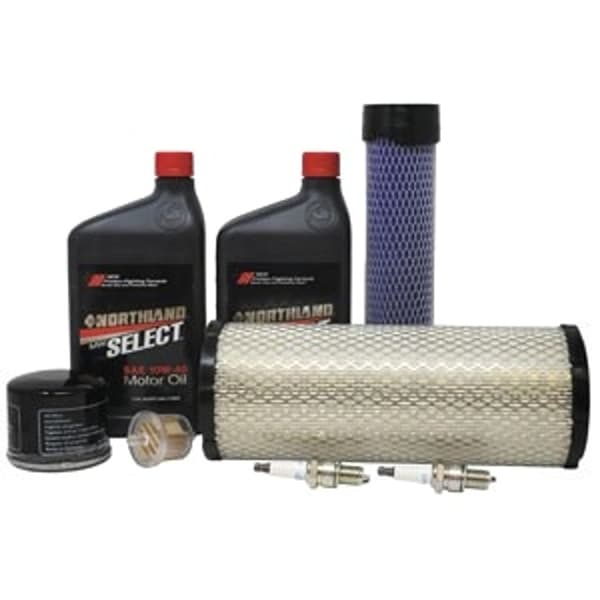
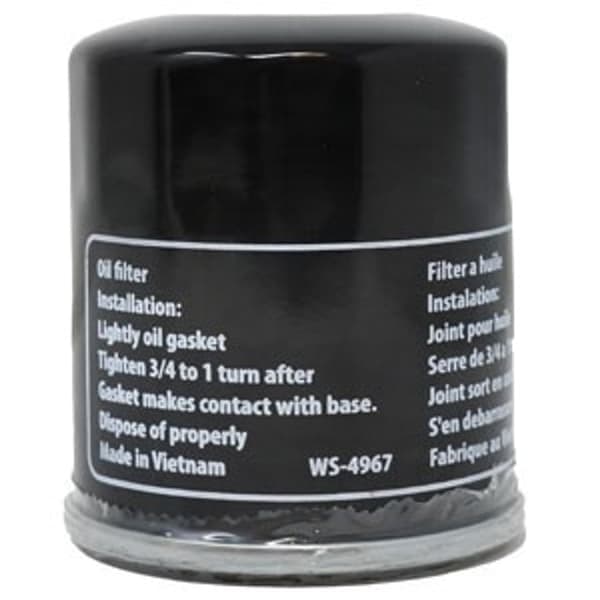
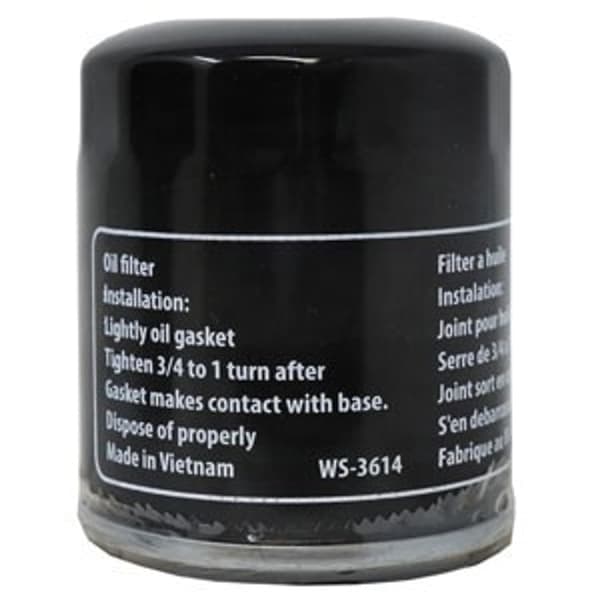
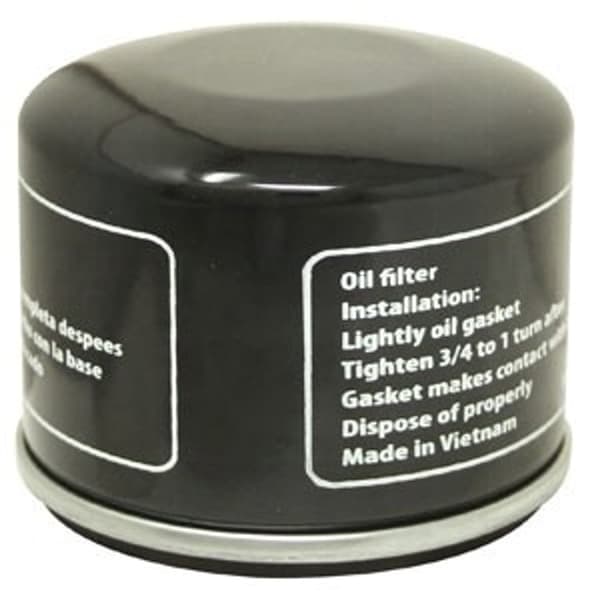
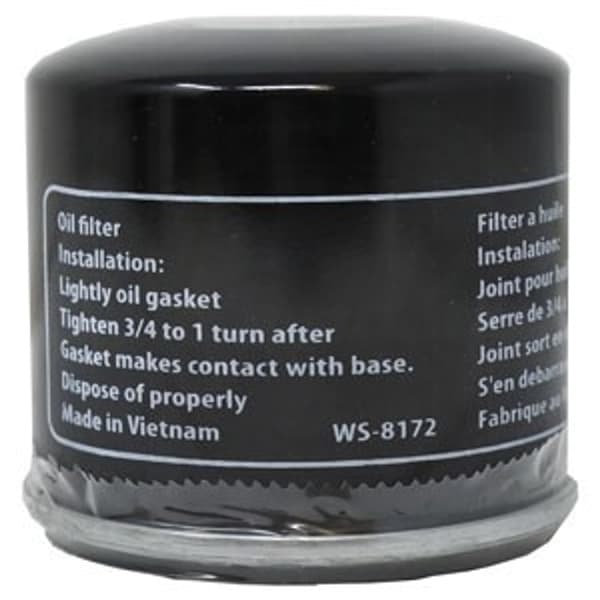
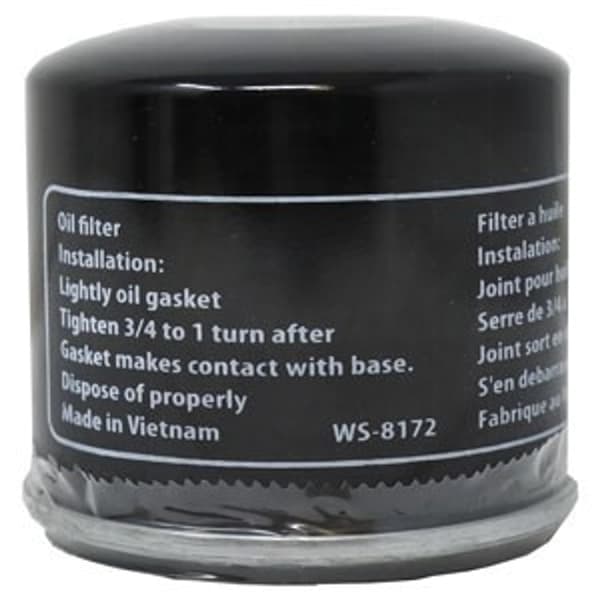
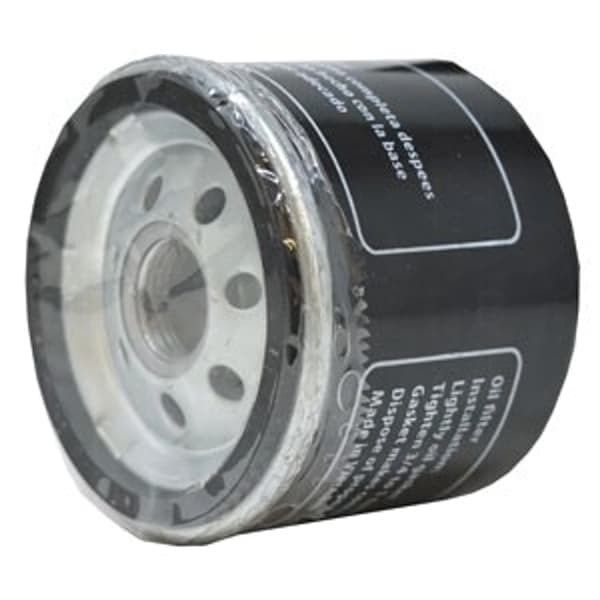
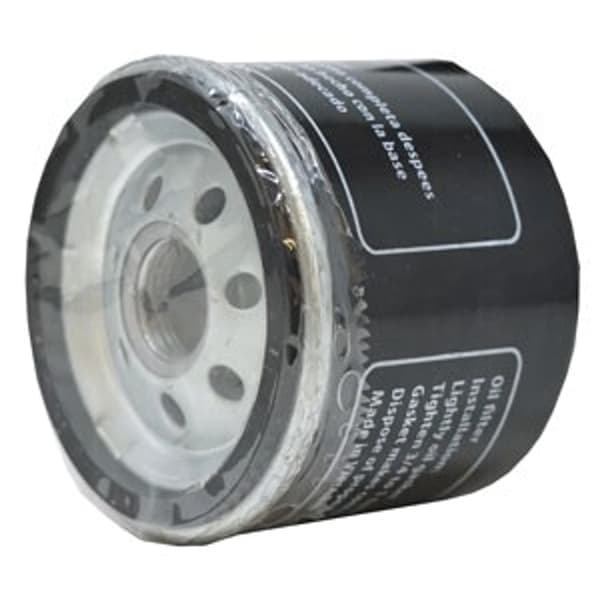
🔍 Looking for a specific part? Try our AI Part Finder — tell it your equipment and what you need, and it will find matching parts instantly.
Like any engine, Kawasaki engines rely on oil to lubricate moving parts, reduce friction, and dissipate heat. As the oil circulates, it picks up contaminants like dirt, metal shavings, and combustion byproducts. The oil filter's job is to trap these contaminants, preventing them from causing wear and damage to critical engine components.
Why a Quality Kawasaki Engine Oil Filter Matters
Using a high-quality kawasaki engine oil filter offers several key benefits:
- Extends Engine Life: By removing abrasive particles, the filter minimizes wear and tear, leading to a longer engine lifespan.
- Maintains Oil Pressure: A clean filter allows for consistent oil flow, maintaining proper oil pressure for optimal lubrication.
- Improves Engine Performance: Clean oil ensures efficient engine operation, leading to better fuel economy and power output.
- Reduces Maintenance Costs: Preventing engine damage through proper filtration minimizes the need for costly repairs down the line.
Identifying Your Kawasaki Engine Oil Filter Part Number
Finding the correct oil filter for your Kawasaki FR, FS, or FX series engine is crucial. The easiest way to ensure you get the right filter is to consult your engine's owner's manual. The manual will list the recommended Kawasaki part number. You can also often find the part number printed directly on the old oil filter itself.
Here are some Kawasaki oil filter part numbers we carry. Always verify fitment using your engine's model and type number:
- B1OF243 — B1OF243 - Oil Filter
- B1OF286 — B1OF286 - Oil Filter
- B1OF286A — B1OF286A - Filter, Oil
- B1SB7007 — B1SB7007 - Filter, Oil
- B1OF7007 — B1OF7007 - Filter, Oil
Important Note: Always double-check your engine's manual or consult a parts professional to confirm the correct part number. Using the wrong filter can lead to reduced oil flow and potential engine damage.
Choosing the Right Replacement Kawasaki Engine Oil Filter
Once you have your part number, you have several options for purchasing a replacement filter:
- OEM Kawasaki Filters: Purchasing an Original Equipment Manufacturer (OEM) filter directly from Kawasaki or an authorized dealer ensures the highest quality and compatibility. These filters are designed specifically for your engine and meet Kawasaki's strict performance standards.
- Aftermarket Filters: Several reputable aftermarket brands, like those we carry at Madison Tractor Company, offer oil filters that are designed to meet or exceed OEM specifications. These filters can be a cost-effective alternative, but it's important to choose a reputable brand known for quality and reliability.
When selecting an aftermarket filter, consider these factors:
- Filtration Efficiency: Look for a filter with a high filtration efficiency rating, indicating its ability to remove small particles.
- Construction Quality: Check for a robust filter housing, durable filter media, and a reliable anti-drainback valve.
- Customer Reviews: Read reviews from other users to get an idea of the filter's performance and reliability.
Step-by-Step Guide: Replacing Your Kawasaki Engine Oil Filter
Replacing your Kawasaki engine oil filter is a straightforward process that can be done with basic tools. Here's a step-by-step guide:
- Gather Your Supplies: You'll need the correct replacement oil filter, the appropriate amount of fresh engine oil (refer to your owner's manual for the correct type and quantity), an oil filter wrench, a drain pan, a wrench to remove the drain plug, and rags or paper towels. Don't forget safety glasses and gloves!
- Warm Up the Engine: Run the engine for a few minutes to warm the oil. Warm oil flows more easily, helping to remove contaminants.
- Turn Off the Engine: Park the equipment on a level surface and turn off the engine. Allow the engine to cool slightly before proceeding.
- Locate the Oil Filter and Drain Plug: Refer to your owner's manual for the location of the oil filter and drain plug.
- Position the Drain Pan: Place the drain pan under the drain plug.
- Remove the Drain Plug: Use the appropriate wrench to carefully remove the drain plug. Allow the oil to drain completely.
- Remove the Old Oil Filter: Use the oil filter wrench to loosen and remove the old oil filter. Be prepared for some oil to spill.
- Prepare the New Oil Filter: Lightly lubricate the rubber gasket on the new oil filter with fresh engine oil.
- Install the New Oil Filter: Screw the new oil filter onto the engine by hand until the gasket makes contact with the engine surface. Then, tighten the filter an additional 1/2 to 3/4 turn, or as specified by the filter manufacturer. Do NOT overtighten.
- Reinstall the Drain Plug: Clean the drain plug and reinstall it, tightening it to the manufacturer's specified torque.
- Add Fresh Oil: Remove the oil fill cap and add the correct amount of fresh engine oil as specified in your owner's manual.
- Check the Oil Level: Use the dipstick to check the oil level. Add more oil if needed to reach the full mark.
- Start the Engine: Start the engine and let it run for a few minutes. Check for any leaks around the oil filter and drain plug.
- Recheck the Oil Level: After running the engine, turn it off and let it sit for a few minutes. Recheck the oil level and add more oil if necessary.
- Dispose of Used Oil and Filter Properly: Take the used oil and filter to a recycling center or auto parts store for proper disposal.
Safety Warning: Hot oil can cause burns. Allow the engine to cool slightly before changing the oil.
Oil Change Intervals for Kawasaki Engines
Regular oil and filter changes are essential for maintaining the health of your Kawasaki engine. Refer to your owner's manual for the recommended oil change intervals. As a general guideline, change the oil and filter every 100 hours of operation or at least once a year, even if you haven't reached the hourly limit. If you operate your equipment in dusty or severe conditions, you may need to change the oil and filter more frequently.
Remember to also check your Kawasaki engine air filter regularly. A dirty air filter restricts airflow and can negatively impact engine performance. We carry a wide selection of air filters from top brands.
Troubleshooting Common Oil Filter Problems
- Oil Leaks: Oil leaks around the oil filter could indicate a loose filter, a damaged gasket, or an incorrectly installed filter.
- Low Oil Pressure: Low oil pressure could be caused by a clogged oil filter, low oil level, or a faulty oil pump.
- Engine Knocking: Engine knocking can be a sign of inadequate lubrication, which could be caused by a clogged oil filter or low oil level.
If you experience any of these problems, stop using the equipment and inspect the oil filter and oil level. If the problem persists, consult a qualified mechanic.
Maintaining Your Mower and Equipment
Beyond oil filter maintenance, remember to keep up with other routine maintenance tasks, such as:
- Replacing worn blades for a clean cut. We carry replacement blades for brands like Toro, Husqvarna, and Craftsman.
- Inspecting and replacing worn belts and pulleys.
- Replacing spark plugs at recommended intervals.
- Greasing bearings and spindles regularly.
- Checking and replacing shear pins on snow blowers.
Refer to your equipment's owner's manual for specific maintenance recommendations.
If you're working on a Kohler engine instead of a Kawasaki, check out our guide: Kohler Oil Filter Cross Reference: Find Your Filter and our guide on Briggs & Stratton Air Filter: Part Numbers by Engine Model
Shop Kawasaki Engine Oil Filters at Madison Tractor Company
Madison Tractor Company is your trusted source for high-quality riding mower parts, zero-turn mower parts, and small engine parts. We carry a wide selection of Kawasaki engine oil filters, as well as other essential maintenance items like Kawasaki air filters, belts, blades, and spark plugs. Shop our online store today for fast shipping and exceptional customer service. Keep your equipment running smoothly with the right parts from Madison Tractor Company! You can also use our AI-Powered Part Finder to search for parts by your specific make and model.
Part of our comprehensive guide
Small Engine Filter Guide: Air, Oil & Fuel Filters by Engine Brand