








John Deere 4020 Engine Rebuild: Gas & Diesel Overhaul
A comprehensive guide to rebuilding the John Deere 4020 engine, covering both gas and diesel versions. Learn the essential steps for a successful overhaul, from disassembly to reassembly.
Introduction to the John Deere 4020 engine rebuild
The John Deere 4020 is a workhorse tractor, known for its reliability and versatility on farms across the country. However, even the most dependable machines eventually require maintenance and repair. A key aspect of keeping your 4020 running strong is properly maintaining its engine. This guide provides a comprehensive overview of performing a John Deere 4020 engine rebuild, covering both gas and diesel models. Whether you're dealing with low compression, excessive oil consumption, or simply want to refresh a high-hour engine, this article will walk you through the essential steps.
Recommended Parts for This Guide
9 parts we recommend — in stock, ships fast, one-click add to cart.
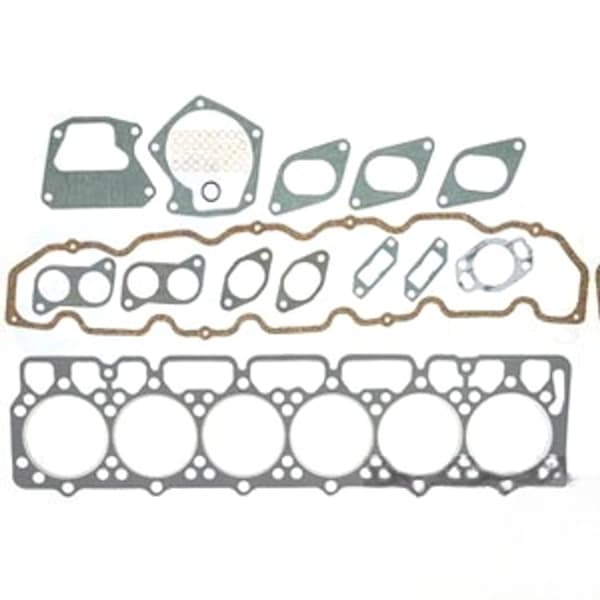
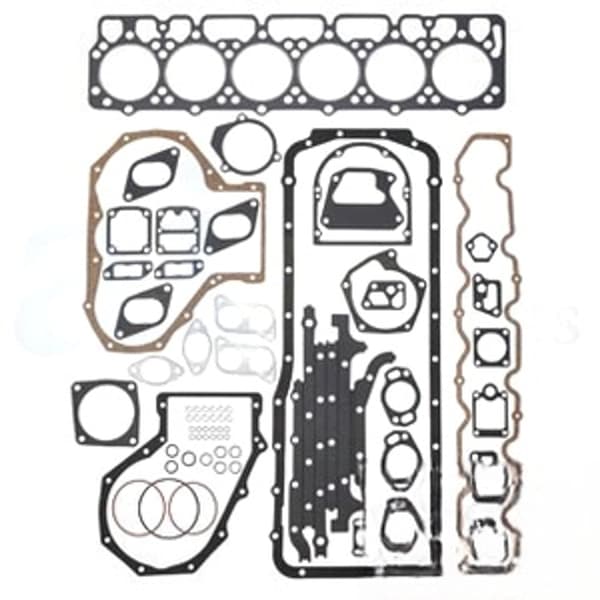
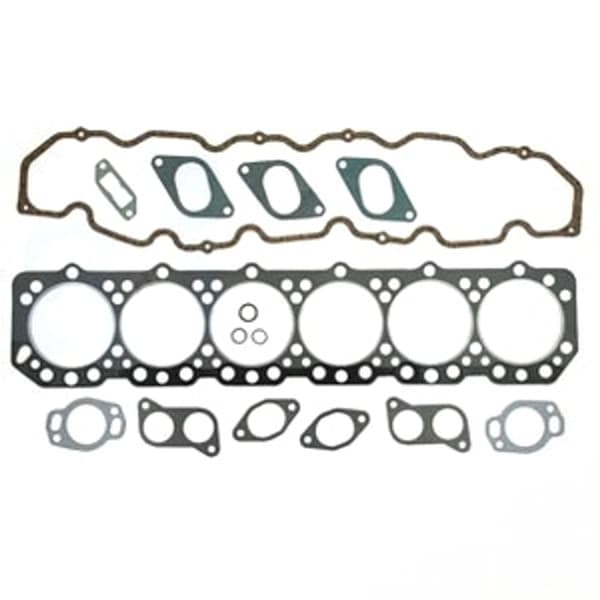
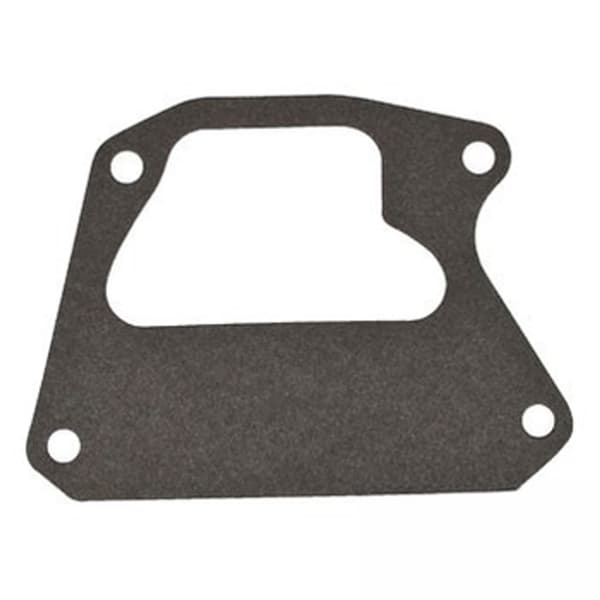
🔍 Looking for a specific part? Try our AI Part Finder — tell it your equipment and what you need, and it will find matching parts instantly.
Before starting any engine work, it's essential to have the necessary tools, a clean workspace, and a service manual specific to your John Deere 4020. A service manual will provide detailed torque specifications, clearances, and assembly procedures critical for a successful rebuild. You can find a wide selection of John Deere tractor parts at Madison Tractor.
Safety First
Warning: Engine rebuilds involve working with heavy components and potentially hazardous fluids. Always wear appropriate safety gear, including safety glasses, gloves, and sturdy footwear. Disconnect the battery before beginning any work to prevent electrical shock. Properly support the engine during disassembly and assembly to avoid injury. Use caution when handling solvents and chemicals, and always work in a well-ventilated area.
Preparing for the Rebuild
Before you even think about wrenching, proper preparation is key. This includes assessing the current state of your engine and gathering the right parts.
Assessing the Engine's Condition
Start by carefully documenting any issues you've been experiencing, such as:
- Low power
- Excessive oil consumption
- Blue or black smoke from the exhaust
- Unusual engine noises (knocking, ticking)
- Difficulty starting
- High operating temperature
Perform a compression test to gauge the health of the cylinders. Low compression readings can indicate worn piston rings, damaged valves, or a blown head gasket. Inspect the engine for any external leaks of oil or coolant.
Gathering the Right Parts: John Deere 4020 engine rebuild kit
Purchasing a John Deere engine rebuild kit is often the most cost-effective way to ensure you have all the necessary components for a complete overhaul. These kits typically include:
- Pistons and piston rings
- Cylinder liners (if applicable)
- Main bearings and connecting rod bearings
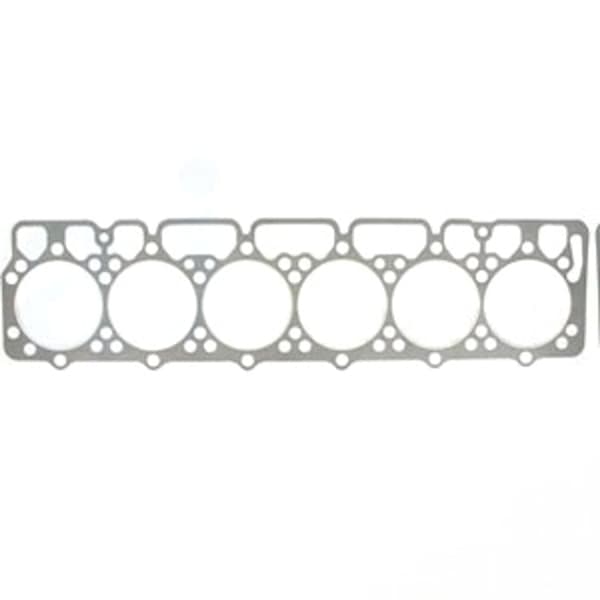
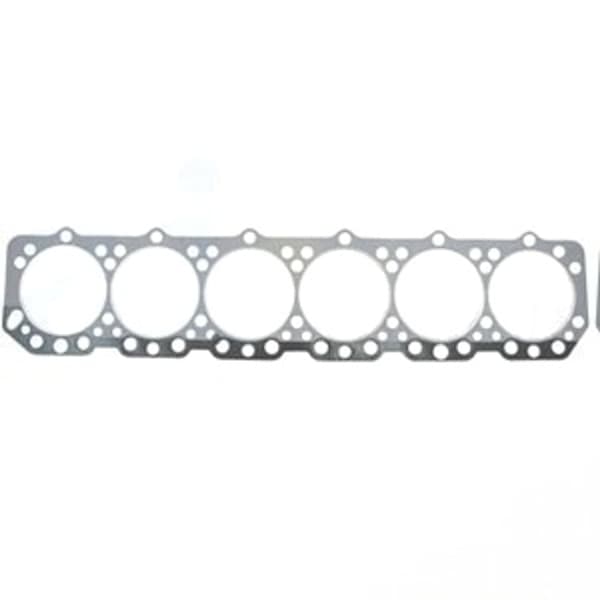
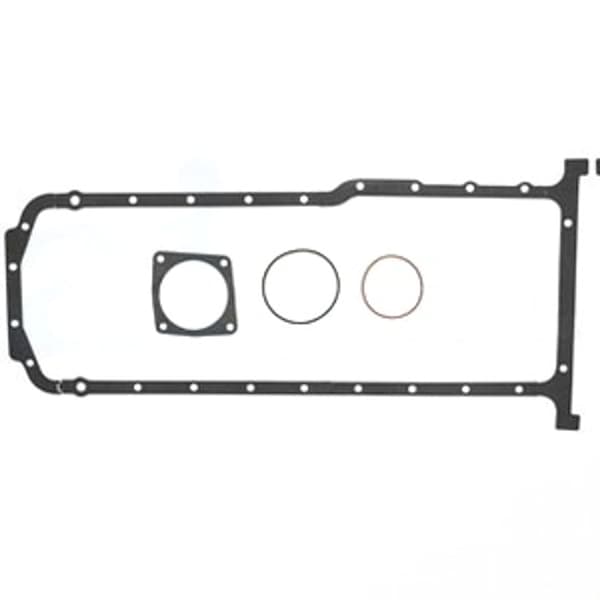
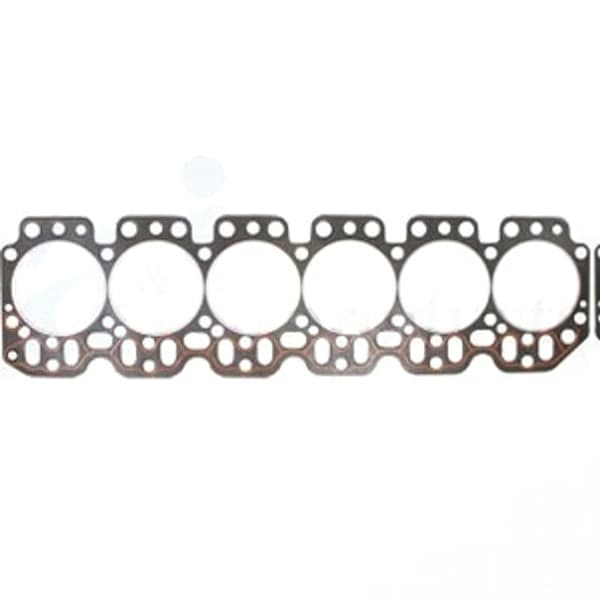
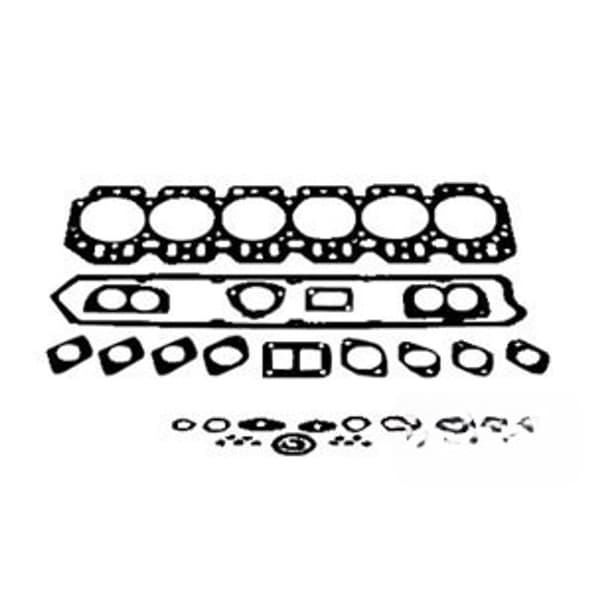
- Gasket sets and seals (including a head gasket, and various upper gasket set options, such as AR63940 and RE38852)
- Wrist pin bushings
Beyond the kit, you might also need:
- Valve train components (valves, guides, springs, rocker arms)
- Water pump gasket
- Oil pump
- Thermostat
- Radiator hoses
- Fuel injectors (diesel) or carburetor rebuild kit (gas)
- Starter and alternator (consider reconditioning or replacing if needed)
Madison Tractor Company carries a wide range of engine rebuild kits for various makes and models, including John Deere, Case IH, Ford, New Holland, Massey Ferguson, Kubota, Allis Chalmers, Deutz, International Harvester, Oliver, White, Gleaner, Vermeer, Hesston, Mahindra, and Zetor. Check your tractor's serial number to ensure you order the correct kit. For example, there may be different kits for early vs. late model 4020s.
Disassembly
Disassembly should be methodical and well-documented. Take photos as you go to help with reassembly. Label all parts clearly and store them in an organized manner.
- Drain fluids: Drain the engine oil and coolant. Dispose of these fluids properly.
- Remove external components: Remove the hood, side panels, fuel tank, exhaust system, air cleaner, starter, alternator, and other external components that will interfere with engine removal.
- Disconnect wiring and hoses: Carefully disconnect all wiring harnesses and hoses connected to the engine. Label them clearly to avoid confusion during reassembly.
- Remove the engine: Use an engine hoist to carefully lift the engine out of the tractor. Secure the engine to an engine stand.
- Disassemble the engine:
- Remove the cylinder head.
- Remove the oil pan and oil pump.
- Remove the connecting rod caps and push the pistons and connecting rods out of the cylinders.
- Remove the crankshaft.
- Remove the camshaft (if applicable).
Inspection and Cleaning
Thorough inspection and cleaning are crucial for identifying worn or damaged parts and ensuring proper engine performance.
- Clean all parts: Use a parts washer and appropriate solvents to thoroughly clean all engine components. Remove all traces of dirt, grime, and old gasket material.
- Inspect cylinder liners or bores: Check for scoring, pitting, or excessive wear. If the cylinders are significantly worn, they may need to be bored and honed to accept oversized pistons.
- Inspect pistons and rings: Check for cracks, wear, and damage. Replace the pistons and piston rings if they are worn or damaged.
- Inspect crankshaft and connecting rods: Check for cracks, wear, and damage. Have the crankshaft checked for straightness and reground if necessary. Inspect the connecting rod bores for proper size and roundness.
- Inspect cylinder head: Check for cracks, warping, and damage to the valve seats and guides. Have the cylinder head pressure tested and resurfaced if necessary. Consider having a valve job performed to ensure proper valve sealing.
- Inspect valve train components: Check for wear and damage to the valves, springs, rocker arms, and pushrods. Replace any worn or damaged components.
Machining and Parts Replacement
Based on your inspection, you may need to have certain parts machined or replaced. Common machining operations include:
- Cylinder boring and honing (if cylinder liners are not used)
- Crankshaft grinding
- Cylinder head resurfacing
- Valve seat grinding
Always use high-quality replacement parts that meet or exceed OEM specifications. Using inferior parts can compromise engine performance and longevity. Madison Tractor Company offers a wide selection of high-quality engine parts for various tractor brands, including John Deere, ensuring you get the right fit and performance.
Reassembly
Reassembly is essentially the reverse of disassembly, but with careful attention to detail and proper torque specifications. Refer to your service manual for the correct torque values for all bolts and fasteners.
- Install crankshaft: Install the crankshaft with new main bearings. Ensure proper crankshaft endplay.
- Install pistons and connecting rods: Install the pistons and connecting rods with new connecting rod bearings. Ensure proper connecting rod side clearance. Stagger the piston ring end gaps according to the service manual.
- Install oil pump and oil pan: Install the oil pump and oil pan with new gaskets.
- Install cylinder head: Install the cylinder head with a new head gasket. Torque the head bolts in the proper sequence and to the specified torque.
- Install valve train components: Install the valves, springs, rocker arms, and pushrods. Adjust the valve lash according to the service manual.
- Install timing components: Ensure correct timing gear or chain alignment.
- Install fuel system: Reinstall or rebuild the fuel injection pump or carburetor.
- Install external components: Reinstall the starter, alternator, water pump, thermostat, and other external components.
Final Steps and Startup
Once the engine is fully assembled, it's time to install it back into the tractor and prepare for startup.
- Install engine in tractor: Carefully lower the engine back into the tractor frame using an engine hoist.
- Connect wiring and hoses: Reconnect all wiring harnesses and hoses.
- Install external components: Reinstall the hood, side panels, fuel tank, exhaust system, and air cleaner.
- Fill with fluids: Fill the engine with fresh oil and coolant.
- Prime the oil system: Crank the engine over without starting it to prime the oil system.
- Start the engine: Start the engine and check for leaks. Monitor the engine temperature and oil pressure closely.
Break-In Period
Follow the manufacturer's recommendations for the engine break-in period. This typically involves running the engine at varying speeds and loads for a specified number of hours. Change the oil and filter after the break-in period to remove any debris from the initial run-in. A typical break-in might involve 50 hours of light to medium duty work. Avoid prolonged idling and sustained high RPM operation during break-in.
Torque Specifications & Fluid Capacities
While specific torque specs will vary depending on the exact engine configuration and year of your 4020, here are some general guidelines. Always consult your service manual for precise values.
- Head Bolt Torque (typical): 90-110 ft-lbs
- Main Bearing Cap Bolts (typical): 100-120 ft-lbs
- Connecting Rod Bolts (typical): 40-50 ft-lbs
- Engine Oil Capacity (typical): 9-11 quarts (check your dipstick)
- Coolant Capacity (typical): 15-18 quarts (mix antifreeze and distilled water)
Keep an eye on your radiator and water pump to prevent overheating during the break-in.
Conclusion
Rebuilding a John Deere 4020 engine is a significant undertaking, but with careful planning, attention to detail, and the right parts, it's an achievable project. By following the steps outlined in this guide, you can restore your 4020's engine to its former glory and enjoy many more years of reliable service. Remember to consult your service manual for specific instructions and torque specifications. Madison Tractor Company is your trusted source for high-quality tractor parts and expert advice. For those tackling other engine rebuilds, check out our guides on Ford tractor engines, Perkins engines, and Case IH engines.
Shop John Deere 4020 Parts at Madison Tractor Company
Ready to start your John Deere 4020 engine rebuild? Madison Tractor Company offers a wide selection of John Deere parts, including engine rebuild kits, pistons, rings, bearings, gaskets, and more. Our knowledgeable team is here to help you find the right parts for your specific needs. Shop with confidence knowing you're getting high-quality parts at competitive prices. We stock parts for various tractor systems, including cylinders, clutch kits, PTO parts, fuel pumps, carburetors, injectors, filters, seals, belts, chains, concaves, and sickle sections. Contact us today to learn more!
🔍 Can't Find Your Part?
Use our AI-Powered Part Finder to search by your equipment's make, model, and what you need. It's the fastest way to find the exact part for your machine.
Try the Part Finder →Part of our comprehensive guide
Tractor Engine Rebuild Guide: Kits, Parts & When to Overhaul